Treat boxes are so much fun to make and give. This one is no exception! I know you will love making this box once you know how. Let me show you the steps. This box is not my original design, but I did put a few of my own tweaks on it. Specifically, to show you how to use these Halloween Magic dies for more than Halloween. The key to these boxes are the two tag dies that come in the set. Watch the video below to see step-by-step how to make the tag box. After you know how, you can make them for any occasion by changing the colors and top tags.
Treat Box Tutorial
Measurements & Supplies
- Halloween Magic Dies 153565
- Hallows Night Magic Stamp Set 153356, or save 10% and purchase dies & set together as a Hallows Night Magic Bundle, 155188
- Basic Black Card Stock, 121045
- Whisper White Card Stock, 100730
- Multipurpose Liquid Glue, 110755
- Iridescent Pearls, 153549
- Blends Markers – Blackberry Bliss 154877 & Mossy Meadow 154890
- Black Glitter Paper, 153518
- Stampin’ Cut & Emboss Machine, 149653
- Top box piece 3-3/4″ x 5-3/8″
- Bottom box piece 3-11/16″ x 5-5/16″
- Cut two larger tag pieces
- Cut one smaller tag piece (if using Halloween stamp, stamp first and then cut)
Photos
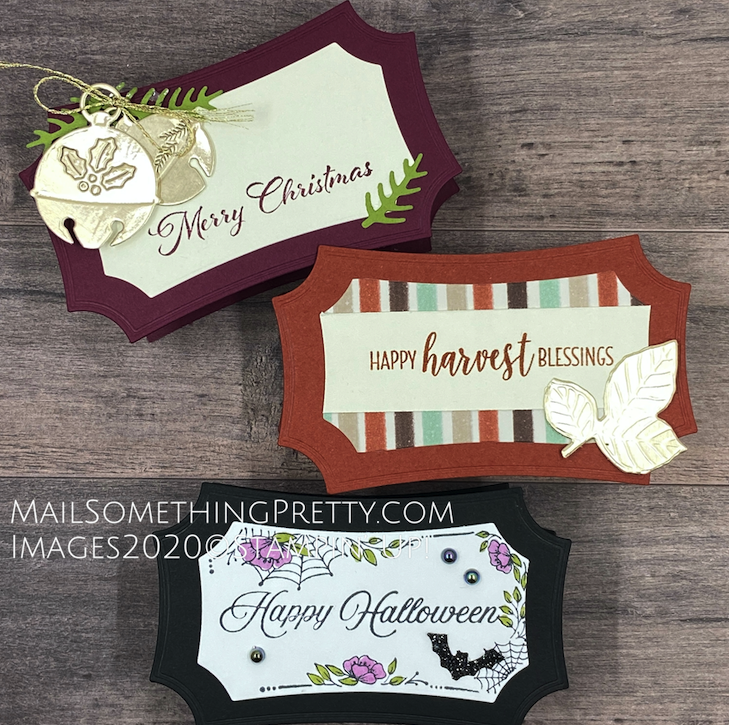
Do you see how I used the Halloween stamp for a non-Halloween occasion?
Take the flower from the dies to cover the spider webs.

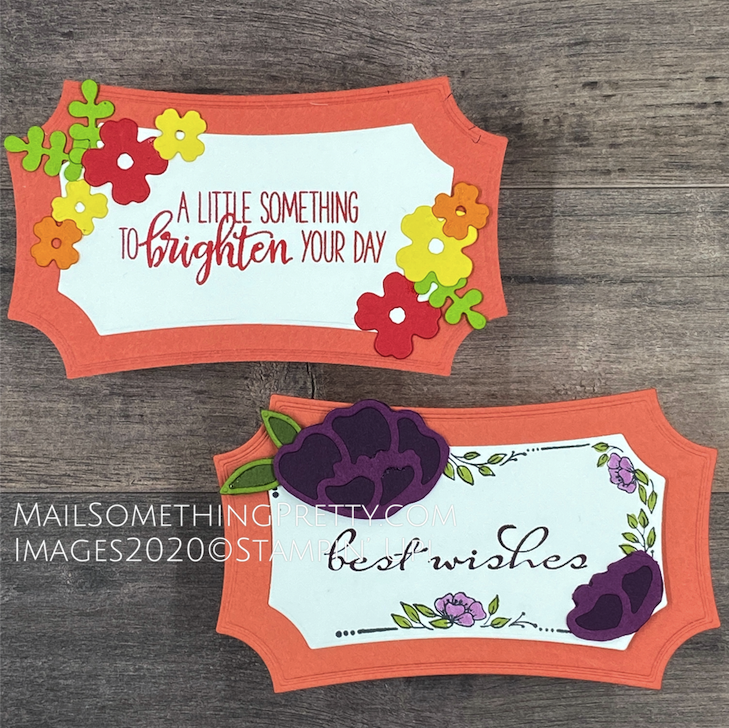
Another Non-Halloween Tag Die Option
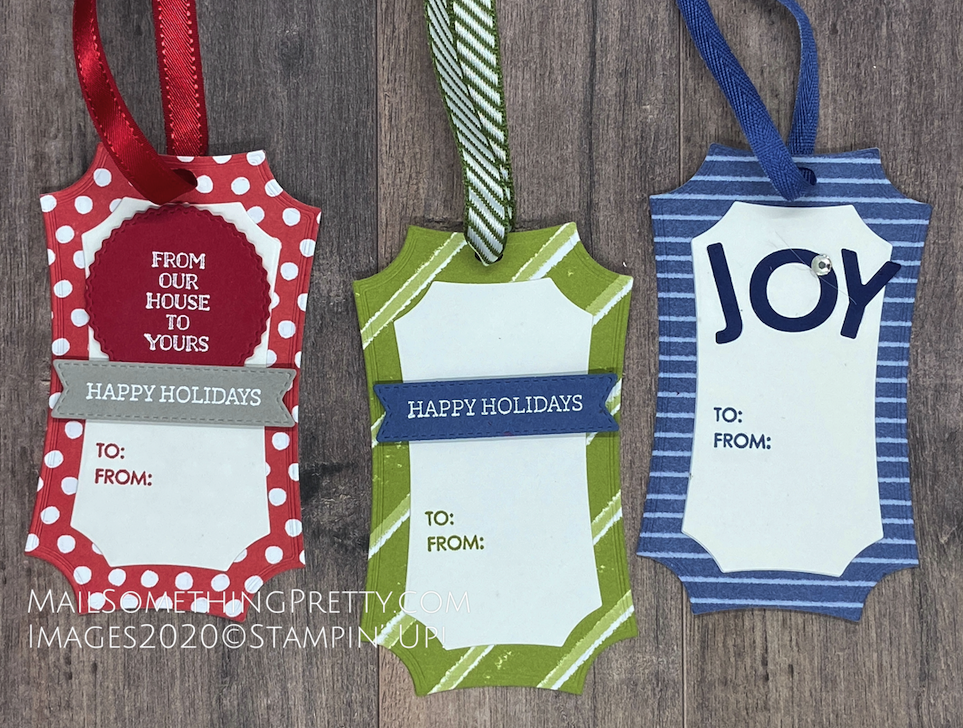
One more way to use these tag dies is to turn them into actual gift tags. I used the Trimming the Town Designer paper, 153491 to create gift tags. You can make bookmarks out of these dies too!
These two tags from the Halloween Magic dies have so many possibilities – not just Halloween. I hope you enjoyed my Step-by-Step How to Make the Tag Box video tutorial. Have I convinced you that you need to have them yet? They are only available until January 4, so don’t delay if you want to get yours. Ordering is easy, just click the Shop button on top of this page.
Another Treat Box Option
If you don’t have the dies, but need a quick treat box option, then you may enjoy this one. https://mailsomethingpretty.com/easy-treat-boxes-made-with-4-x-6-paper/