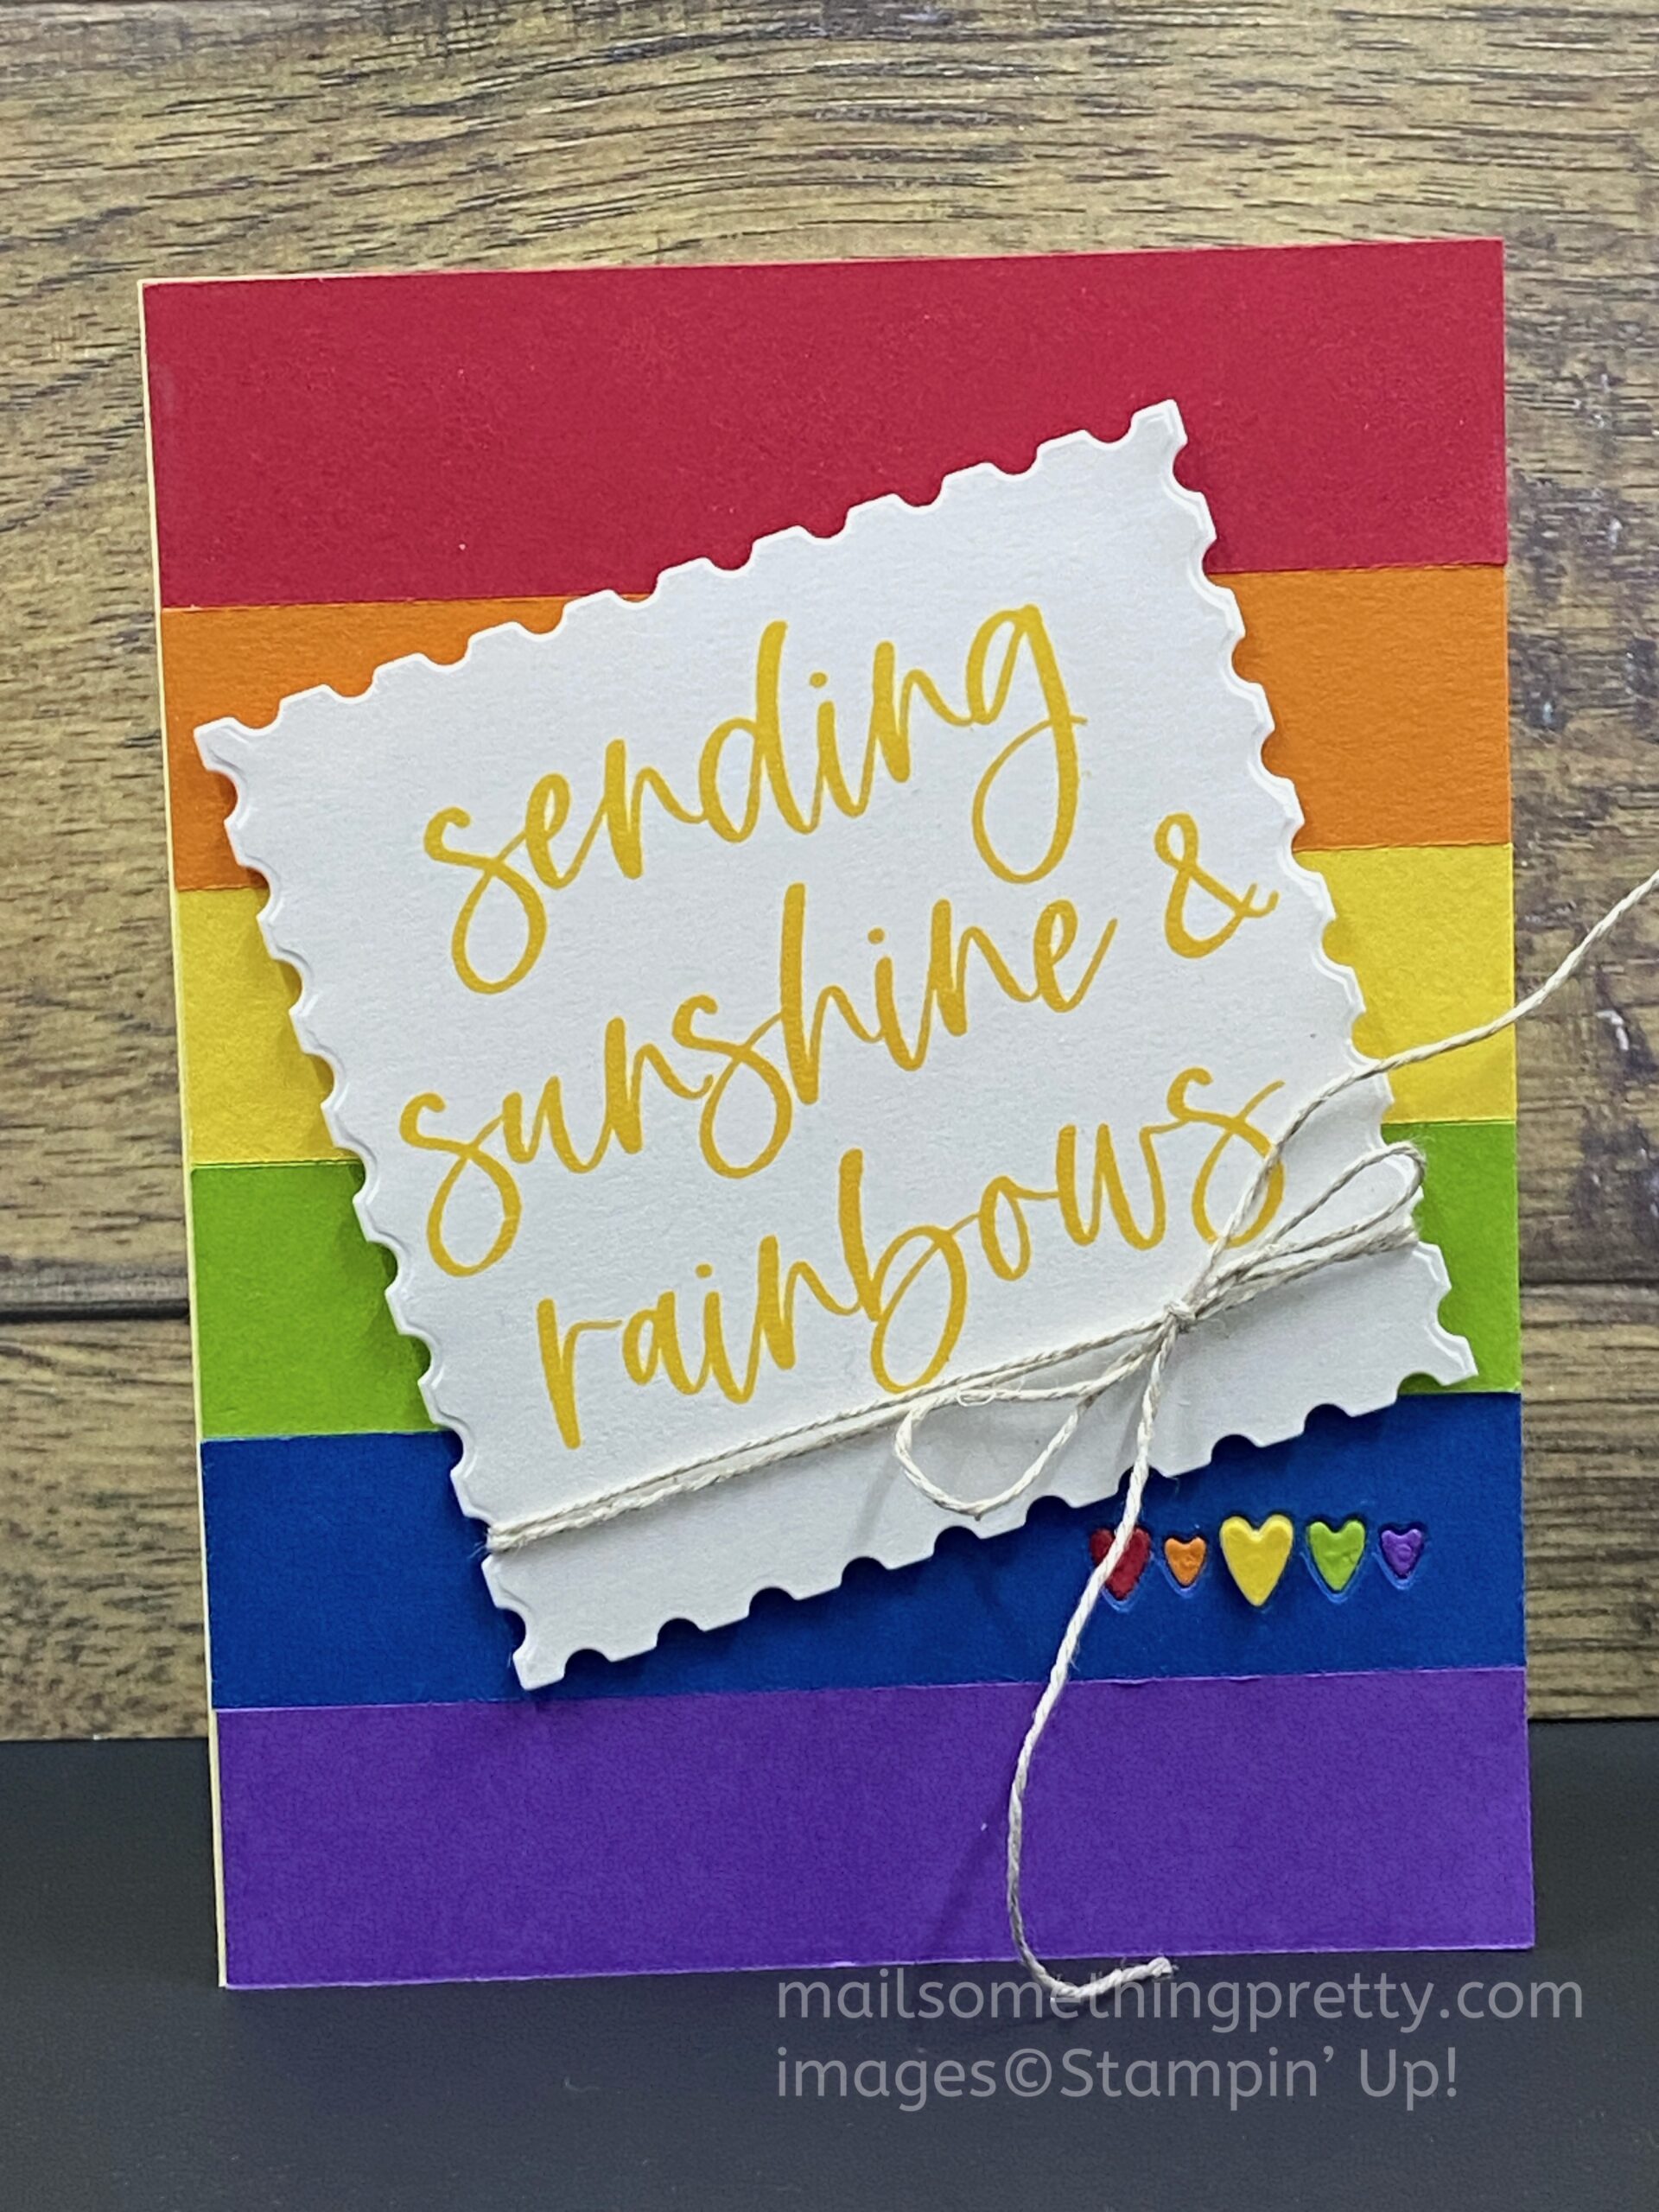
There are so many different types of strip cards you can make. The possibilities really are endless depending on the thickness, length, color, pattern and direction you make the strips. The samples I’m showing you today are just one example. Let your imaginations soar! I started with a simple six colored rainbow strip card and then make a few others to show you how simple changes can make big effects. The other thing I want to show you is how to create a square from a rectangle die. Keep reading to see how you can alter the size of your dies with an extra cut too.
Cut & Apply your Strips First
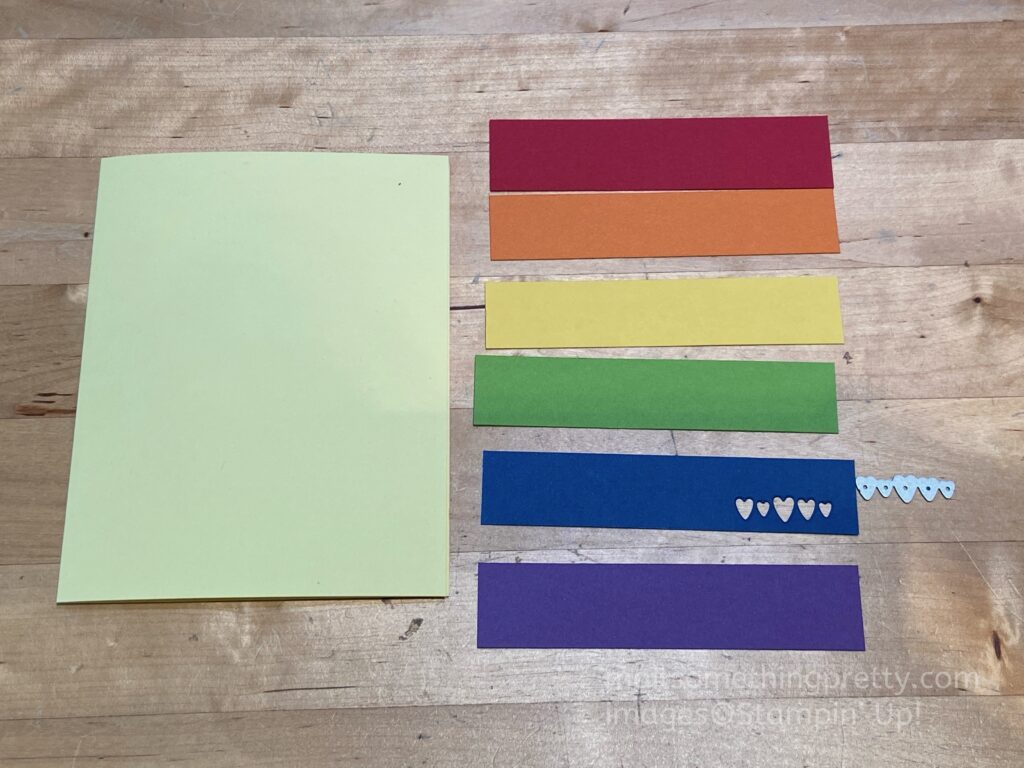
Since my card is 5-1/2″ tall, I had to make some cutting decisions because six does not fit into 5.5 evenly. I decided to make two of my strips 7/8″ wide and the other four one inch wide. All strips in this card are 4-1/4″ wide. You also have the choice to make one strip 7/8″, one strip 15/16″ and four one inch. Keep reading and I’ll show you the differences.
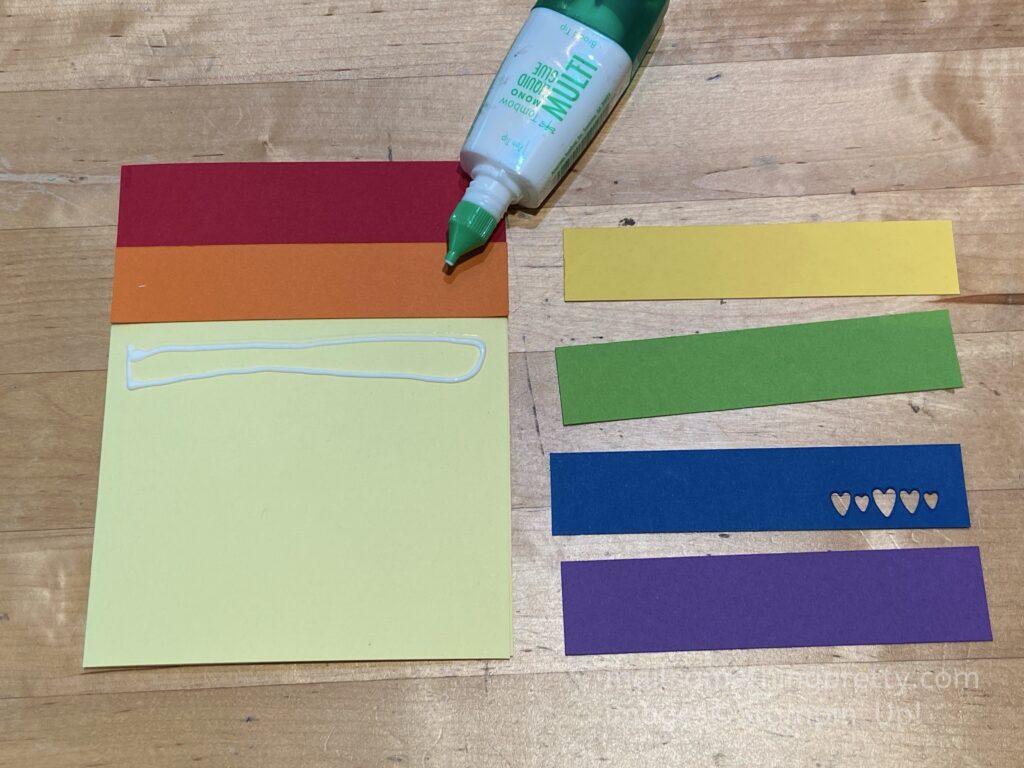
Apply glue to the card base rather than the individual strip, it’s less messy.
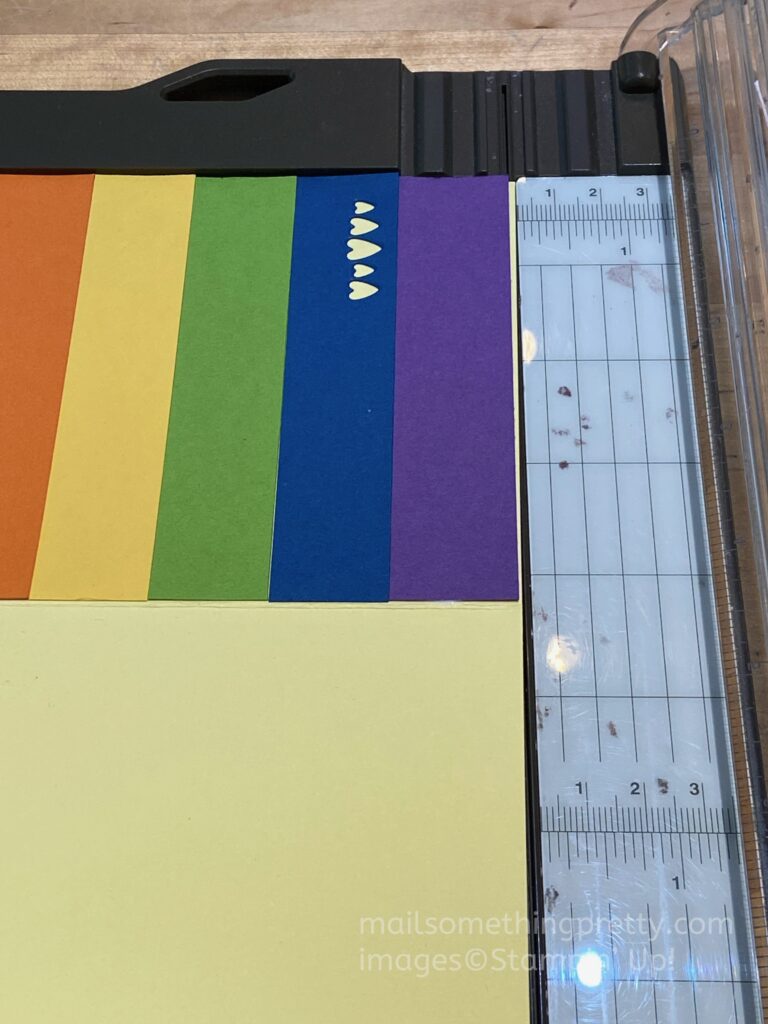
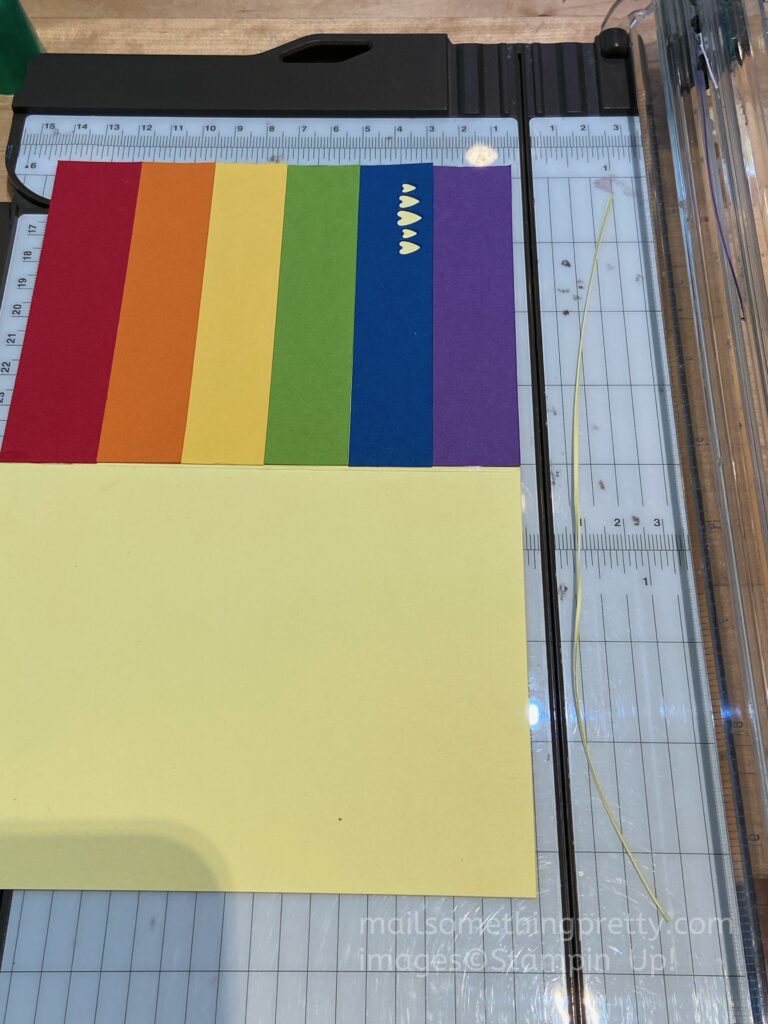
If your strips show a little of the card base (depending on which strip thicknesses you chose) then cut off a little sliver of the whole card.
Making a Rectangle Die into a Square
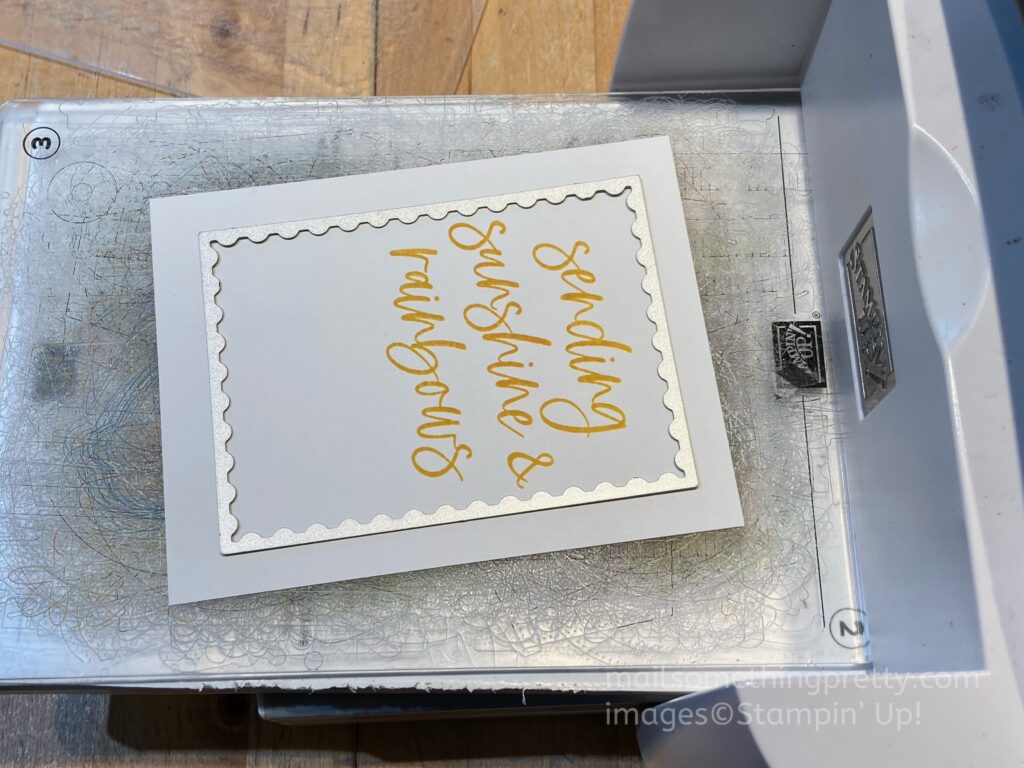
Stamp your image and then cut out with your die. Notice how I aligned the top of the die to the top of the sentiment rather than centering it. I am using the Perennial Postage dies for my example, a great set of dies.
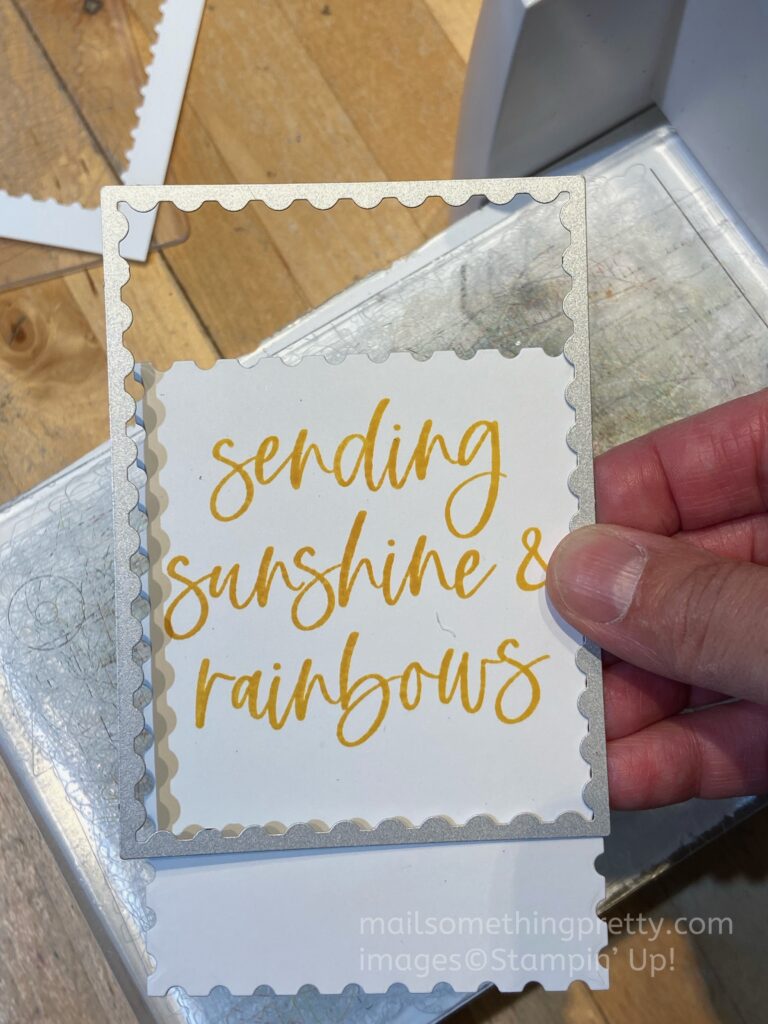
You are going to want to cut this sentiment again. Align the bottom of the die where you would like the cut to be (creating a square shape). Flip over to be sure the edges are all lined up.
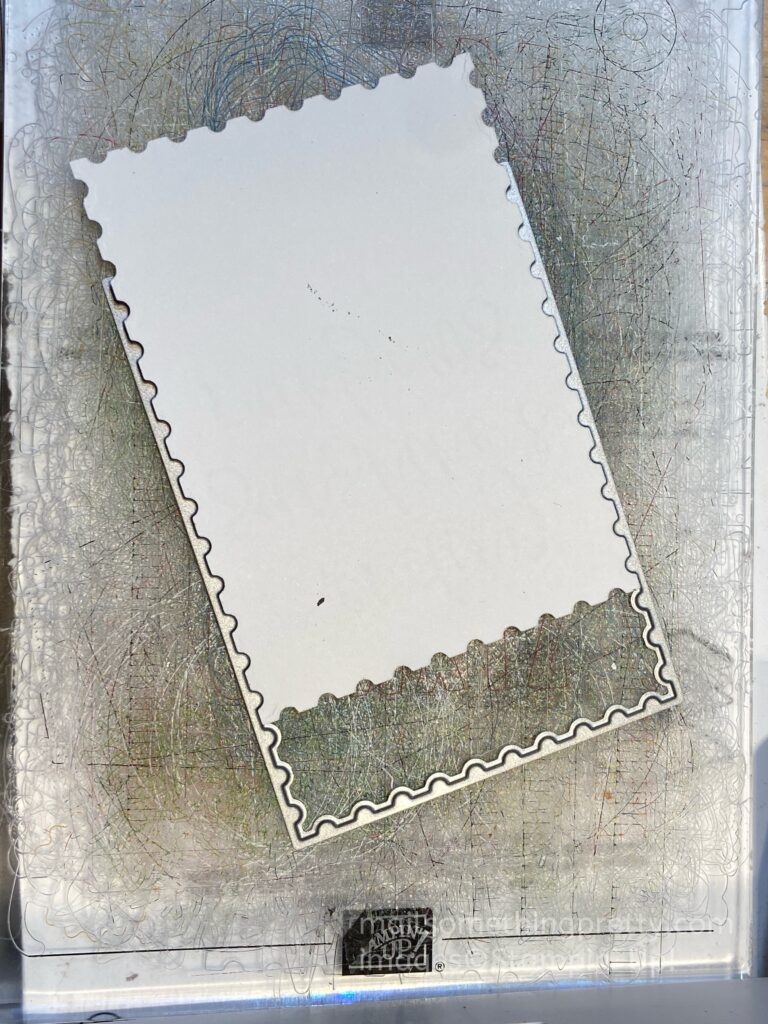
Run through your Stampin’ Cut & Emboss Machine again. It’s ok to have the “teeth” side up when cutting (and it helps you see that the paper is in the right place).
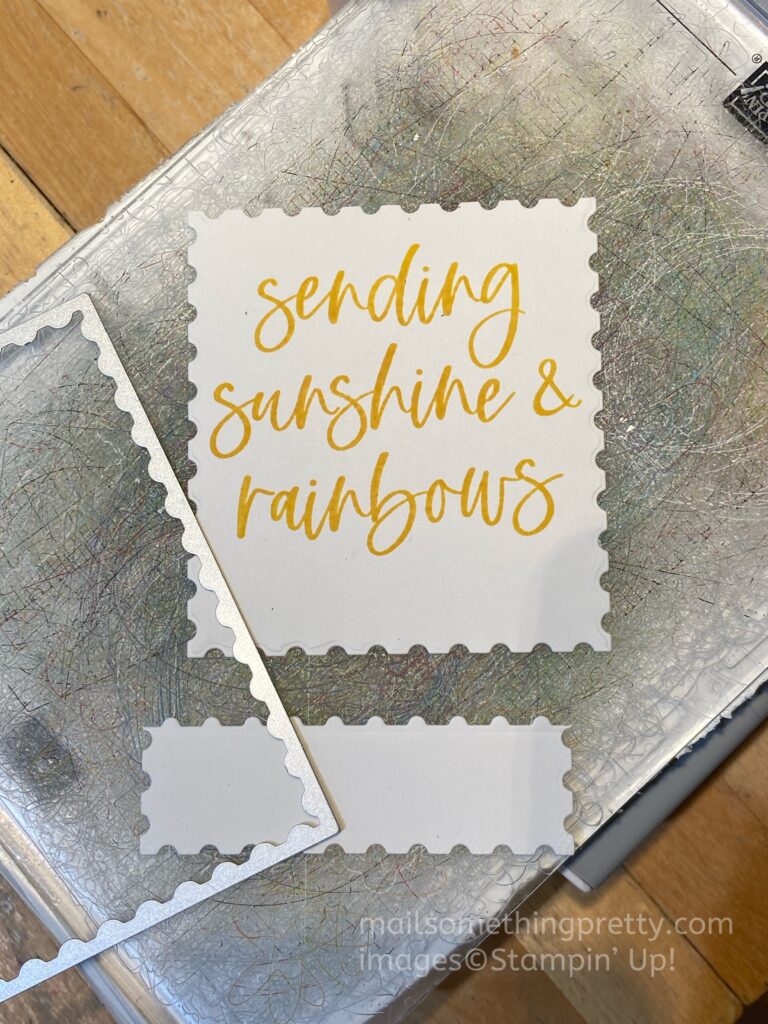
Now you have a square or smaller shape than the original die! This technique works great when you need a smaller your image or sentiment to be on a smaller size than what you have.
More Rainbow Strip Cards!
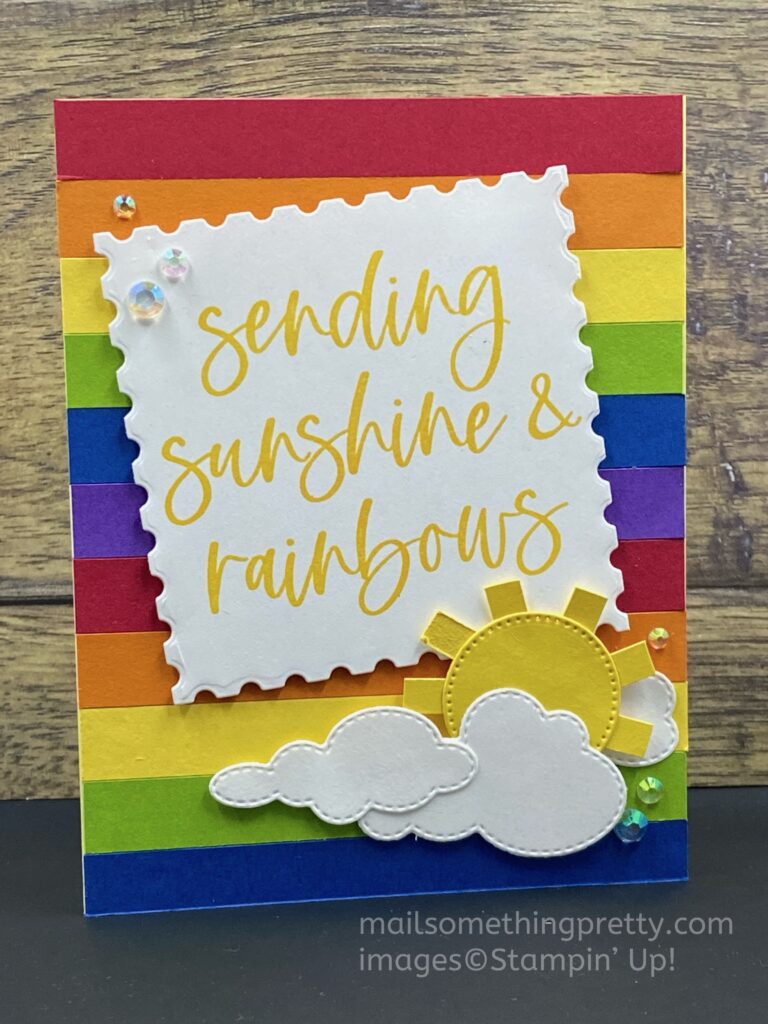
This is a very similar card to the above example but I made my strips 1/2 thick, which works out great because a half inch is easily divisible into 5-1/2. If I had the Bright Skies dies, I could have used those clouds & sun. But I don’t, so I used retired clouds and made my own sun. Here’s how:
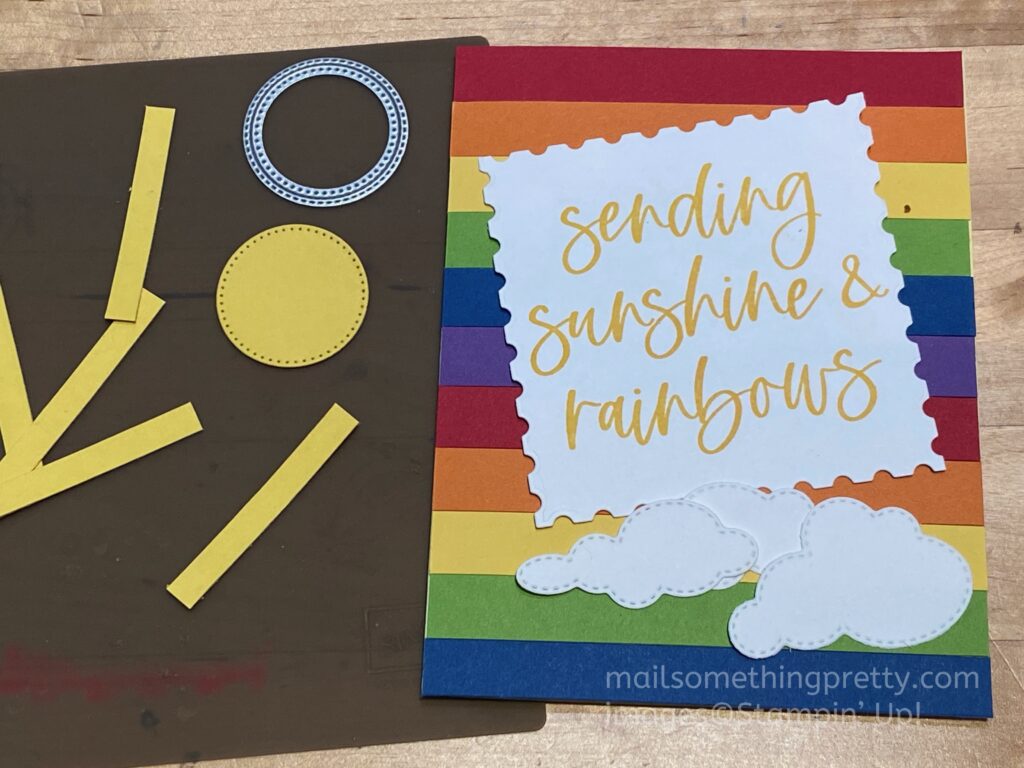
I cut a circle from my favorite Stylish Shapes dies and 1/4″ strips, both in Daffodil Delight.
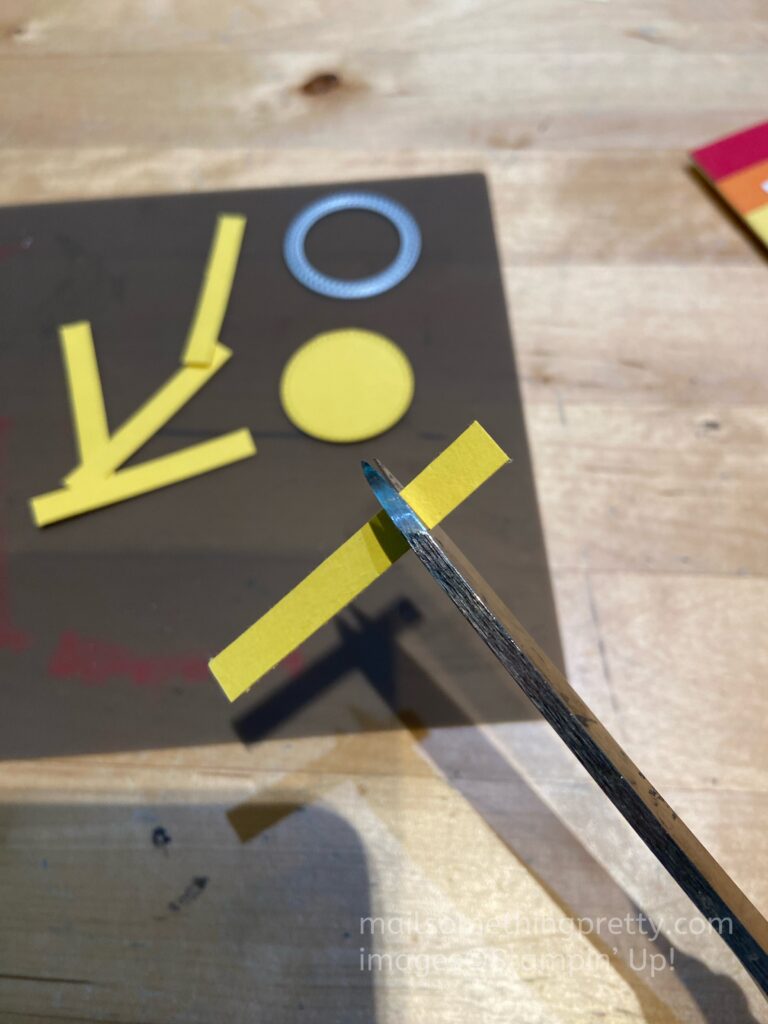
Cut the strips to about 1/2″ – 1″.
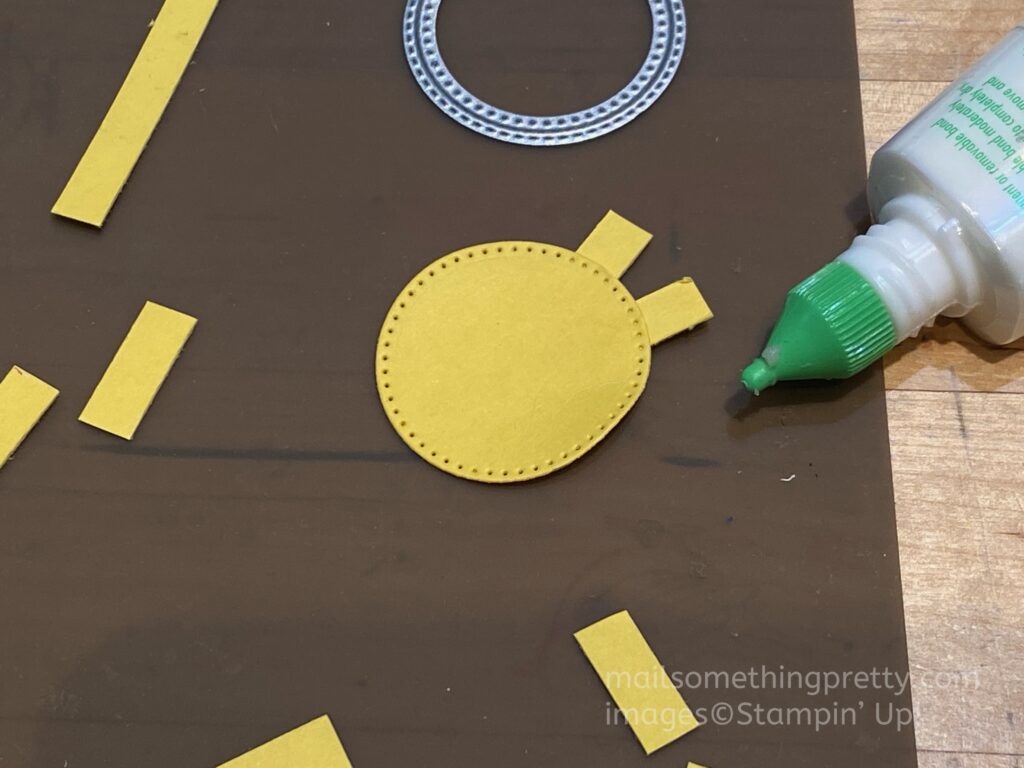
Glue the strips around the circle.
More Strip Card Examples
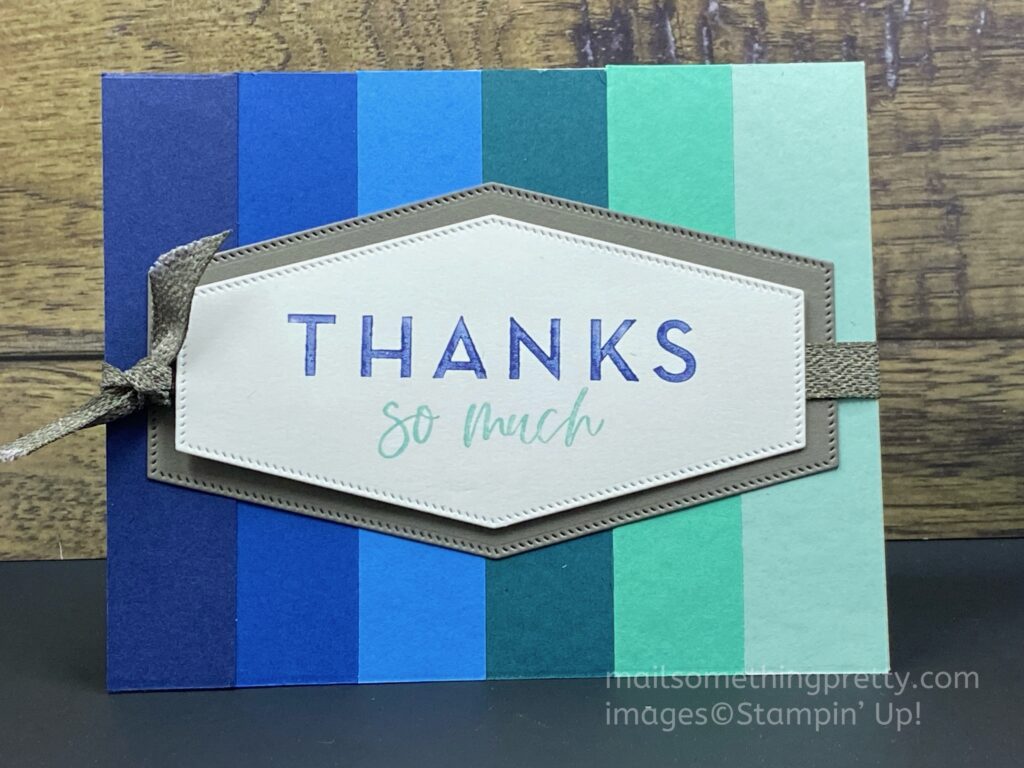
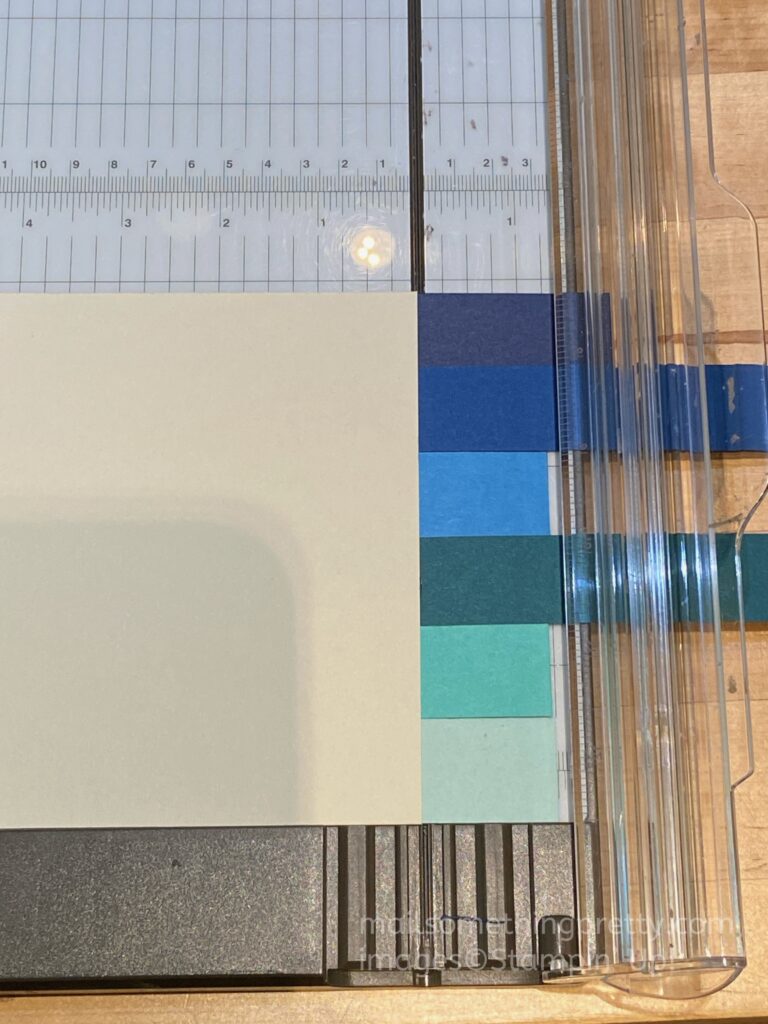
Using the same Kindness Expressions stamp set, I decided to flip the card around to a horizontal position and turn this into an ombre thank you card. The strip measurements are the same as the rainbow card. The colors I used are (from left to right): Night of Navy, Blueberry Bushel, Azure Afternoon, Pretty Peacock, Summer Splash & Pool Party. All tied together with a Pebbled Path ribbon.
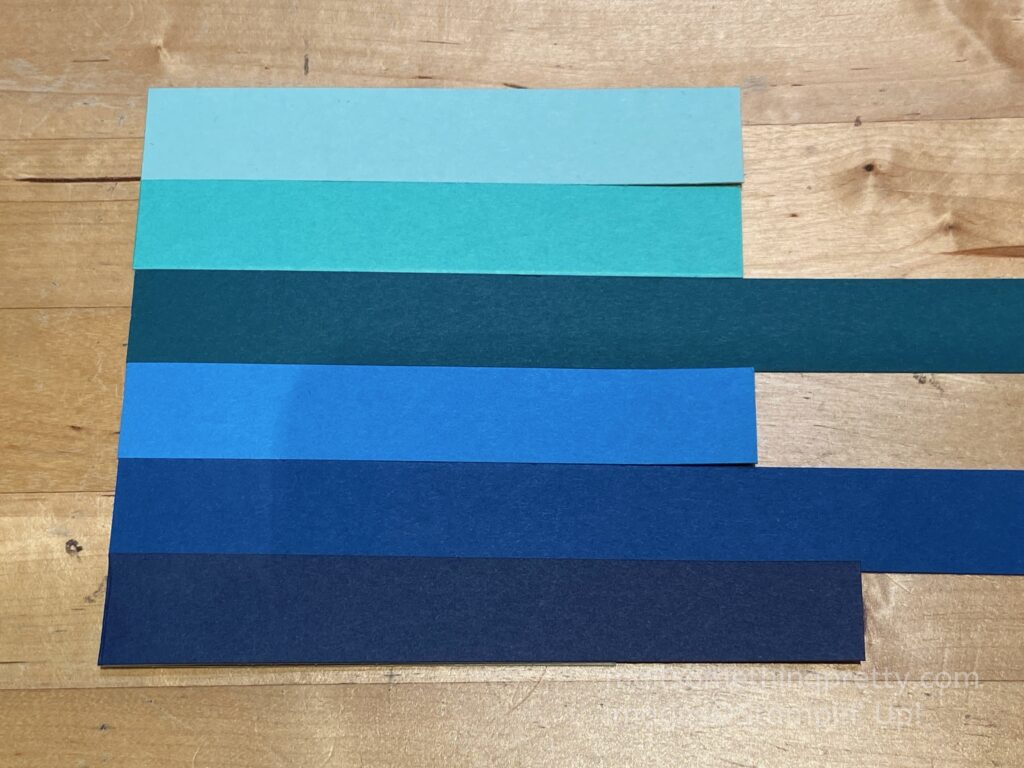
For this card, I used scraps and didn’t want to trim each individually to 4-1/4″ length. So I glued them all onto the card base and then flipped it over to trim all at once.
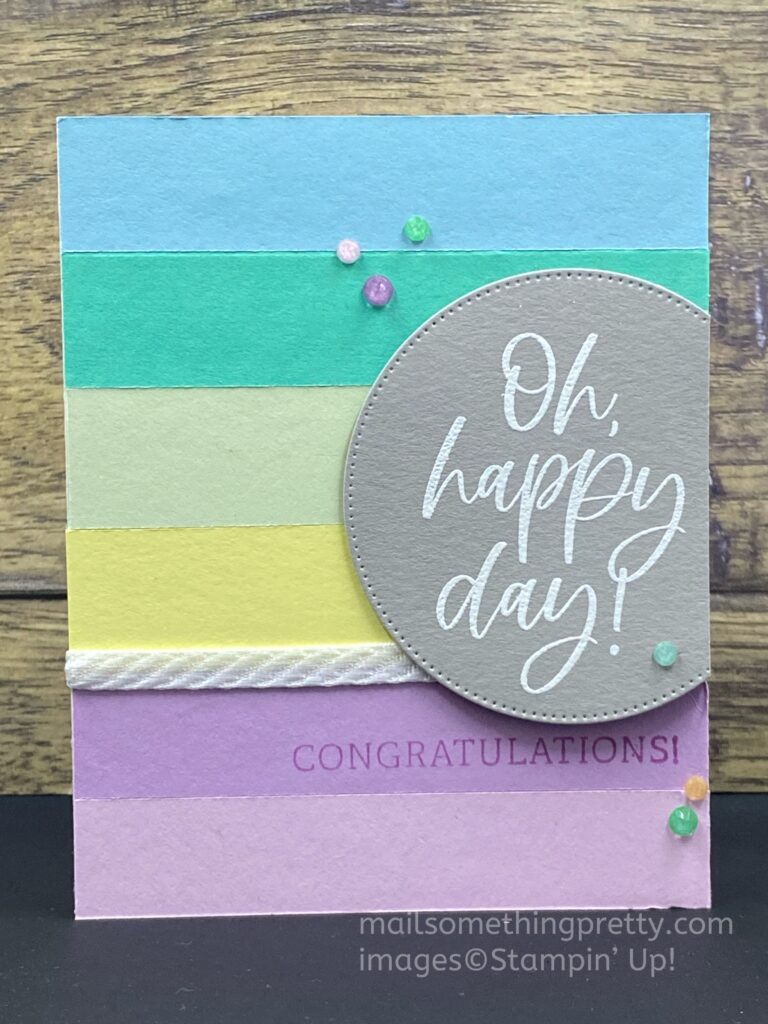
This is my last example but I’m sure how you can see that you can make endless cards using this easy layout. These colors are (from top to bottom): Balmy Blue, Summer Splash, Soft Sea Foam, Lemon Lolly, Fresh Freesia & Bubble bath. The sentiment, from the same Kindness Expressions set, is heat embossed in white on Gray Granite. I think this card is a great one to give at a baby shower when the mom doesn’t know (or want to share) if it’s a boy or girl.
I’ve posted about other types of Strip cards in the past. You may want to read them (again) to give you even more options. Here are 5 different variations of a Strip Card:

