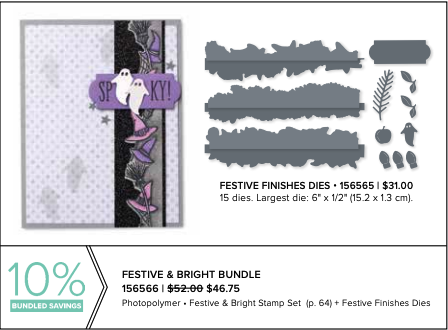
You know when you see someone use a stamp set that you didn’t think you were going to order, but then saw someone use it and decided you HAD to have it? That’s what happened to me with the Festive & Bright Bundle. In the back of each Stampin’ Up! catalog are additional samples using bundles. Once I saw the Festive & Bright sample, I knew I had to have it. After I started “playing” with it, I realized it’s a bundle for a more experienced stamper because of the special placement of dies. There weren’t any instructions or Stampin’ Up! videos with these dies, which is sometimes the case, so I had to figure it out myself. I thought I would share some hints with you to make this a more pleasurable bundle to use (I still love it). Below are my hints on using the Festive & Brights stamps & dies.
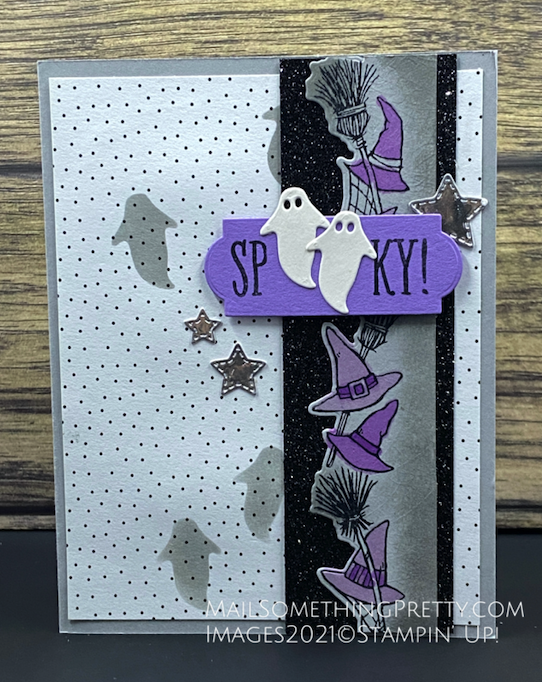
Catalog Sample, p. 71
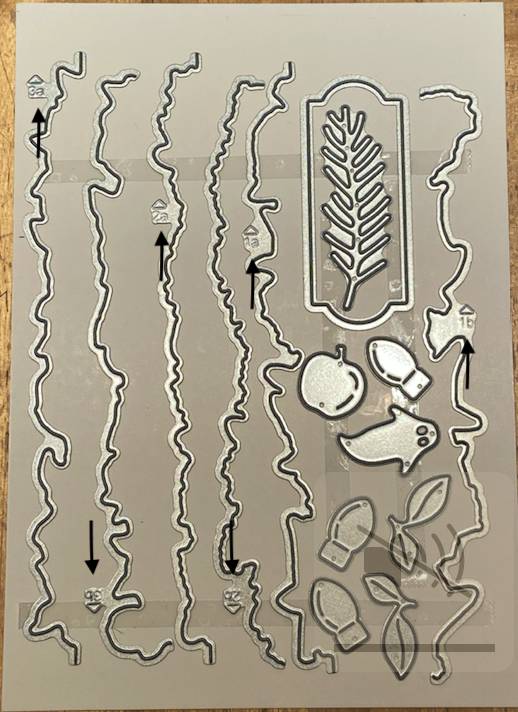
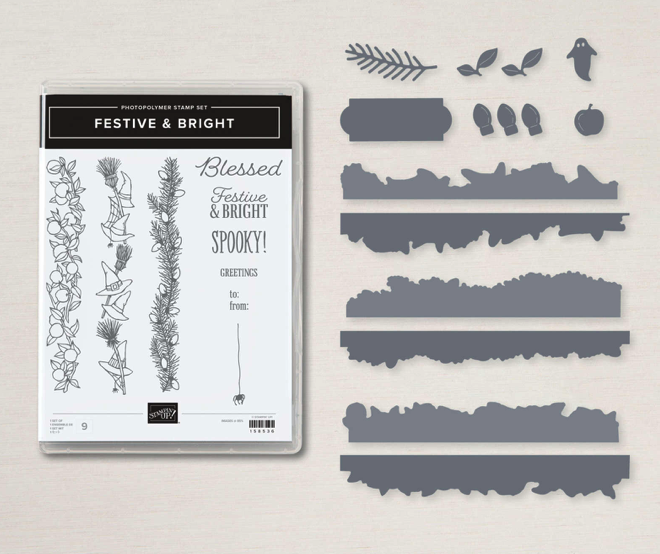
I just loved the whole look of this card and wanted to make it exactly. When I went to do so, I realized the dies are a little complicated to use (at first). There are two dies for each border stamp. If you look very closely, you’ll see that they are labeled 1-3, a or b (see arrows).
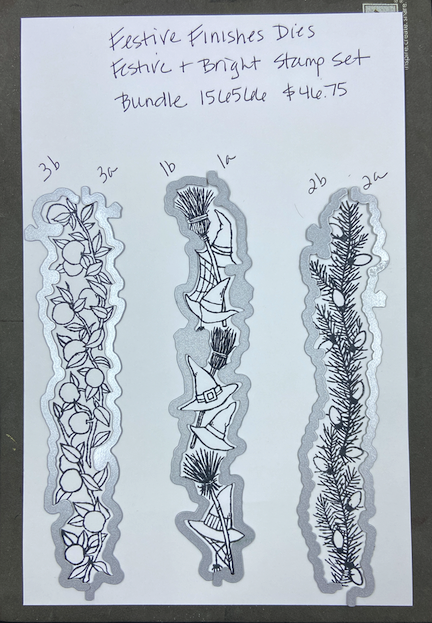
What I discovered is, there are two dies for each border stamp.
Once I realized this, stamping and cutting became much easier.
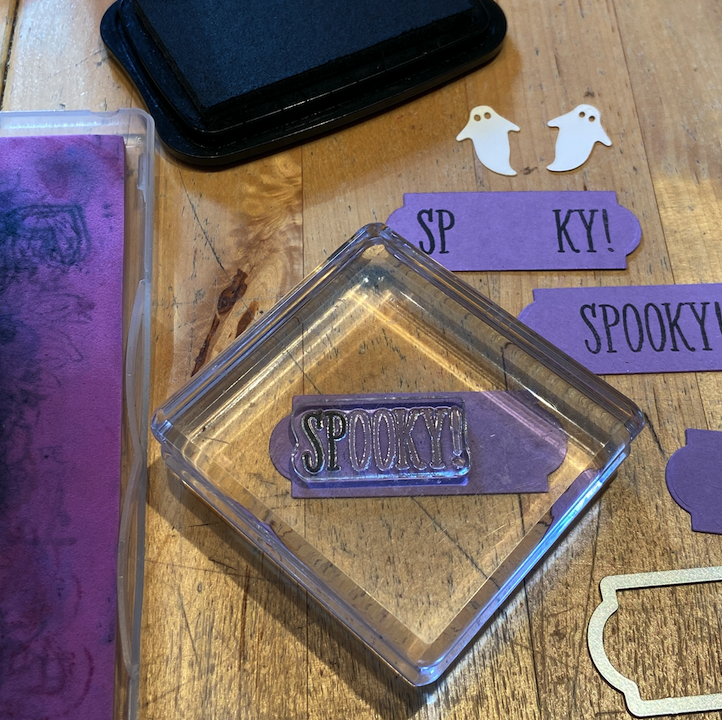
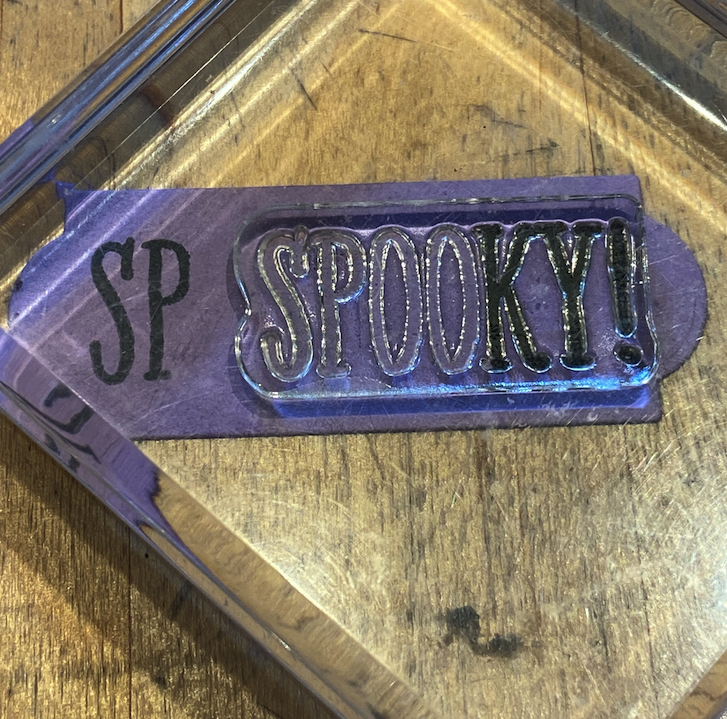
When I stamped and cut “spooky”, it didn’t look the same as the sample. That’s when I realized “spooky” was stamped a little differently, to give room for the ghosts.
Ink & stamp the SP on the left side and KY! on the right side, cleaning the stamp between stamping.
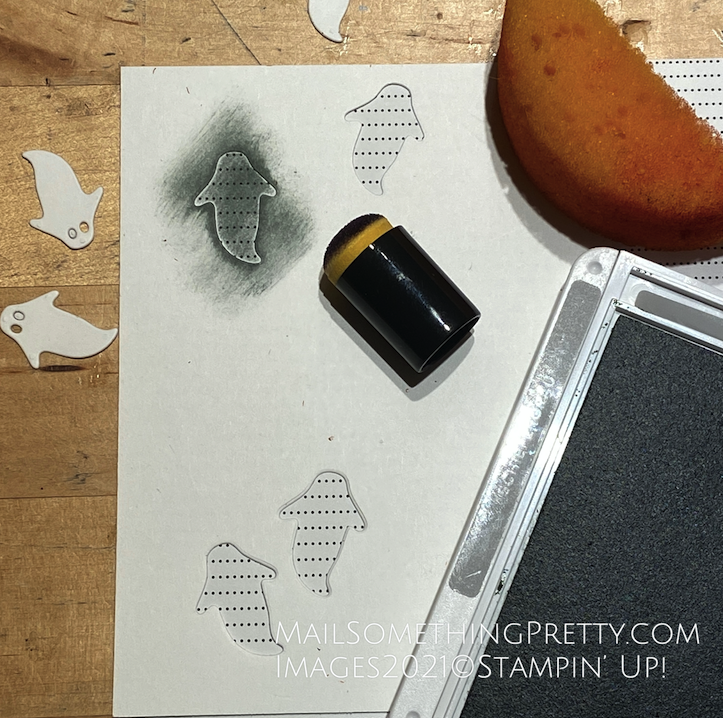
Lastly, there were faded ghosts on the patterned paper of the sample, but not on the paper itself. That’s when I realized (after some good thinking) that a stencil was made to sponge the ghosts on the paper.
Create your own stencil by cutting out ghosts (or any shape) that you want to sponge as a background. Pretty clever!!! I’ll be using this technique again on future cards.
My Card
Only one side of the witches hat was cut with the dies. The opposite side was sponged. The hats were colored with Blends Markers. I used Black Glitter Paper, 153518 as a background and silver stars from the Give it a Whirl dies, 154336. I love the final look!
You can make a very similar card using the other two border stamps, apples and Christmas lights, I just haven’t had time yet to do it. I would create the stencil with the apple or bulbs dies, which are part of the set and use a substitute for the Black Glitter paper. Maybe the Gold Vellum for Fall and the Red or Green Foil for Christmas.
I hope these hints are helpful for you in you purchased or are about to purchase the Festive & Bright bundle, 156565. I will be showing another card using this set in next week’s (Week 4) 12 Weeks of Christmas Ideas. You need to be on my mailing list to receive these ideas. Not on my list yet? Sign up right here – www.mailsomethingpretty.com/signup. Every Wednesday I send out a new Christmas card, tag or gift giving idea.
Looking for more fun Halloween ideas? I have another clever one using a cloche as a ghost. Click here to read all about it – https://mailsomethingpretty.com/turn-your-cloche-into-a-ghost/

