The new Butterfly Brilliance stamp is LARGE. There are 6 butterflies on one stamp. The largeness is both a great thing and can cause a few (overcomeable) inconveniences. All at once, you can create an instant background or have 6 instant butterflies to cut with the coordinating Butterfly Wings dies. Color all the butterflies the same, or give them their own personalities with different colors. Make them realistic or whimsical. But, before you can use the stamp, you have to mount it (attaching the cling sticker). In this post, I want to show you some helpful tips mounting the large Butterfly Brilliance stamp.
I found it helpful to attach the large sticker with my Stamparatus plate, but if you don’t have a Stamparatus, you can use the large F block, or if you don’t have either of those, you can follow the directions on the inside of the stamp case. I did a YouTube video showcasing both these methods – using a block and using the directions of the stamp case.
Here is the link for that video – https://www.youtube.com/watch?v=E37Sb7KnQII
Mounting Tips
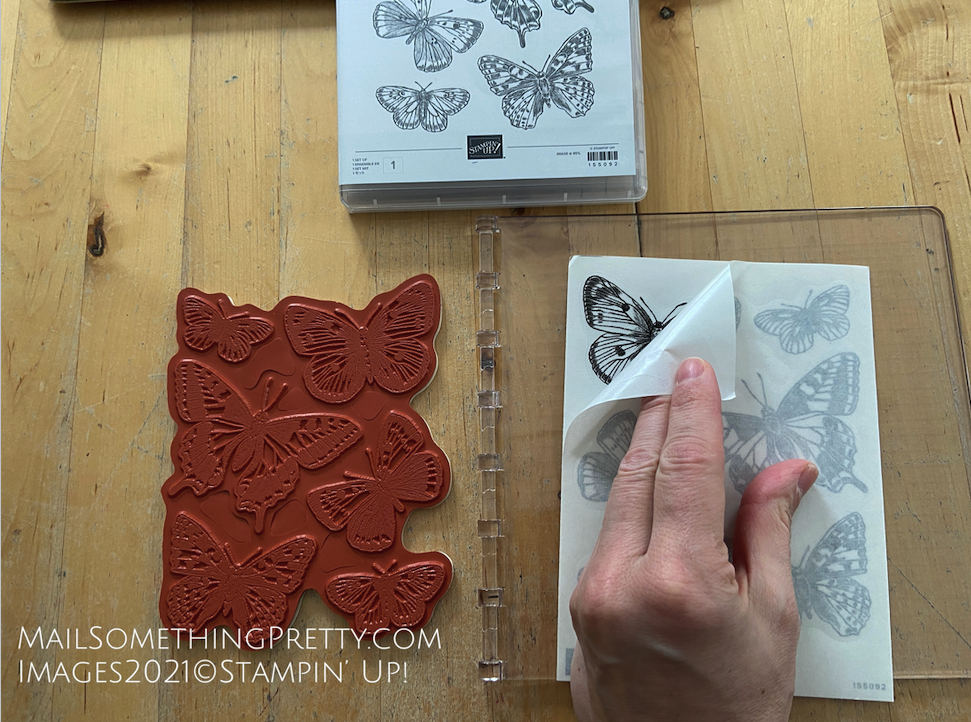
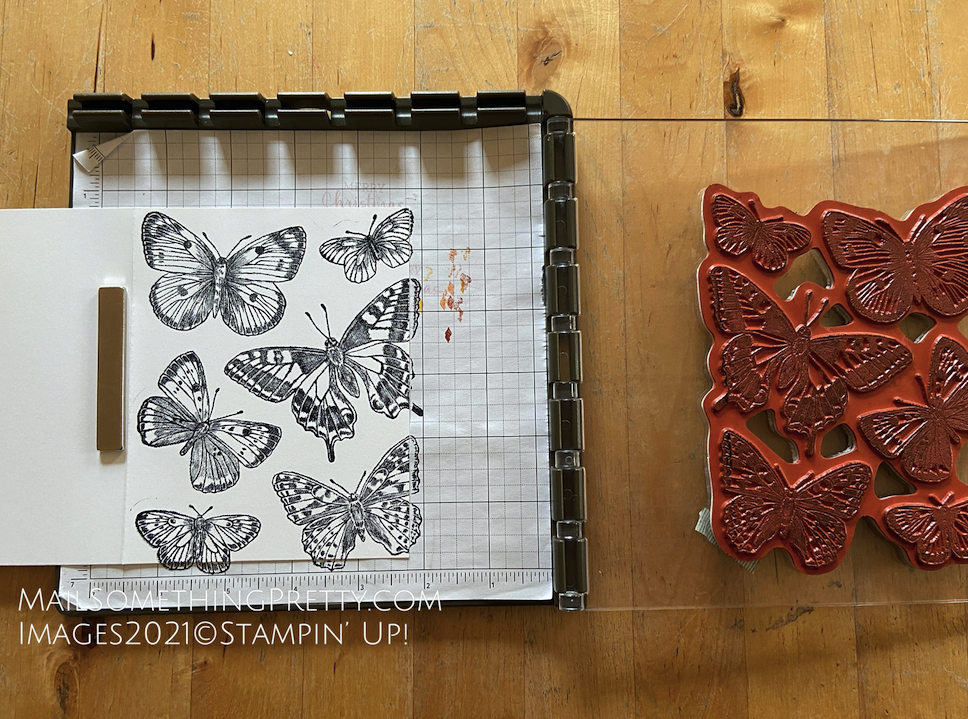
This photo shows how large the stamp and sticker sheet are. 1. Peel away the backing of the sticker sheet and stick onto either your Stamparatus plate or Block F.
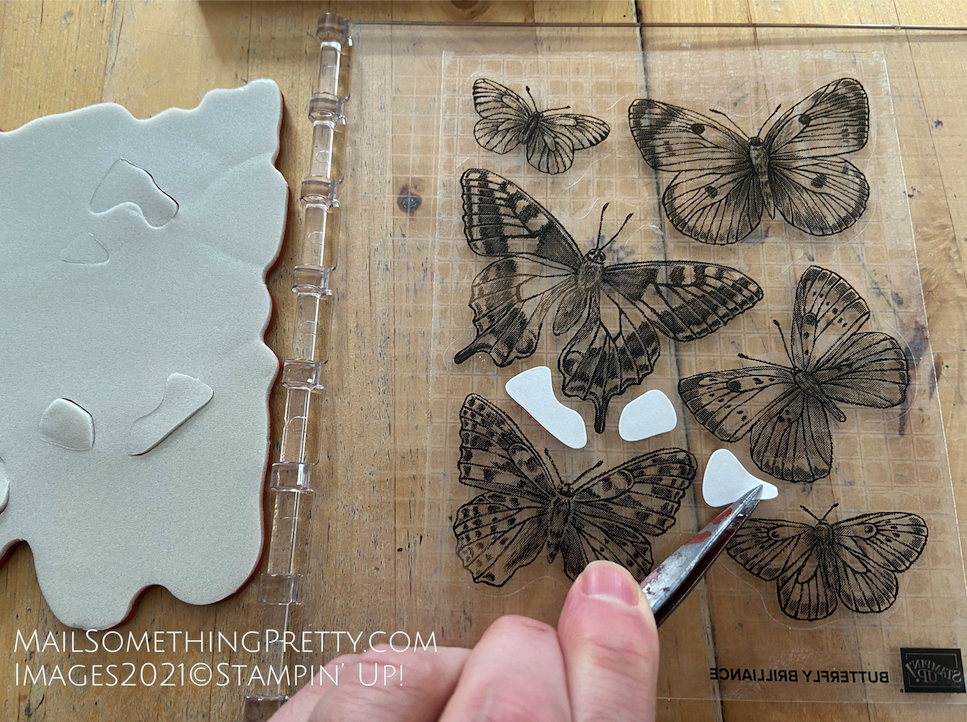
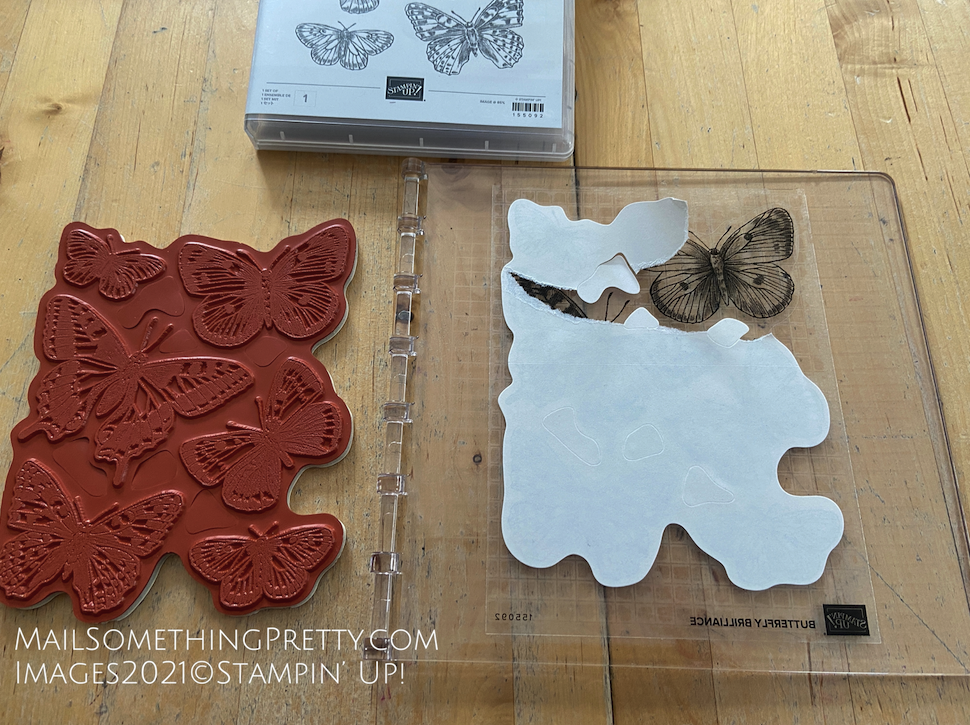
2. Peel away the backing from the stamp. Stick the sticker onto the the Stamparatus plate or Block F. Pull away the little bits (I used tweezers to help).
3. Turn the plate over so you can see the printed side of the sticker, hover over the stamp to align and then press down to attach.
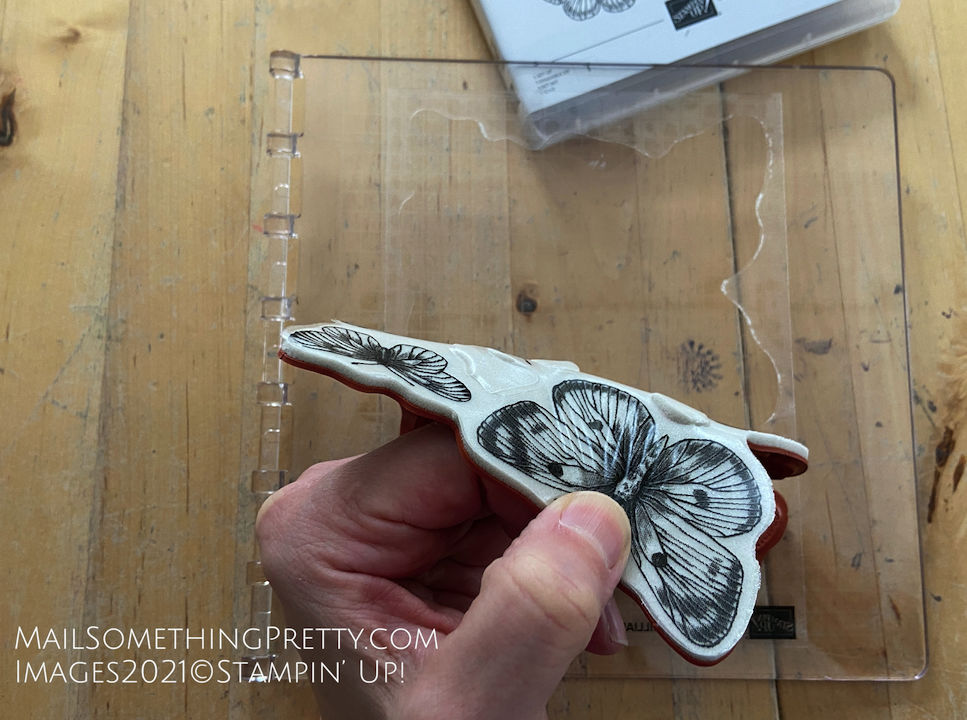
4. Peel the stamp off the plate.
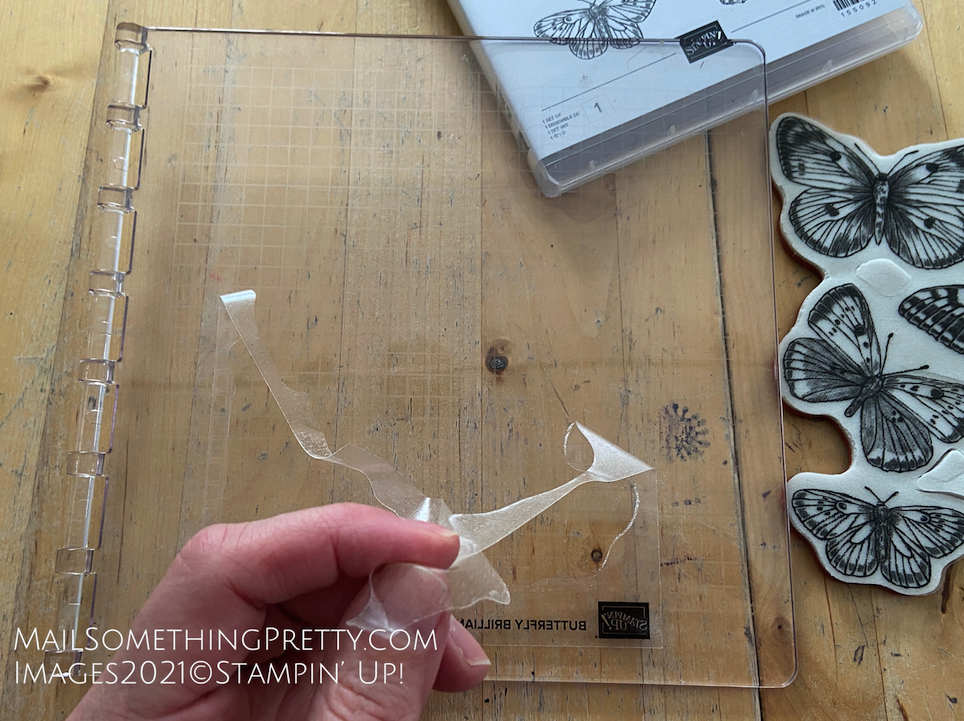
5. Peel the excess sticker off the plate.

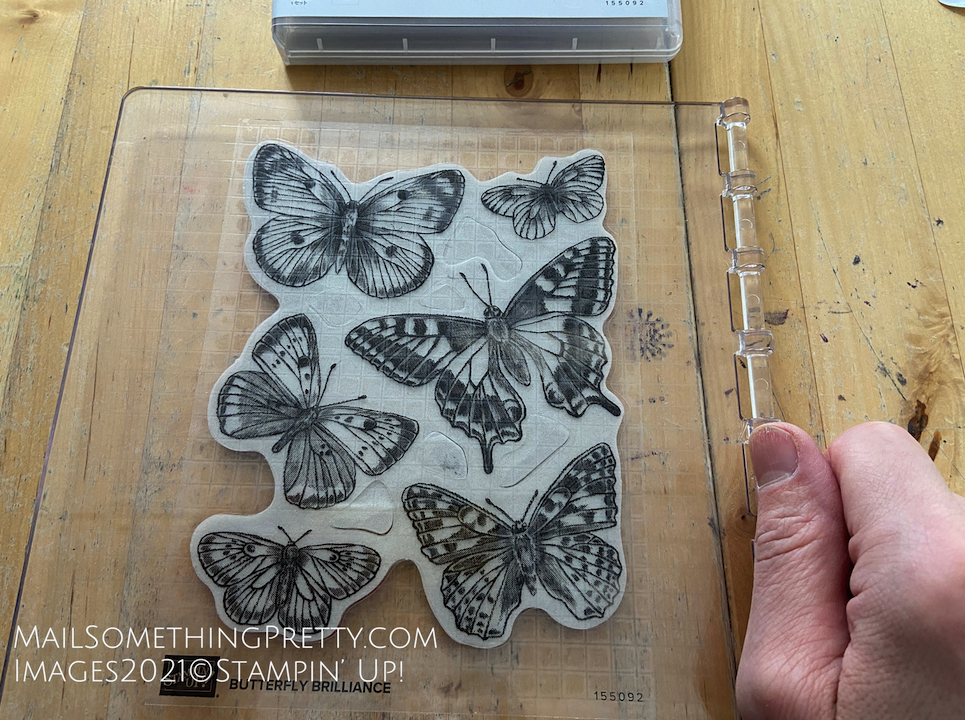
6. Adhere a little washi tape (or painters or masking) on the corner of the stamp to help you remove the sticky stamp from future stamping. This will be a very sticky stamp!!!
7. Push out the little bits out of the stamp. You can use these bits as mini stamps to create a background. I’ve seen stampers create great animal print backgrounds with these bits.
Quick & Easy Butterfly Card
Again I am using my Stamparatus because this stamp is so large. This makes it so much easier than balancing the stamp in my hand.
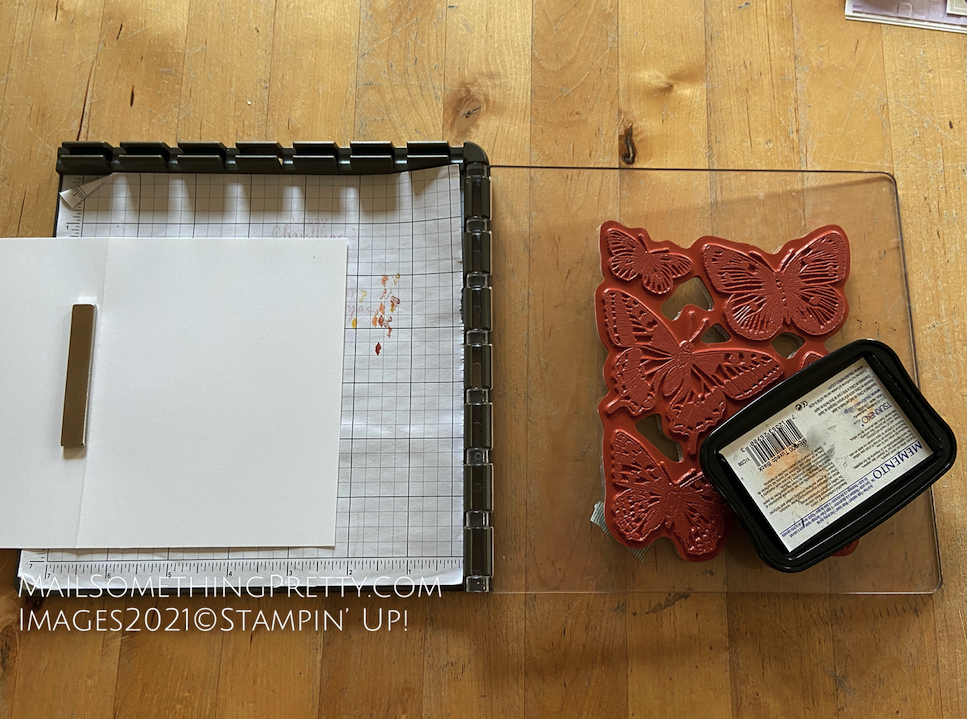
1. Place your card stock on the Stamparatus platform. I lined it up for good stamp placement.
2. Ink the stamp. I used Black Memento Ink.
Tip – use scrap paper underneath your card stock. The stamp is a little larger than the card size, so you don’t want to get ink on your stamping surface.
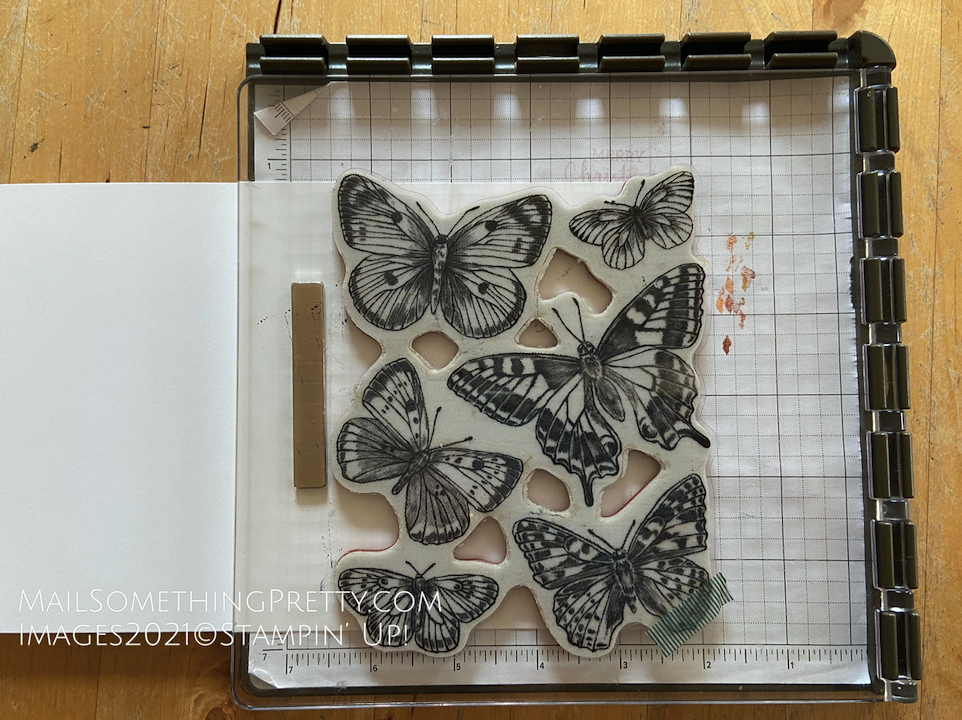
3. Swing the plate over to meet the card stock. Press firmly for even coverage.
4. Check your image to see if you need to re-ink & press again. I got pretty good coverage here.
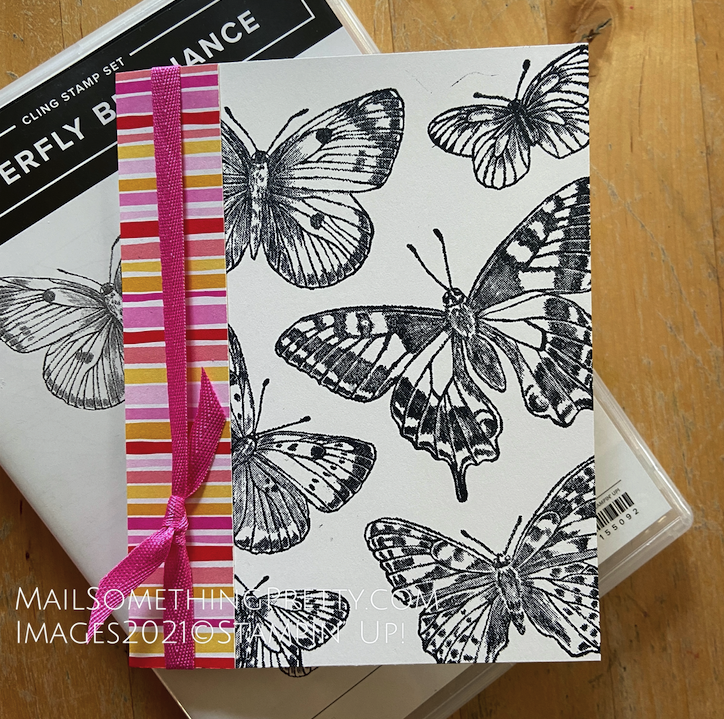
5. Finish your card. I used a 1″ x 5-1/2″ strip of Designer Paper from Flowers for Every Seasons and some Magenta Madness Ribbon. So, so easy!!!
Supplies
- Butterfly Brilliance Bundle, 155821
- Stamparatus, 146276
- Black Memento Ink, 132708
- Flowers for Every Season Designer Paper, 152486 (on the retirement list and currently on sale for $6.90)
- Magenta Madness ribbon, 153623 (on the retirement list and currently on sale for $3.60)
To see tips on the coordinating Butterfly Wings dies, read my post here – https://mailsomethingpretty.com/butterfly-wings-die-tips/