There are so many different ways to use patterned paper. This is just one of the many I recently discovered. Watch how I cut this 6 x 6 paper into 4 equal fun shapes that work perfectly with the Notecards & Envelopes pack. These are easy and impressive cards which can be turned into an assembly line of creating. Custom to any occasion and holiday by changing the prints of paper. I hope you enjoy this Cutting 6 x 6 Paper into Fun Shapes for Cards tutorial. The supplies & measurements are listed after the video.
Video Tutorial
Supplies & Measurements
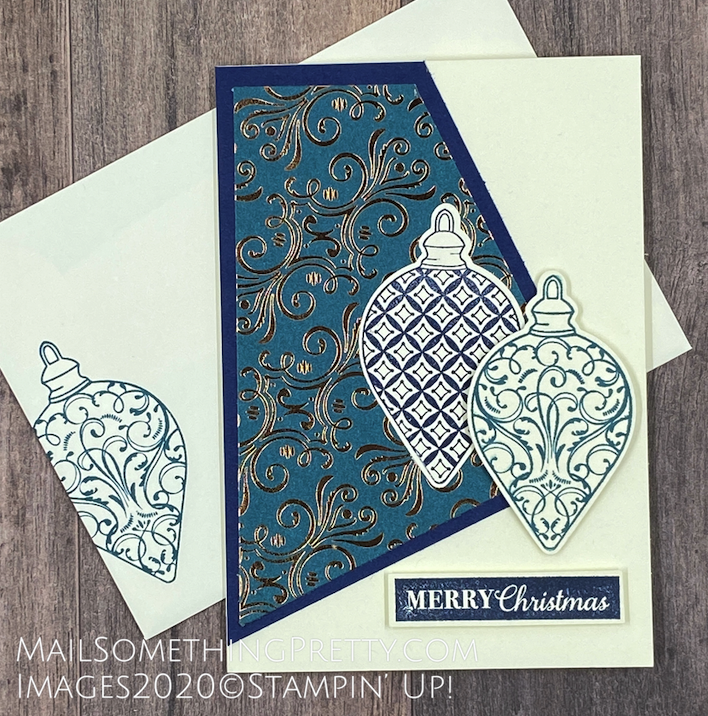
Notecards & Envelopes Packs, come in Whisper White 131527 and Very Vanilla 144236. Each pack contains 20 pre-scored card bases and envelopes (all for only $7).
Designer Series Paper cut into 6″ x 6″ square. I used Brightly Gleaming Specialty Paper 150429.
Measure 1-1/2″ from each edge and cut on the diagonal to create 4 equal shapes (as shown in video).
Base layer – with a 6-1/2″ x 6-1/2″ square, measure 1-3/4″ from each edge and cut on the diagonal to create 4 equal shapes. This layer fits perfectly under the layer cut with the patterned paper. I used Night of Navy card stock 100867.
Die cuts. I used the Christmas Gleaming stamp set 150464 and coordinating Gleaming Ornaments Punch Pack 150647 with Night of Navy 147110 and Pretty Peacock 150083 Ink on Very Vanilla card stock 101650.
As I mentioned above, this technique is just one of many for patterned paper. Here are some more ways of using your patterned paper:
Easy Treat Boxes made with 4 x 6 patterned paper