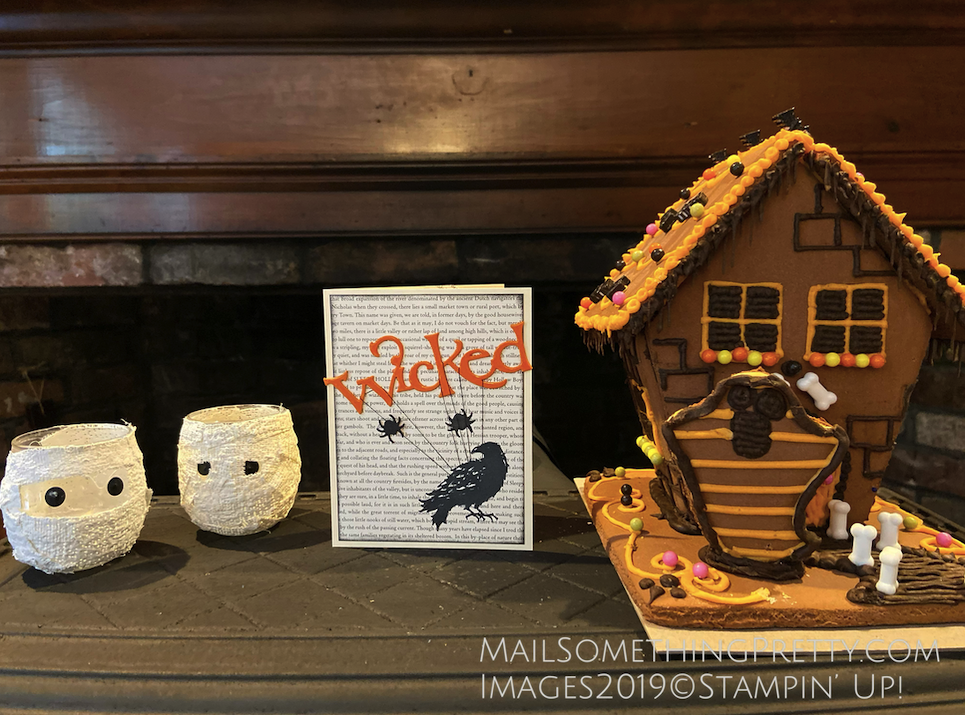
This week I hosted our October Club Class. Club members get to choose between two dates each month which to attend (and if they can’t attend that month, I prepare their projects for them to put together at home). I highly recommend joining the next round of Club which begins in December. It does not matter if you live local to me or far away, everyone can join Club. Details about Club will be explained and posted soon. If you don’t want to miss the announcement & details, send me a message now saying you are interested in learning more. The Monday morning group likes to bring in show & tells of cards & projects they make (there is a range of skill levels, beginner to advanced so don’t get worried if you are interested and feeling intimidated). I look forward to seeing what they make on their own and I learn from them too because everyone has their own style and types of projects they like to make. Ellen is a very talented and creative member and always brings in projects that wow us all. She is very generous by explaining her creative process, many times bringing an extra template for me so I can use it to teach you. This month, Ellen made me a Halloween card that I want to share with you because of her cleverness – create your own stamp with dies cutouts!
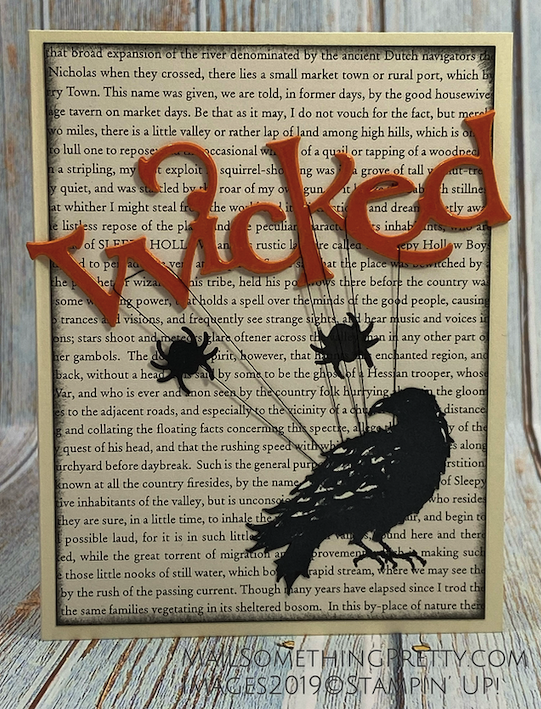
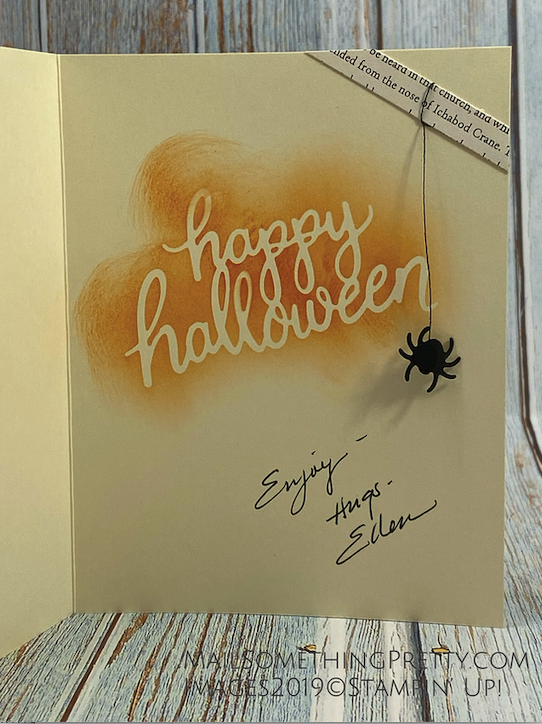
At first, you may not see where Ellen created her own stamp. It’s pretty sneaky…..it’s the little spider. There is no little spider stamp, just the die from the Wicked Dies #150725. This card has two dangly spiders hanging by their spider threads, one inside and one on the front. The other spider on the front, on the right side above the raven under the spider thread is stamped. It’s quite clever what she did and is inspiring me to look at my dies a little differently.

To create your own stamp with dies cutouts!
This is how she explained it to me.
- Using fun foam (from any craft department in a big box store), adhere a piece of adhesive sheet or several touching layers of Tear & Tape Adhesive to the foam.
- Cut out your die shape so that the adhesive is part of the cut out.
- Cut out another die shape out of fun foam (without the adhesive).
- Stick these two cut outs together – making the cut out shape have a little dimension with the two layers.
- Place some adhesive on the back side of the cut out shape and stick to a clear block.
- Stamp using your new stamp!
Isn’t that a great tip? Look at the dies you have now with this process in mind. Are there dies that you wish there were coordinating stamps? Ellen’s tip is this works better with a solid shape die (like this spider) than one that has multiple cutouts.
I love to learn new things and share them with you. Do you have any tips you would like to me to share? Send them my way. You can post photos of your tips in my Facebook group, email me photos, or mention them in the comments below. No matter what your crafting skill level, there is always more to learn (& more to get excited about).
You can join my Facebook group by clicking this link – https://www.facebook.com/groups/MailSomethingPrettyGroup/