A lot of the cards and projects I make are for a specific class, workshop, blog post or video. It’s not all that often that I create for the pure pleasure of creating. And that’s totally fine! I love teaching you how to use Stampin’ Up! products, how to create and assemble cards, how to love stamping. Today’s post is a step by step picture instruction on making a Halloween Coffin Wreath that I made to hang in my house.
I actually made two wreaths, one for me and one for my friend’s birthday. I was inspired to make this Halloween Coffin wreath after watching a video from the Stampin’ Up! home office team of artisans. I was able to see the entire wreath, hear the creator’s explanation in the video and fell in love with it. There’s a picture of the wreath on page 52 of the Holiday catalog, but it only shows a portion of it. I added that photo after all my steps for you to see both mine and theirs.
Since I was making the wreath and I have a natural desire to share what I do, I took pictures of each of the steps to show you. It’s not hard to put together, just took a little time. Especially since I made two of them! Follow along the steps and see if you would like to make one too. If there is not enough time for you to complete it before Halloween, make it later in the year and have it ready to hang next year. It may be fun to make a Halloween wreath on a summer day. I linked all the supplies I used after all of the pictures. I hope you enjoy! If you need any help, please let me know.
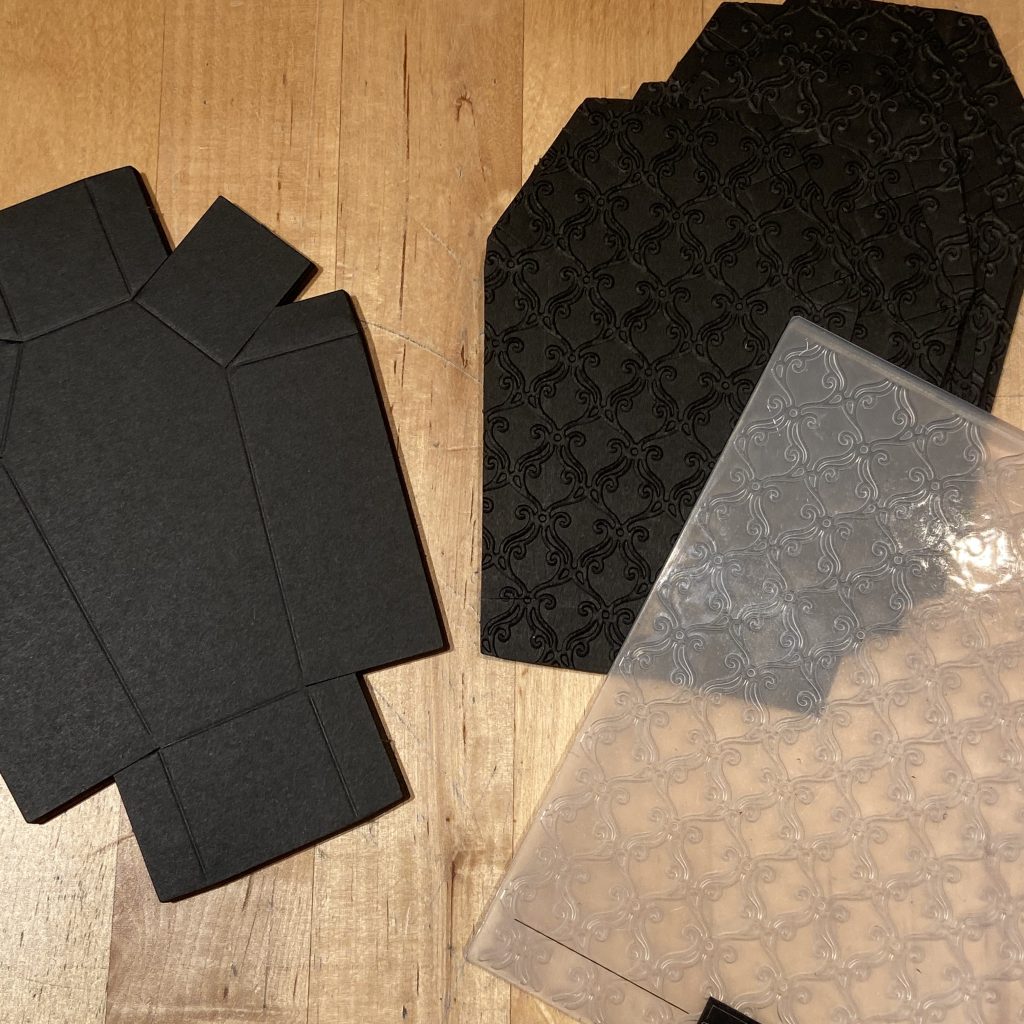
No cutting involved! The coffin boxes come pre-cut and pre-scored. Each package has 12 boxes and you need 24 boxes to make the wreath (two packages). I embossed some of them with the Stylish Scroll Embossing folder to give a bit of texture (10 textured and 15 plain). You can use another folder for a different texture, or leave all of the boxes non-textured.

I used Tombo Multipurpose Glue to glue the tops and bottoms together. Try not to get glue on your hands, otherwise you’ll be super sticky!
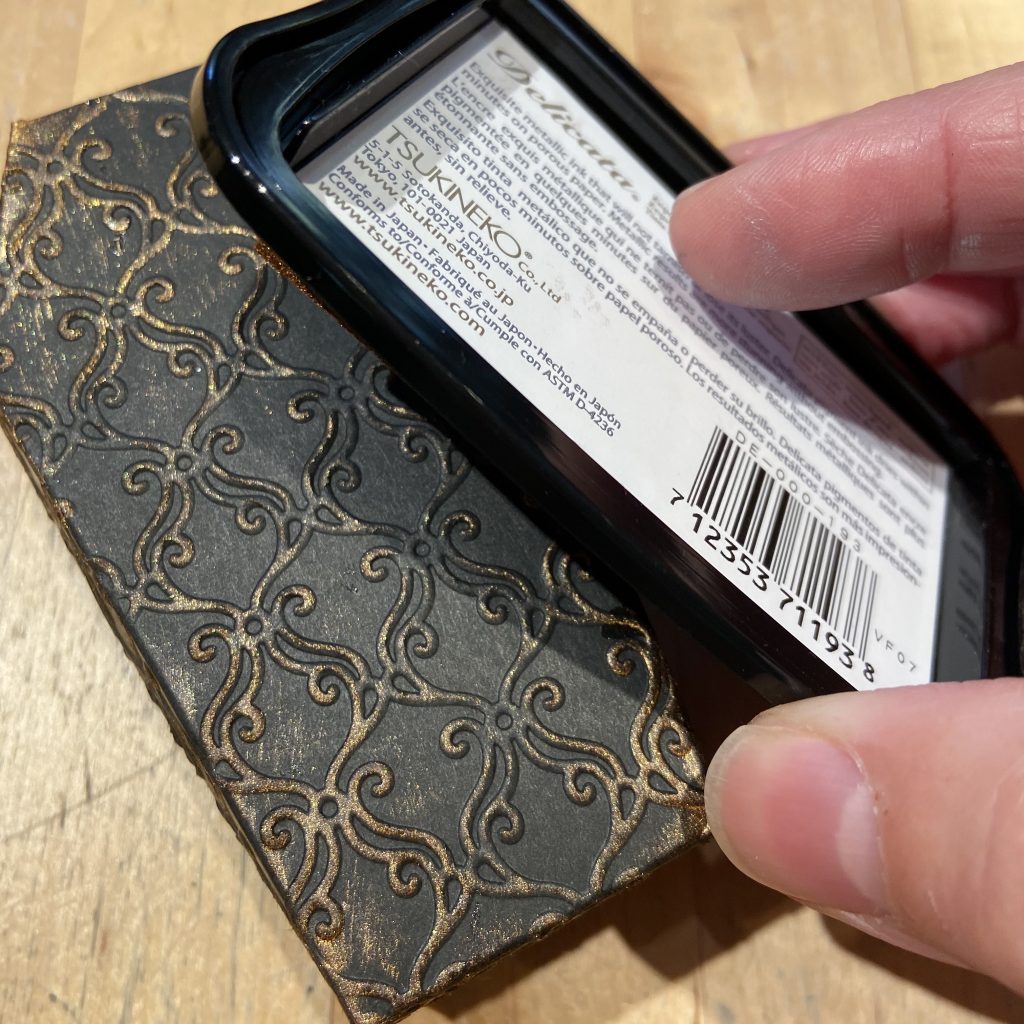
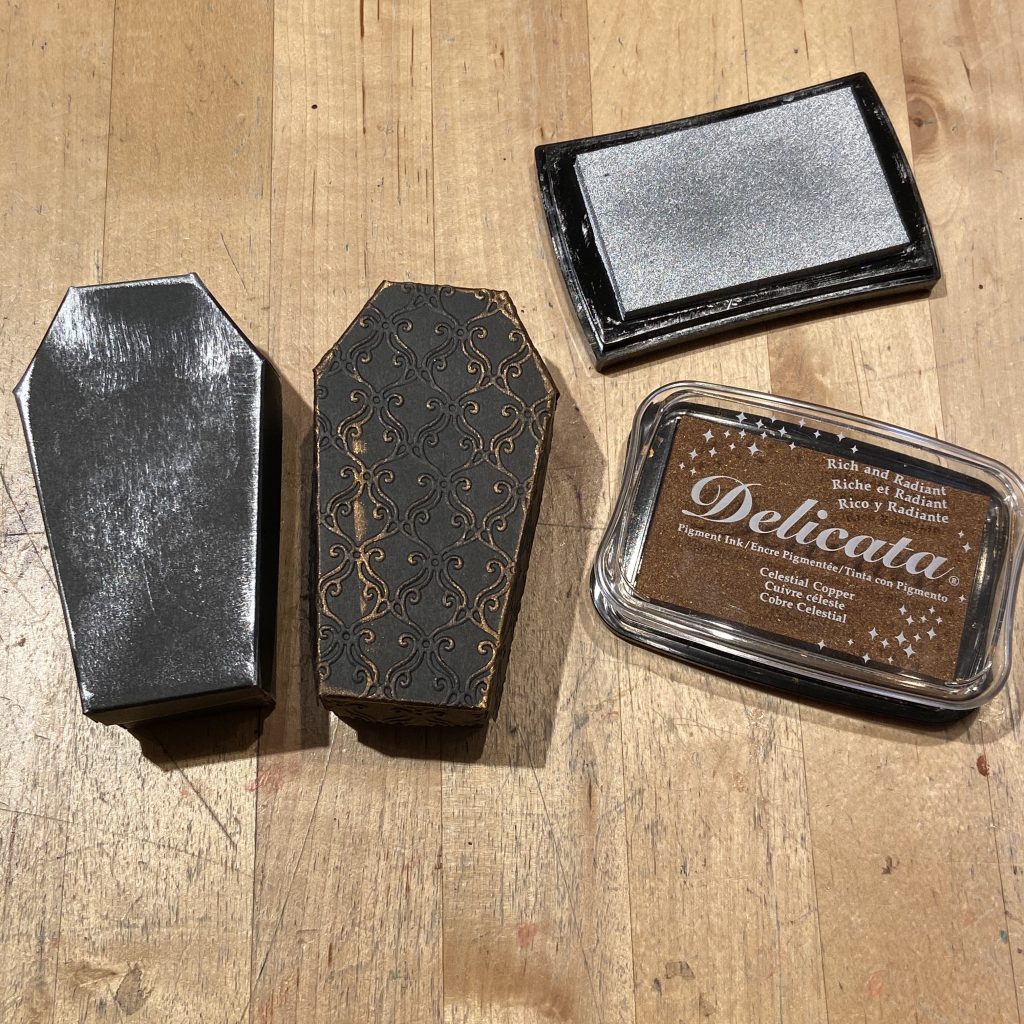
I used both Silver and Copper Delicata ink to rub, smear, dab on to the boxes. Stampin’ Up! used Gold on their wreath.
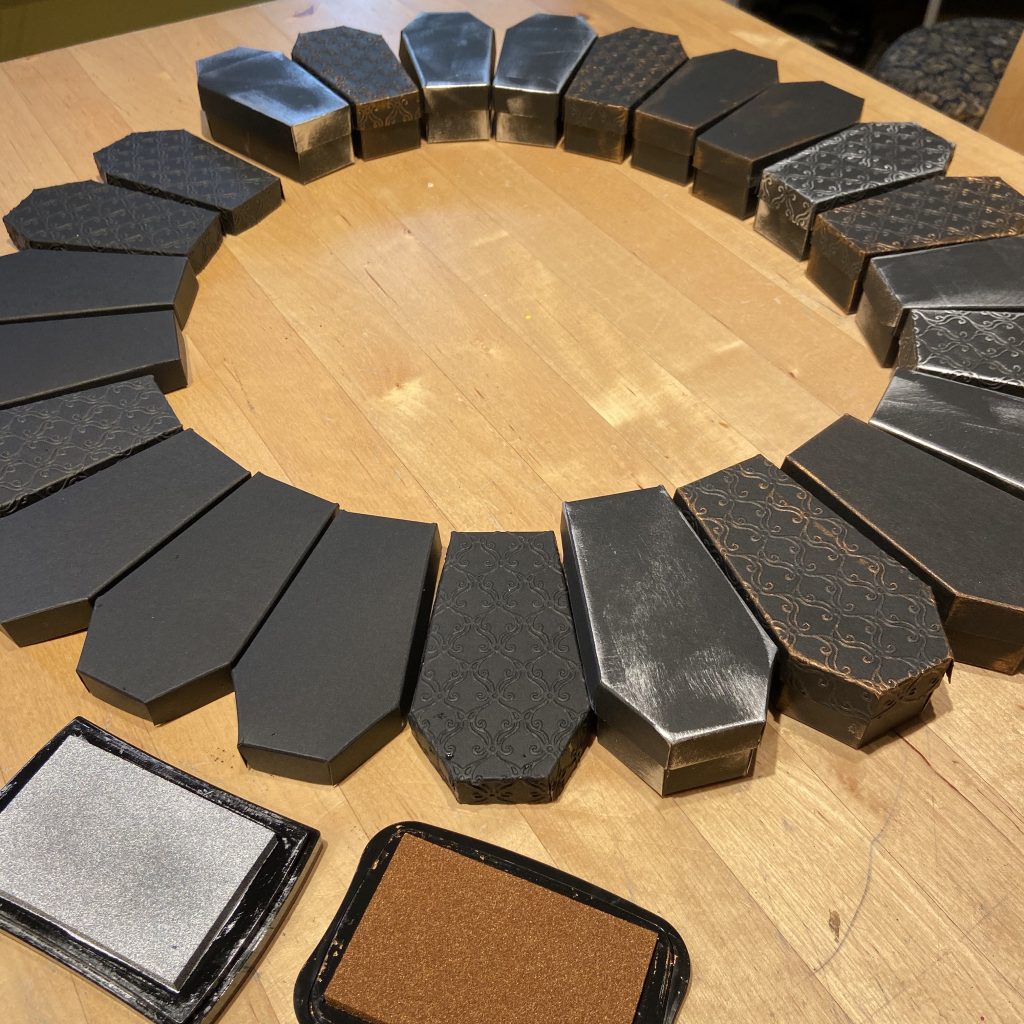
I laid out the boxes in a circle to see the pattern of texture and color I wanted to create.
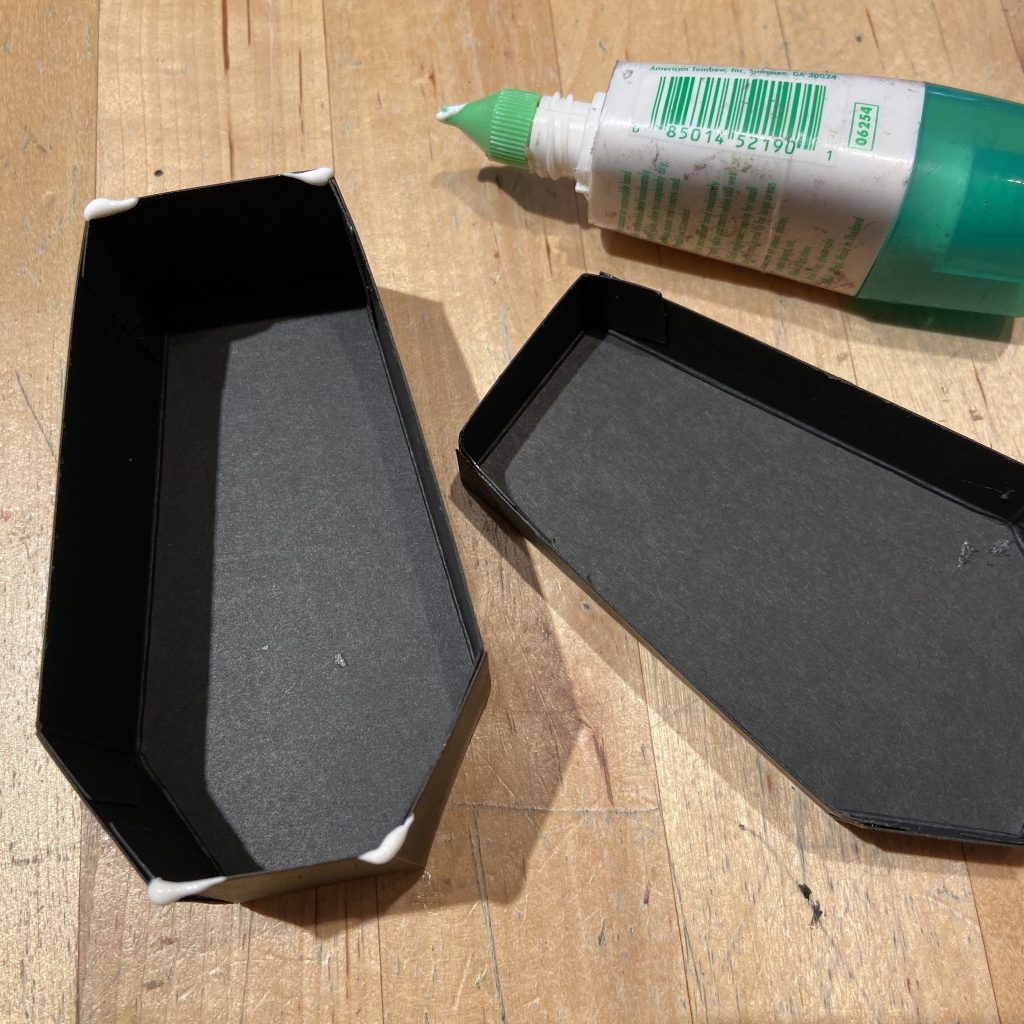
I used a few dabs of Tombo Multi-purpose Glue to seal the top to the bottom together.
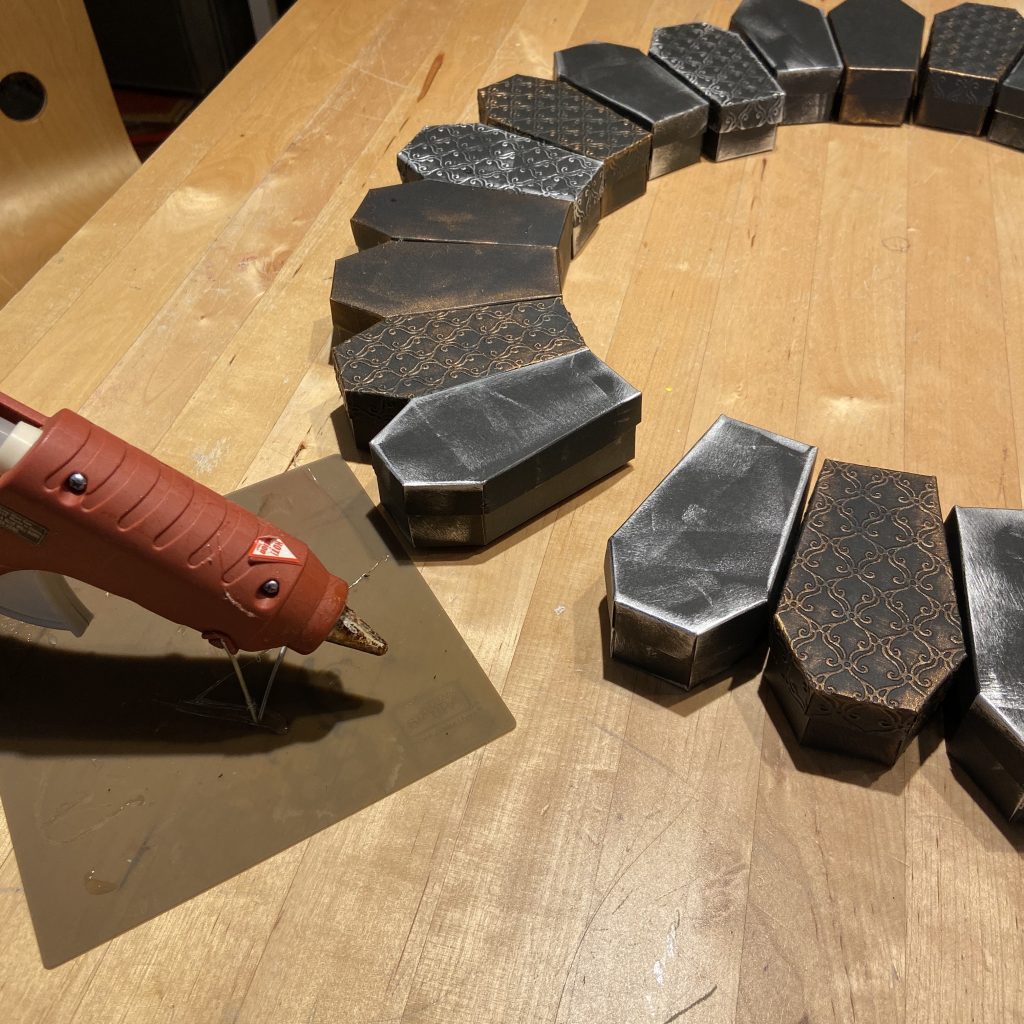
Using a hot glue gun, I glued all 24 boxes together. I put glue on the sides of the tops of the boxes. Since the sides of the boxes are being glued together, I didn’t ink the sides. I only inked the front, top & bottom of the boxes.
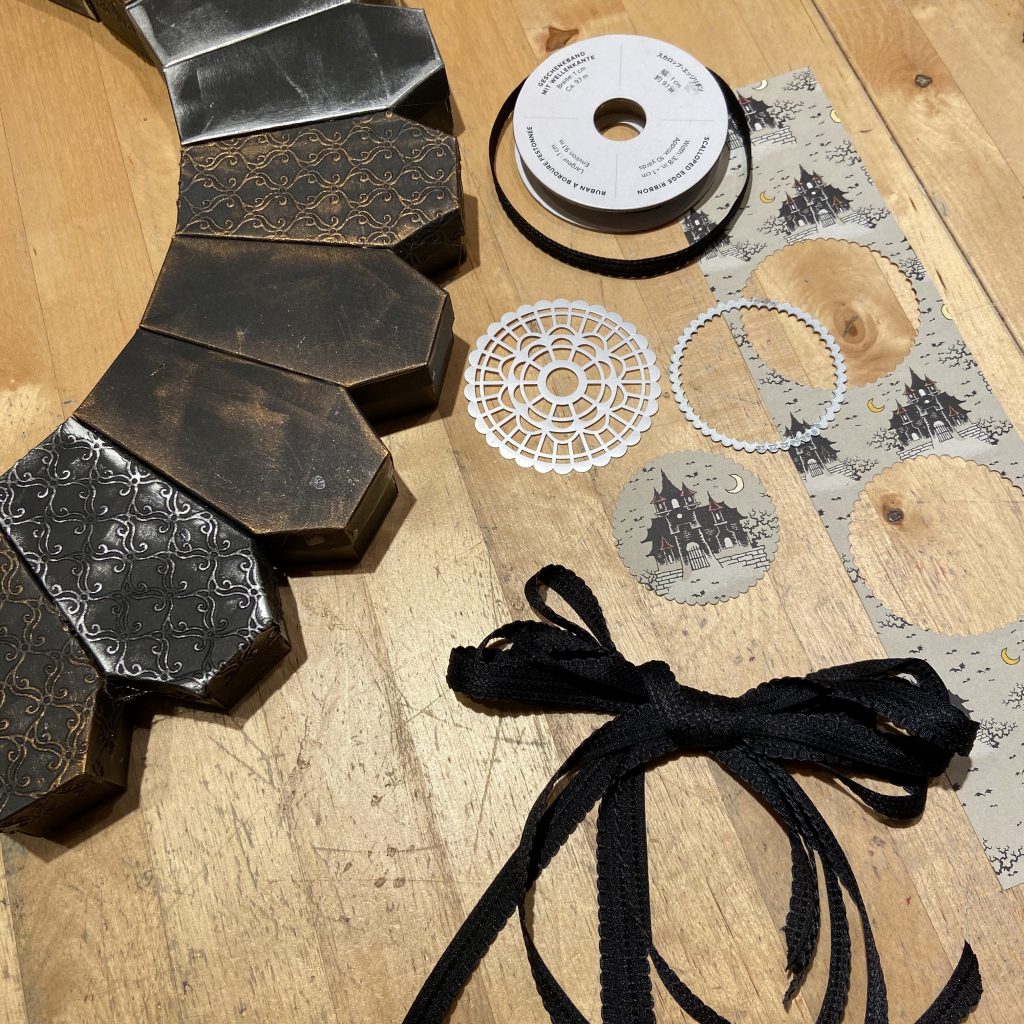
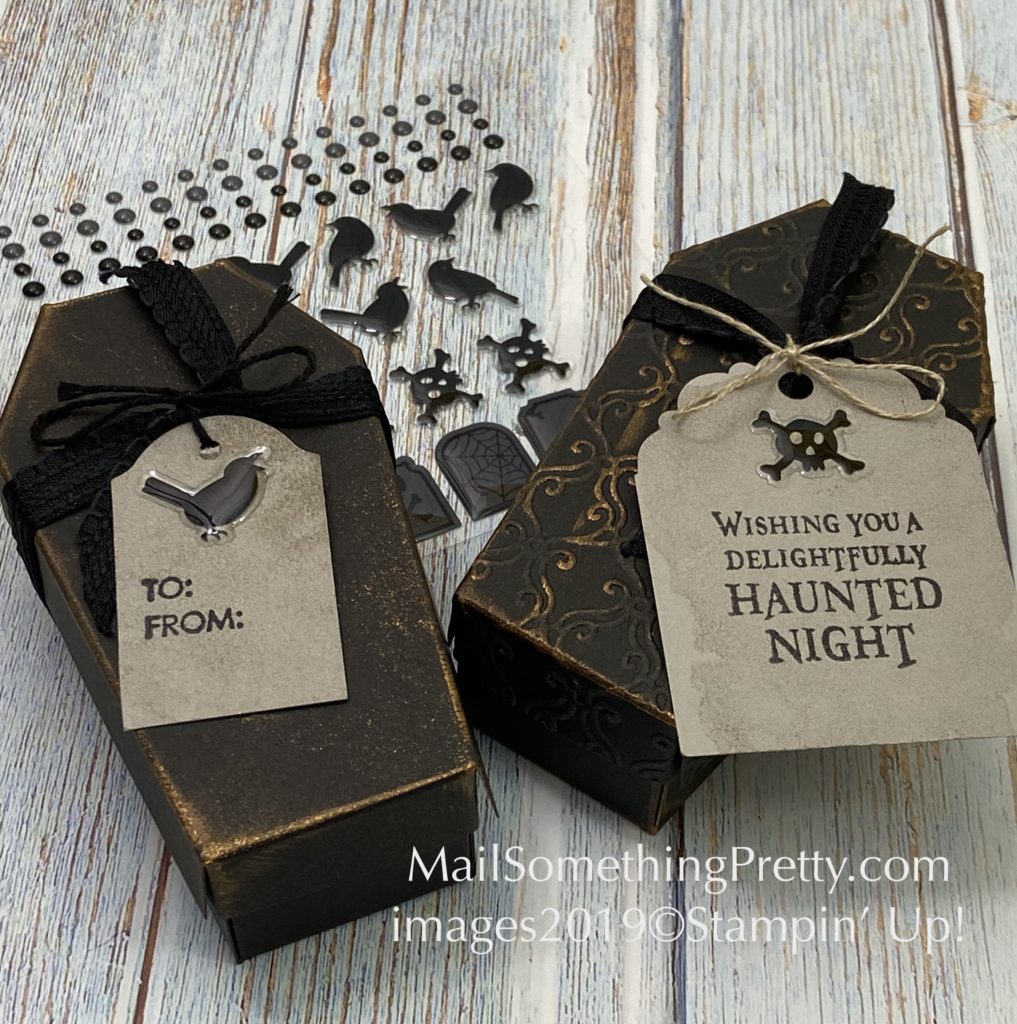
To create the bow – I cut a scallop circle out of the Monster Bash Designer Series Paper, the sheet with the haunted houses. I used a little of the copper ink to burnish around the edge of the scallop shape. I cut 5 pieces of the Black Scalloped Edge Ribbon and tied a bow. I didn’t measure the ribbon, but if I had to guess, they were each around 18″ long.
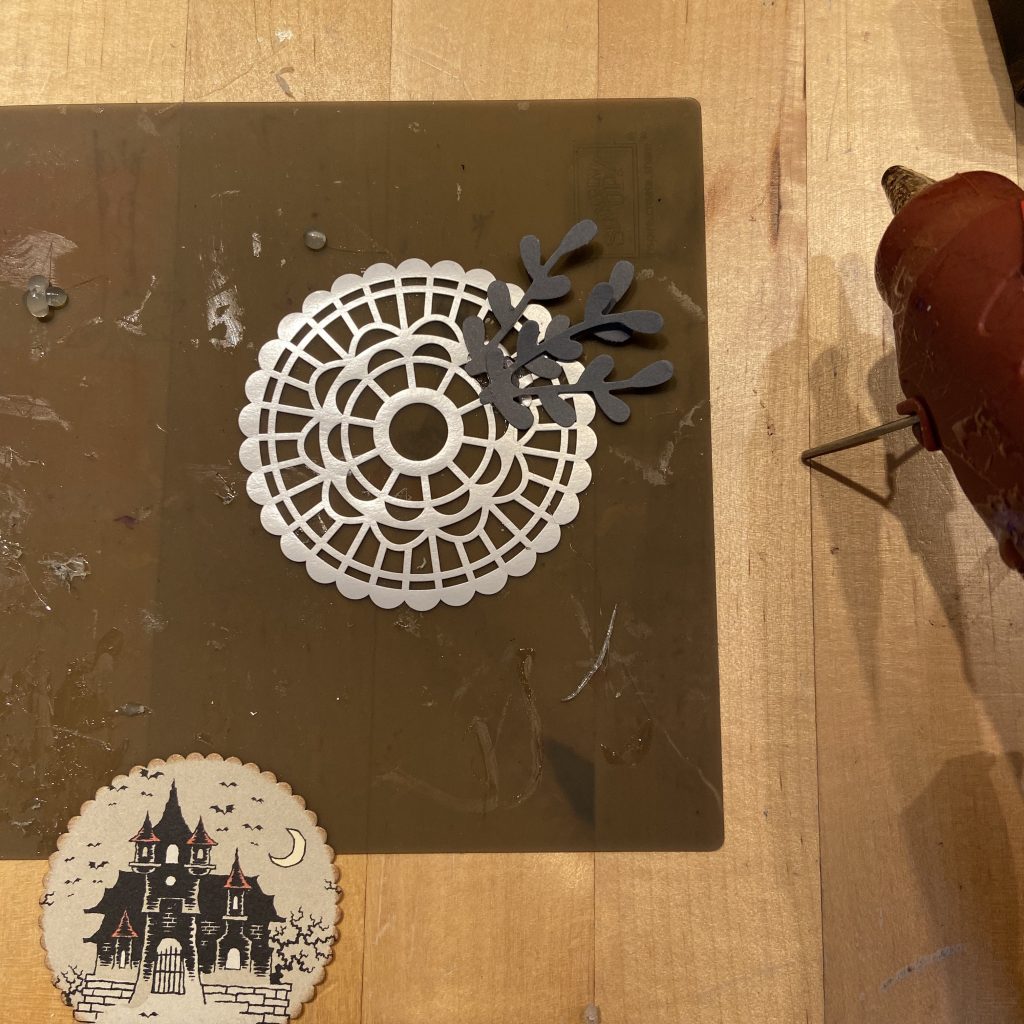
The Silicone mat is a must have when working with glue. I layered each piece of the tag on the Silicone Mat and then peeled off to attach to the box with some more hot glue. In hindsight, I should have attached a piece of cardboard behind the haunted house for a little stability.

The back side of the Wreath. I used some Black Dimensionals to place in-between some of the coffin boxes to prevent the wreath from curling forward. I didn’t put them on all the boxes because the wreath needed to stretch a bit (not sure if this makes sense, but it didn’t like being all stuck together).
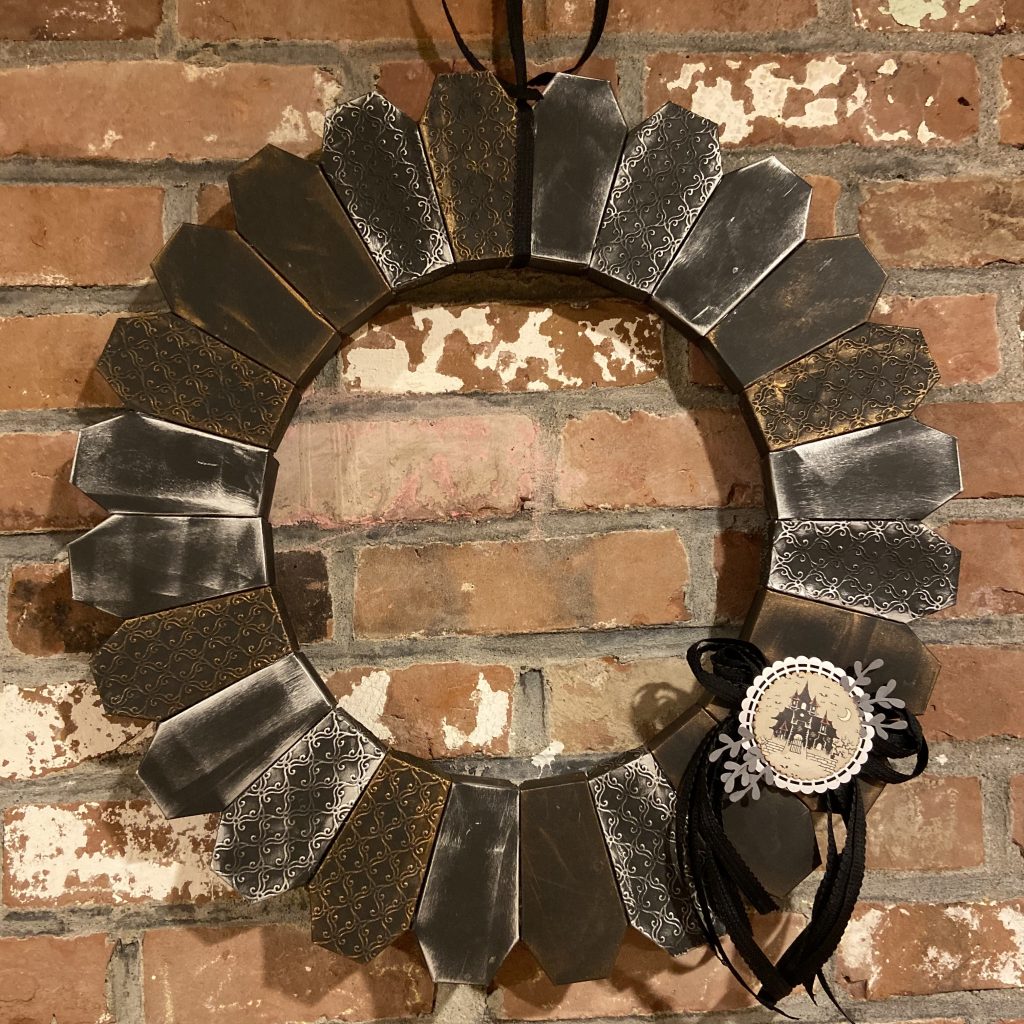
To hang, I used another long piece of the scallop ribbon and hung from the top and tied a bow around the nail.
I am so happy with how this wreath turned out! Right now, it’s the only Halloween decoration hanging. I better get busy and dig out all of the other decorations, Halloween is only 15 days away! I can’t wait to give my friend her wreath too, she loves Halloween.
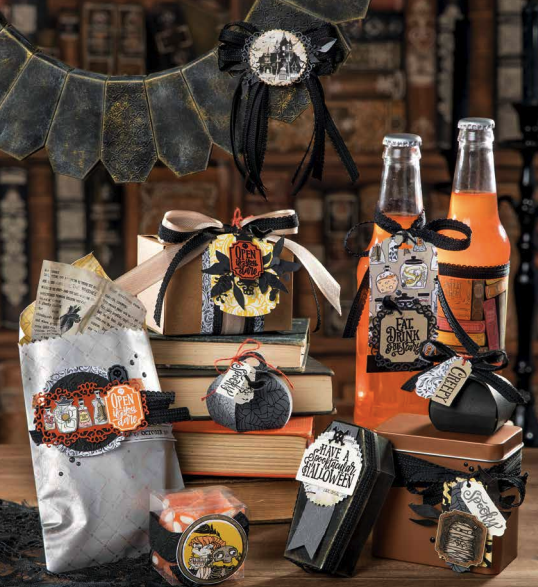
This is the picture of the wreath in the catalog. I made a few changes based on the products I had/didn’t have. I hope you have enjoyed this step by step picture instruction on making a Halloween Coffin Wreath.
Halloween Coffin Wreath Supplies
2 packages of Coffin Treat Boxes #150451
Copper & Silver Delicata Ink (Stampin’ Up! used Gold). Delicata Ink
Stylish Scroll Embossing Folder #150665 (to be used with a Die Cutting/Embossing Machine such as a Big Shot, Big Kick, Cuttlebug)
Black 3/8″ Scalloped Edge Ribbon #150449
Monster Bash Designer Series Paper #150447
Layering Circle Dies #141705, or you can use a 2 1/4″ Circle Punch #143720
Sprig Punch #148012 with scrap Basic Gray Card Stock. Stampin’ Up! used the Ornate Frames Dies #150664
Pearlized Doilies #146936
Tombo Multipurpose Glue #110755
Black Dimensionals #150893
I filmed a video a little bit ago on how to assemble the Coffin Treat boxes. You can see it here. https://mailsomethingpretty.com/spooky-coffin-treat-boxes-with-tombstone-tag/