It’s that time of year when bunnies make their way onto our cards. Spring & Easter! For those of us who don’t have a bunny punch, what are we supposed to do? Use circles! Combine three different sized circles to create the ears, head and body and tail of a bunny. This is a great trick because the Bunny Builder punch is currently on backorder.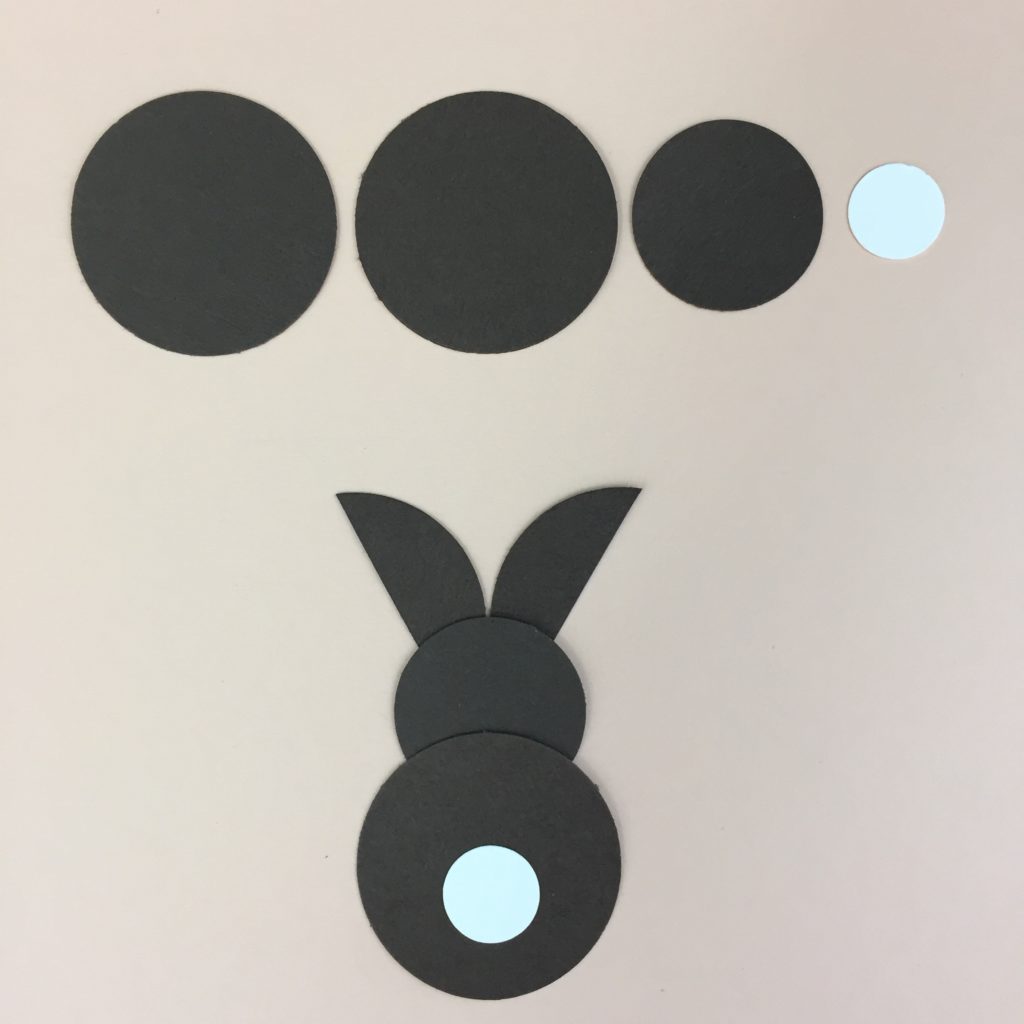 For this chocolate bunny, I punched two 1 3/8″ circles, one 1″ and 1 1/2″ circles in Early Espresso card stock. You can use any size circles as you wish, but I recommend using the same size for the ears and body, and a slightly smaller one for the head. The smallest circle should be used for its tail. Stampin’ Up! carries 9 different sized Circle punches, 3 Starburst Circle punches and a set of Layering Circles Framelits that has 16 different size circles and the Stitched Shapes Framelits that has 4 circle sizes. Plenty of circles to choose from!
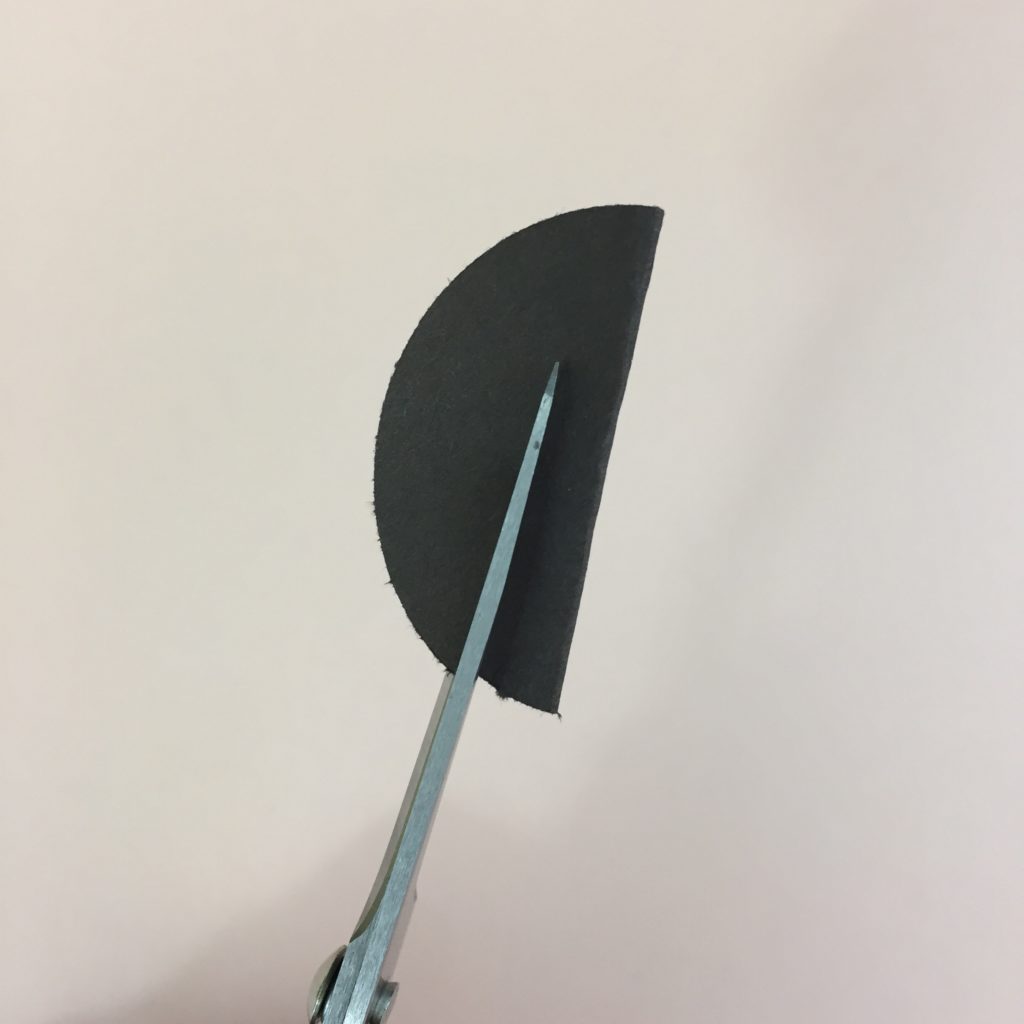 To make the bunny ears, I recommend folding the circle in half and then cutting with scissors. This way, you are guaranteed to have the same size ears. You can make your ears skinny or fuller depending on where you cut.
Bunny Card
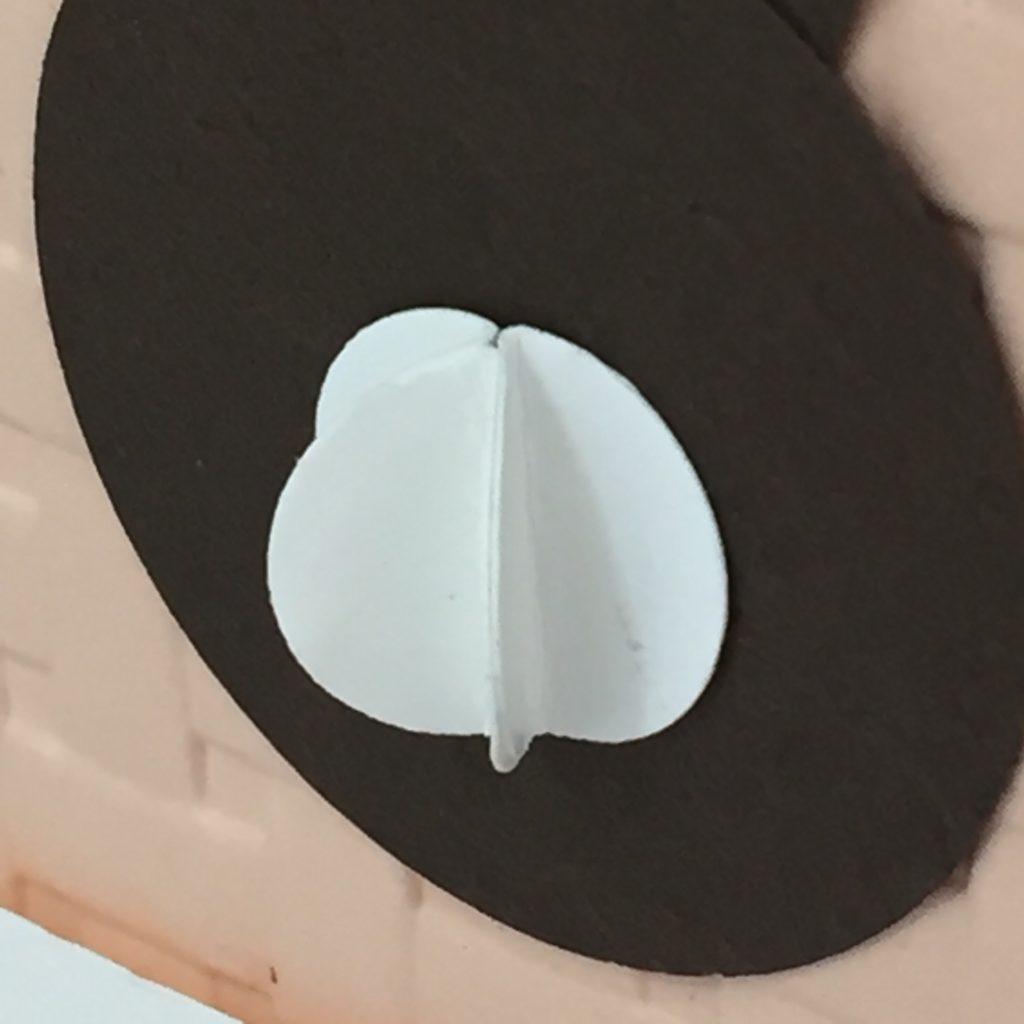
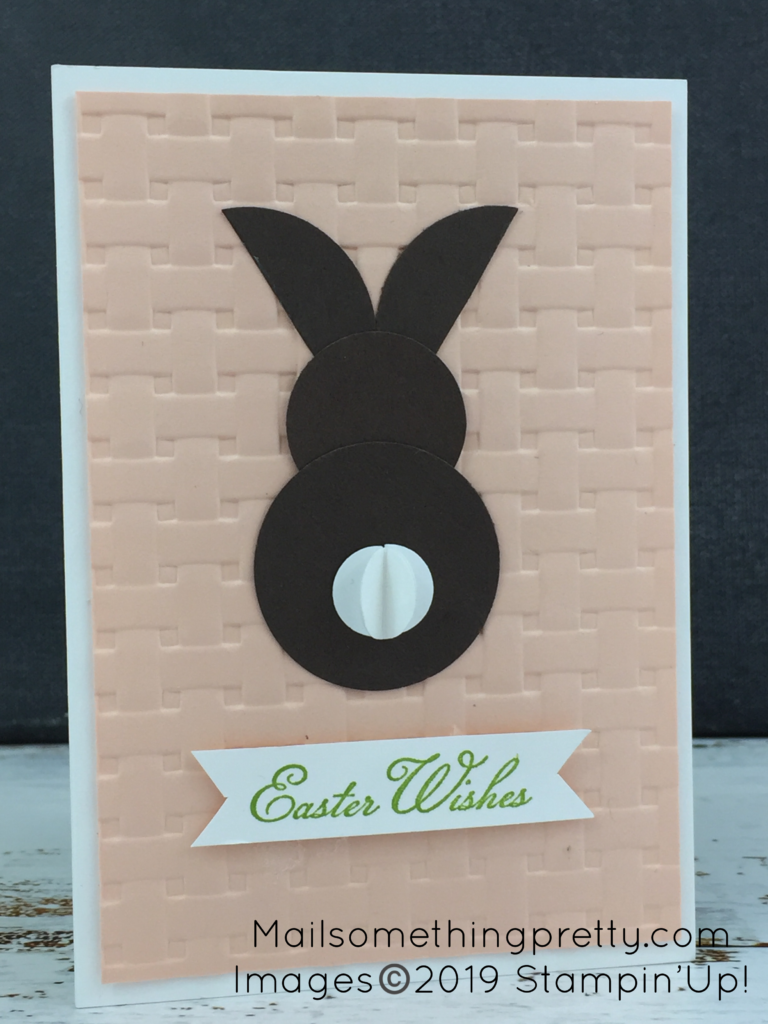 I made this bunny card with the above method punched bunny, except her tail. Instead of using a flat circle, I made it 3D by punching three identical 1/2″ circles and folding them in half. I used a glue dot to put the three together creating a fluffy tail.
 This bunny is the perfect size for the Notecards & Envelopes, especially since the bunny stands alone. Interested in the basket weave background texture? I used the Basket Weave embossing folder and Big Shot on Petal Pink card stock. A Super simple way to create texture.
All products are highlighted and linked to my online store to make it easier for you to look at the products and shop.
Think about all the different types of bunnies you can create by changing the sizes of the circles and colors. You can create a bunny whole family! Have fun creating your bunnies with circles.

