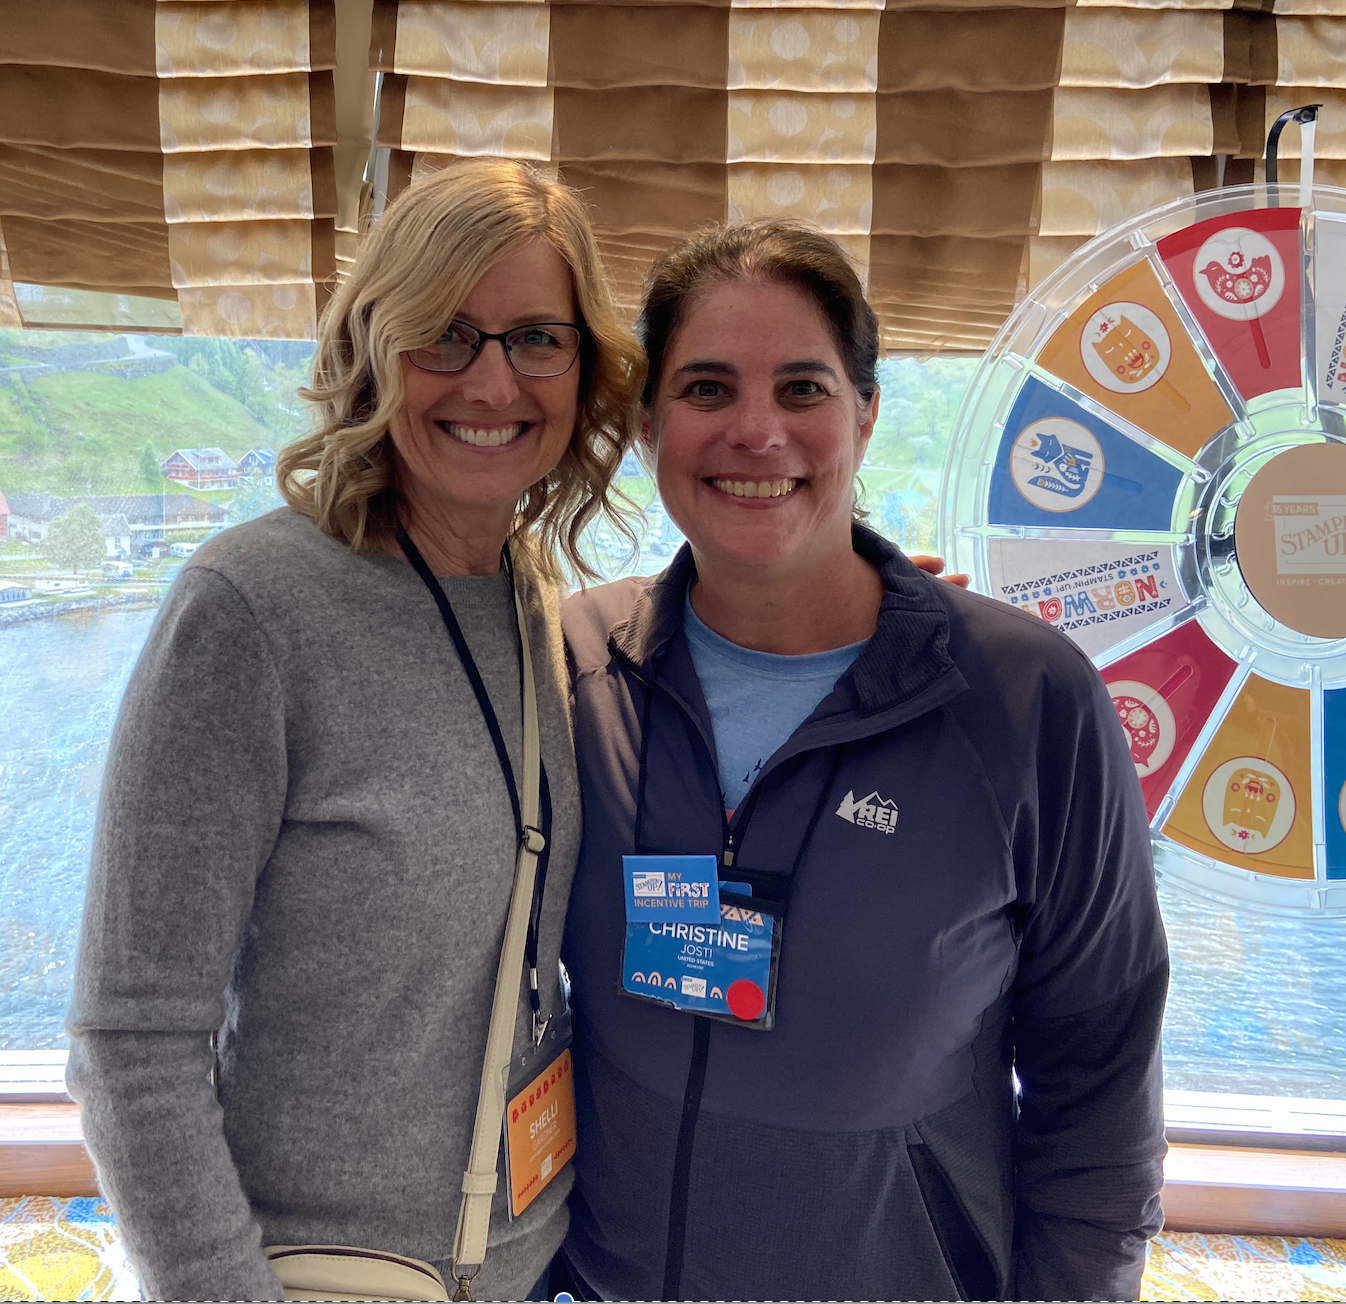
Each month my good friend and Australian Demonstrator Ann Lewis and I get together for a joint live. We call these lives “Let’s Create Together” because we want to create with you in real time. We supply a measurements list so you can prepare ahead of time, or cut and score the card stock right alongside with us during the demonstration. Ann & I take turns alternating each month with who creates the design so it’s a surprise for us too.
This month, I designed the project. Most month’s are cards, but since the holidays are fast approaching, I thought a Christmas project was in order. You can easily change up the papers and decorations and turn this box of tags into a birthday, thank you or floral theme.
Enjoy watching and creating with us!
Pictures of my Box of Tags and the template & measurements for cutting.
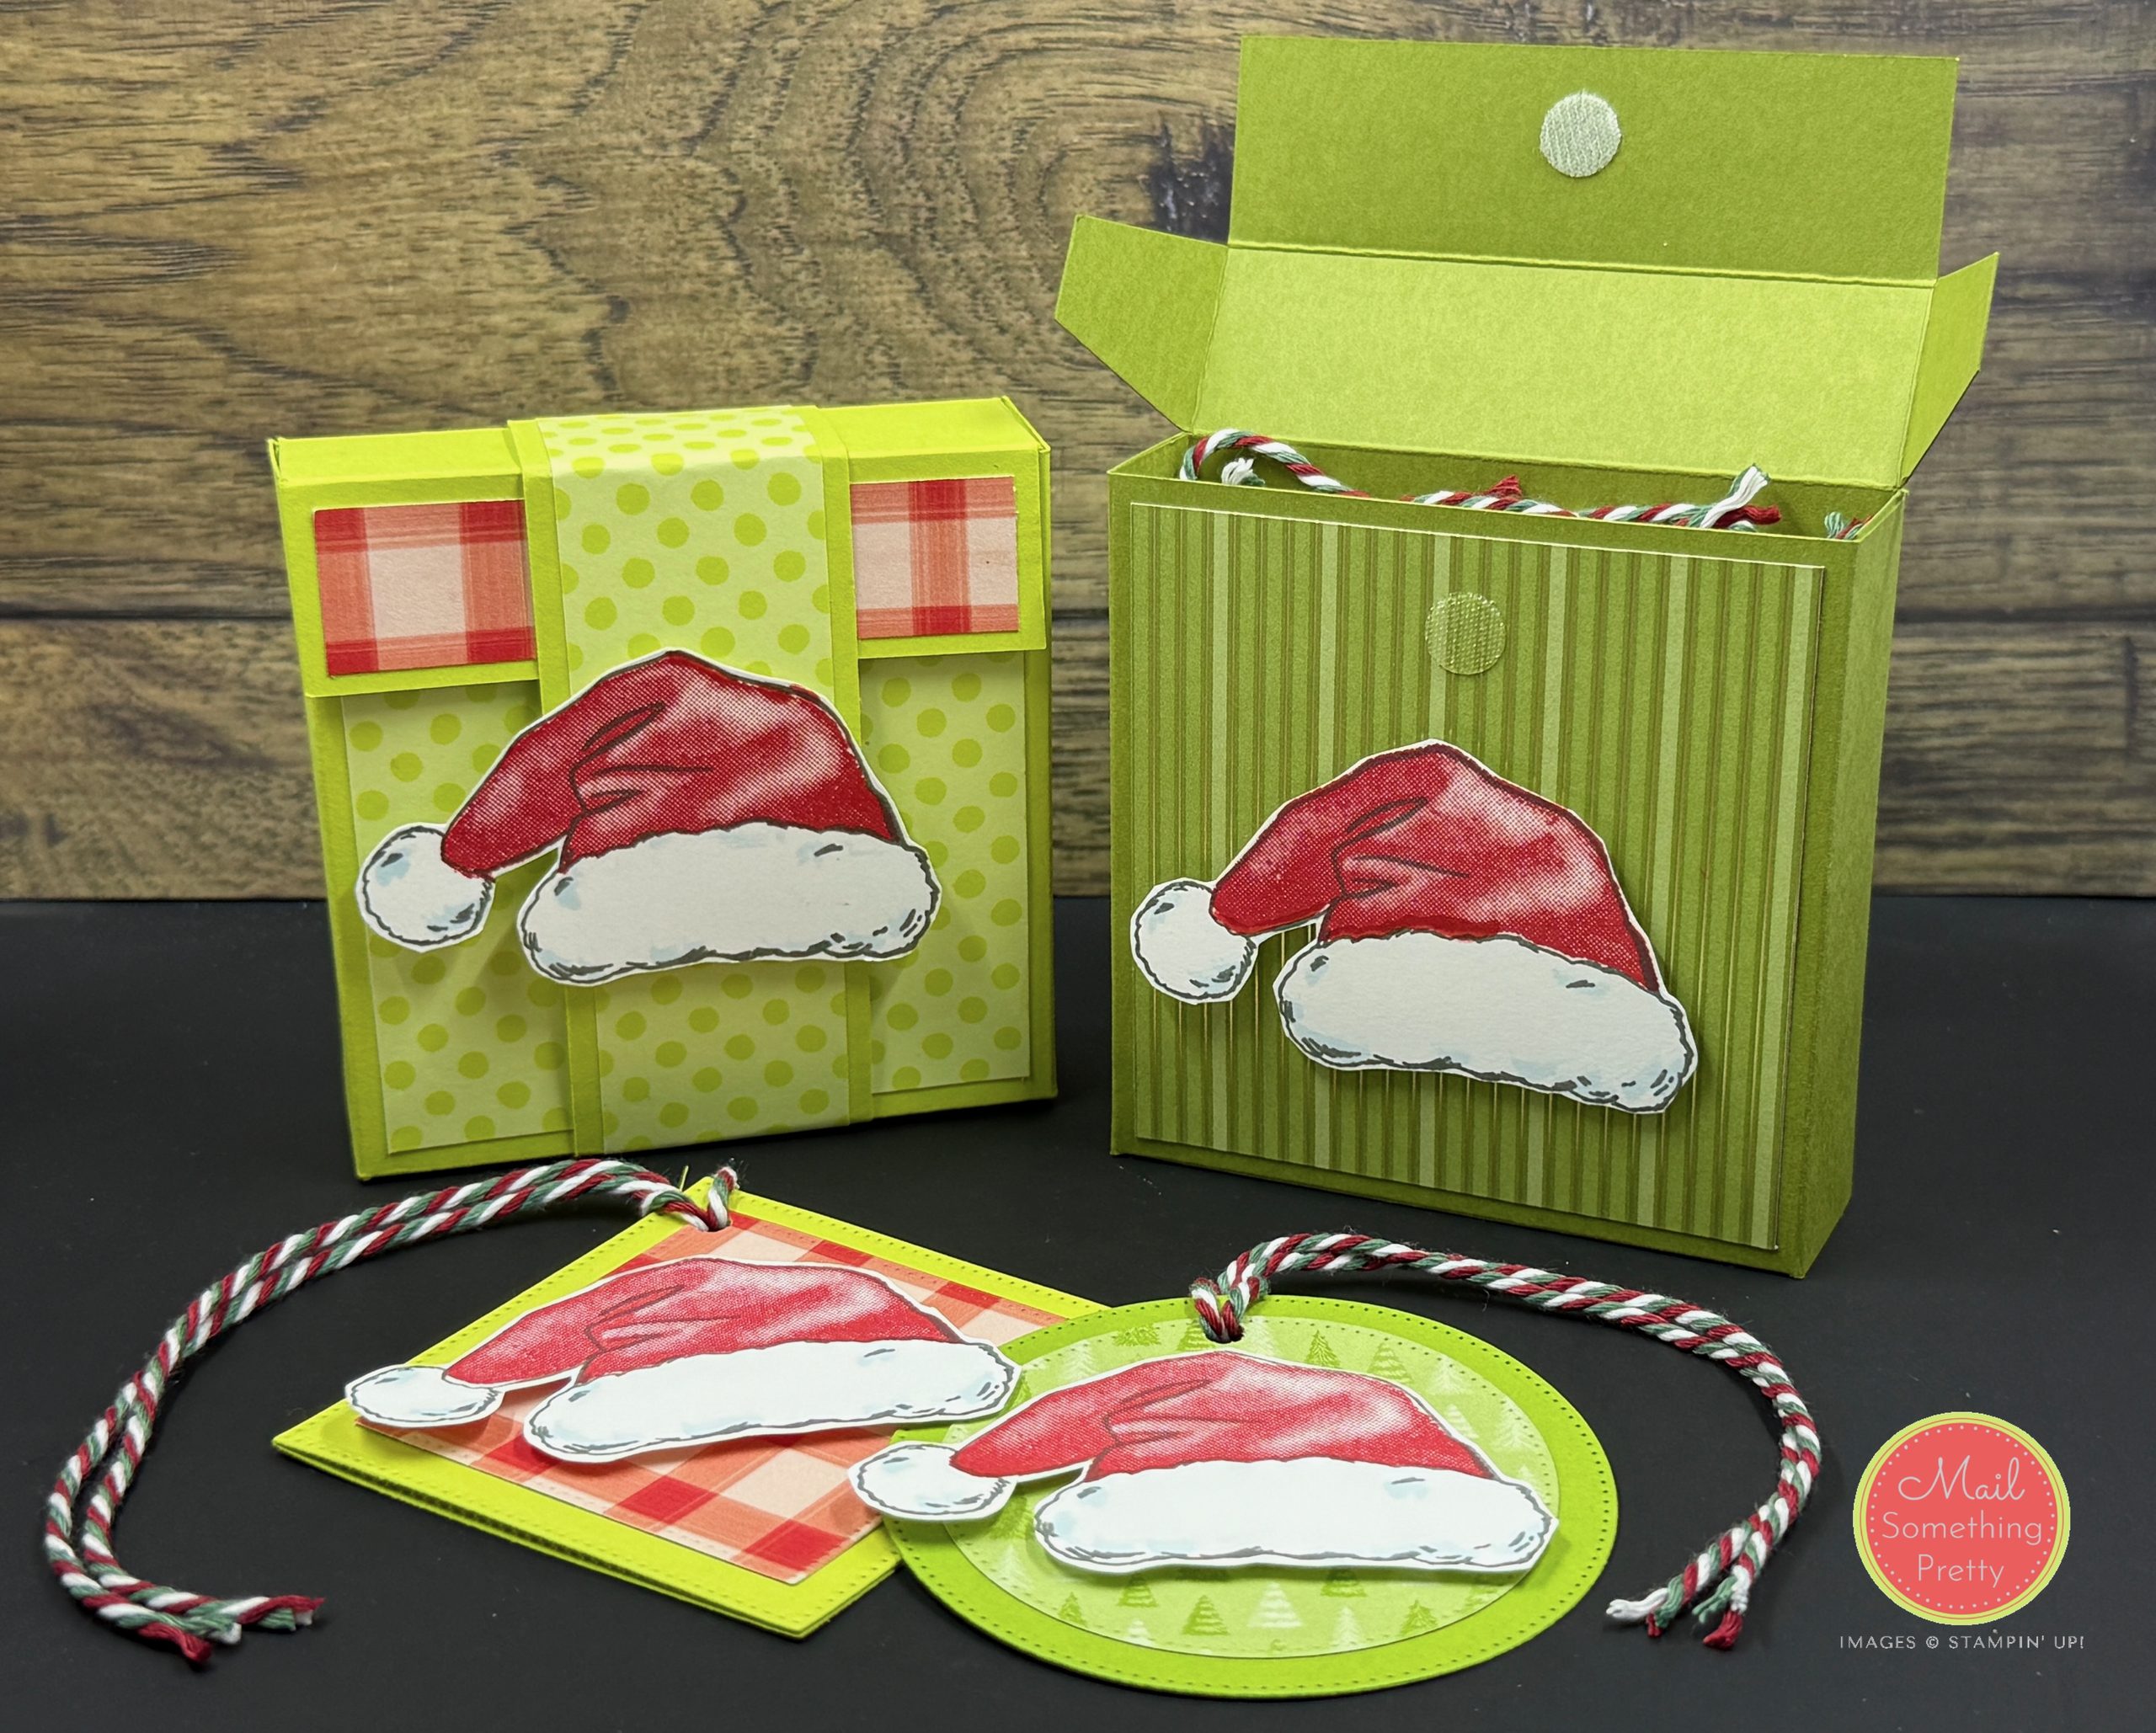
You have the choice to close your box with mini velcro or a belly band, both options are shown in the video.
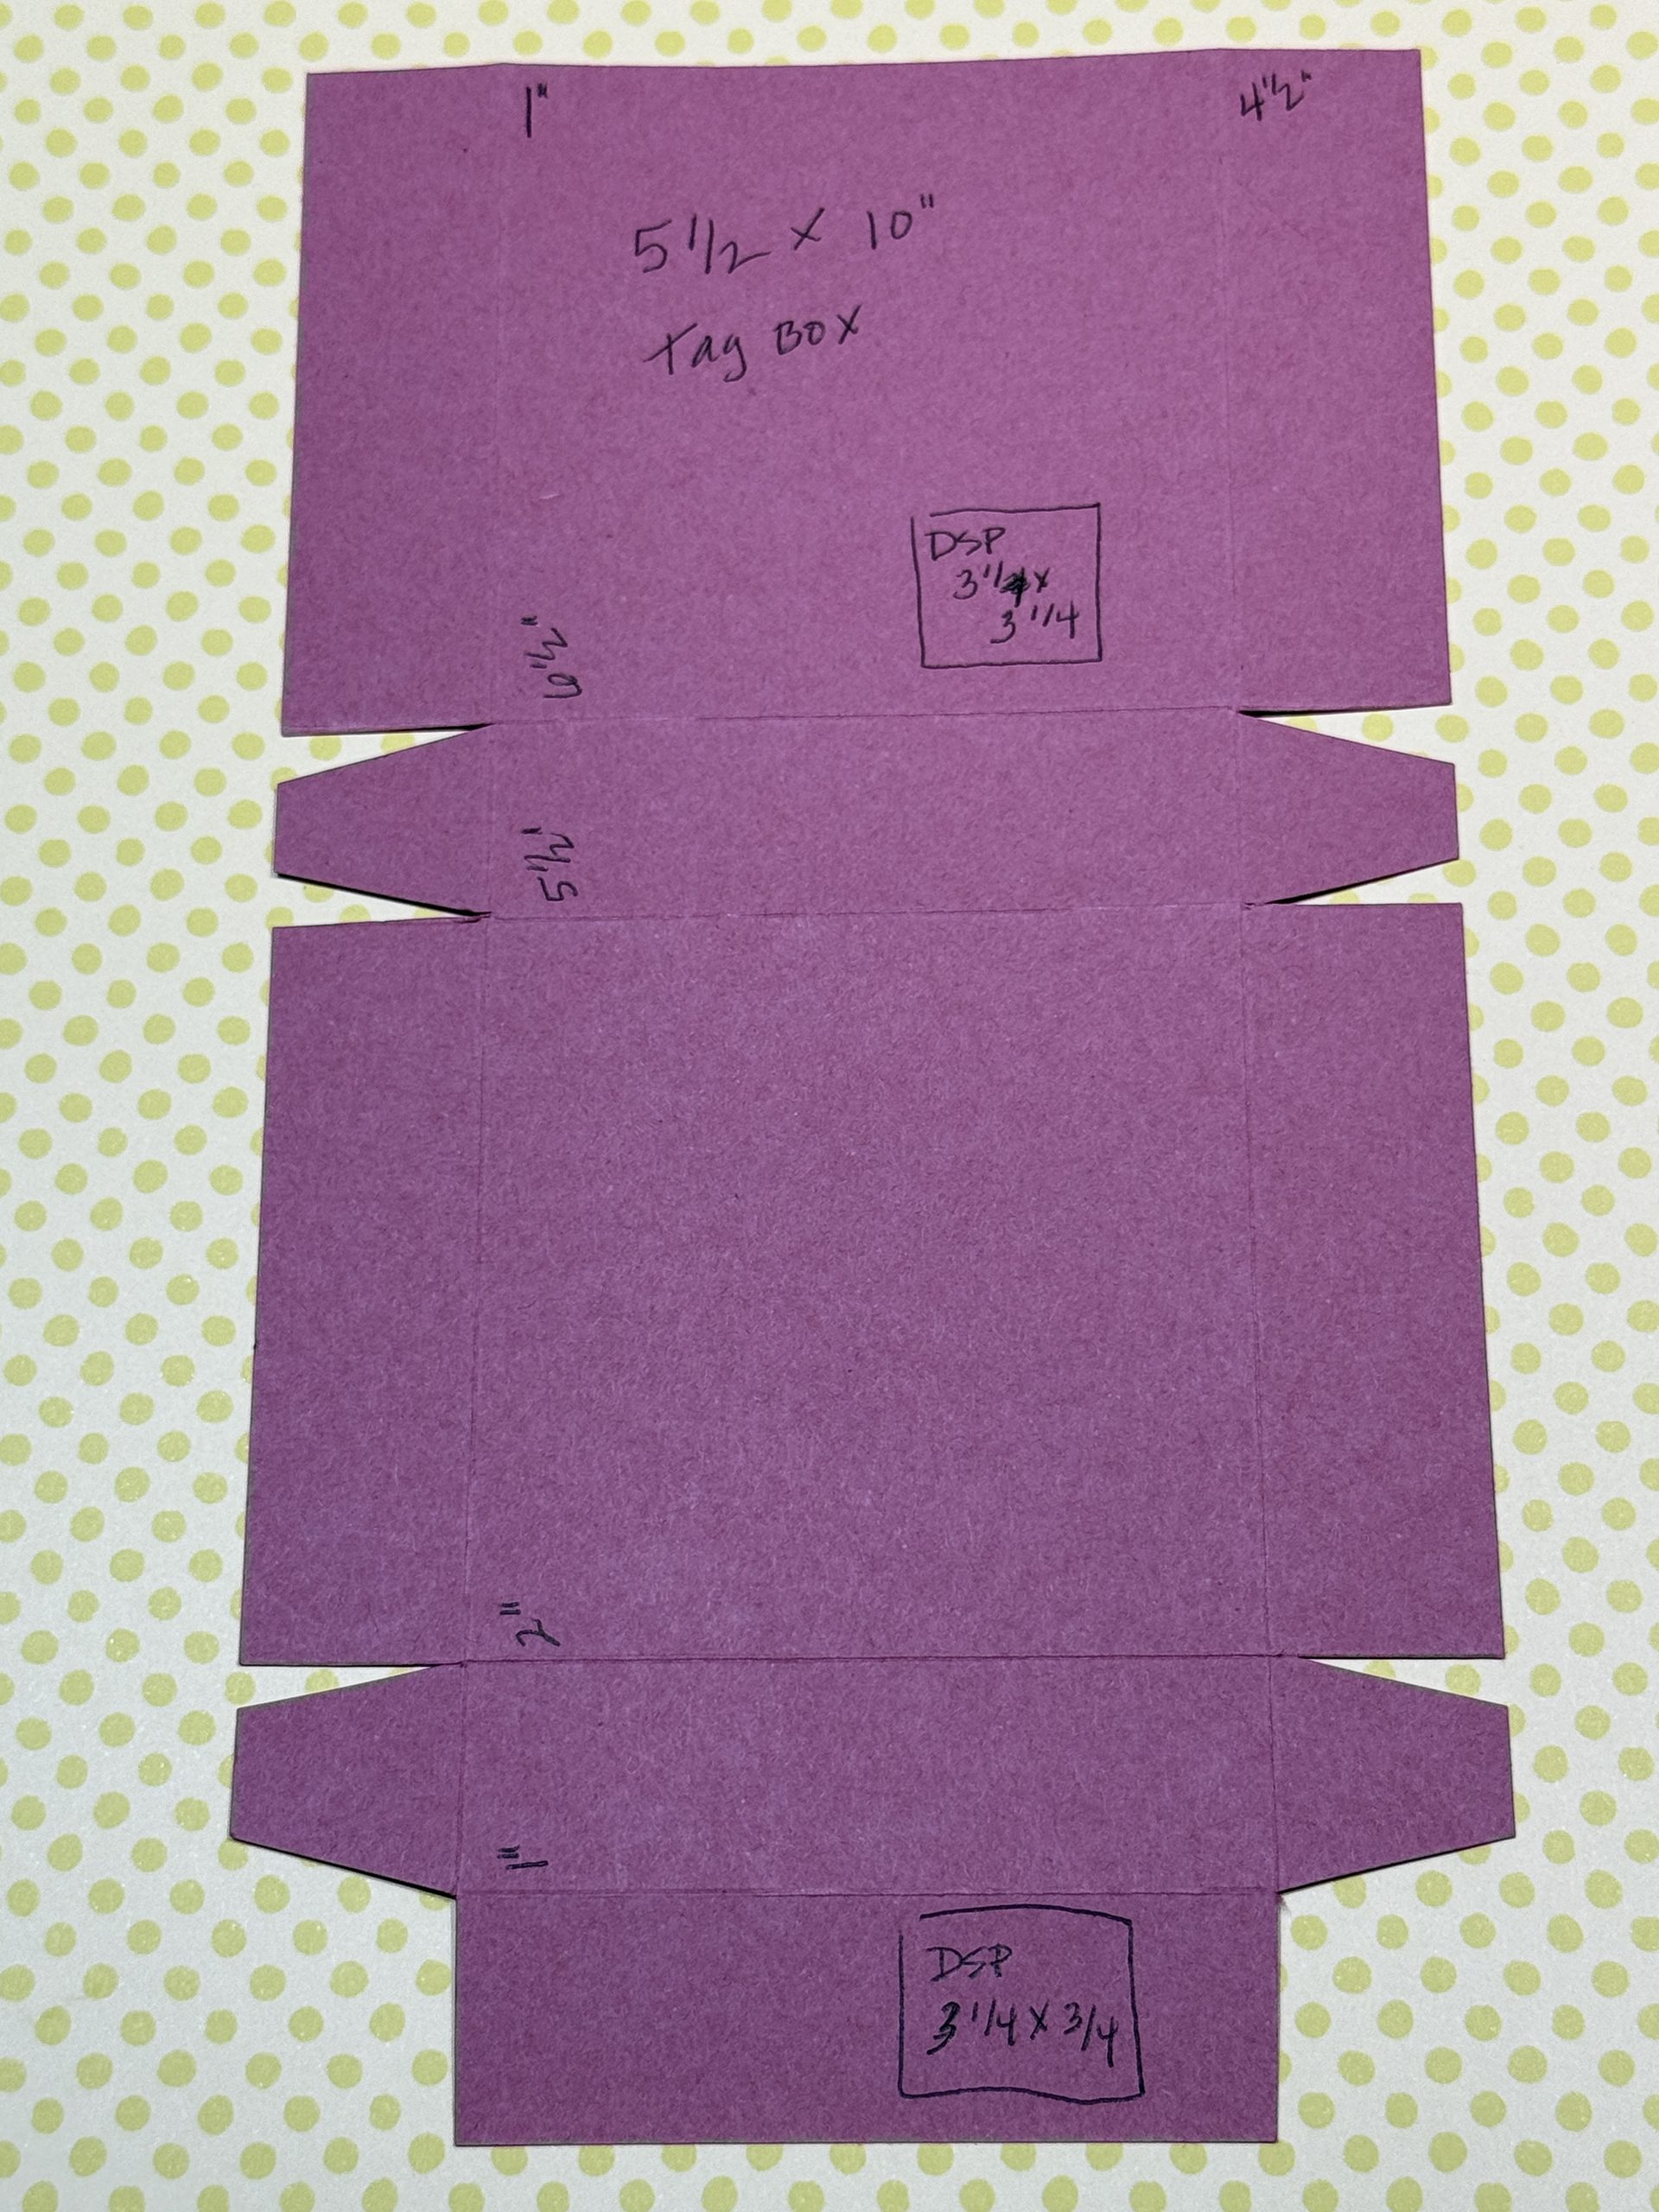
Measurements
Tag Box
- Solid Cardstock Base: 5-1/2″ x 10″(14cm x 25.4cm)
- Score in portrait: 1″ & 4-1/2″ (2.5cm & 11.4cm)
- Score in landscape: 1″, 2″, 5-1/2″ & 6-1/2″ (2.5cm, 5cm, 14cm & 16.5cm)
- Pattern paper:
- One piece 3-1/4″ x 3-1/4″ (8.3cm x 8.3cm)
- One piece (same or coordinating): 3-1/4″ x 3/4″ (8.3cm x 1.9cm)
Tags
- 6 pieces solid cardstock 6″ x 3″, score at 3″* (can be multiple coordinating colors or the same as part A) (15.2cm x 7.6cm, score at 7.6cm) If cutting as the tag. *If you are going to use the largest circle from Stylish Shapes, 6-1/2″ x 3-1/4″ is a getter size for cutting.
- 6 pieces pattern paper (same or different): 3″ x 3″ (7.6cm x 7.6cm)
- 6 pieces white cardstock: 3″ x 3″ (7.6cm x 7.6cm)
Suggested Supplies:
- Multipurpose liquid glue & dimensionals
- Paper Trimmer with scoring blade
- Scissors
- Optional: Stylish Shapes dies & Cutting Machine
- Hole punch
- Coordinating ribbon/twine
- Stamp set & ink colors of your choice (I am using the Santa’s Hat set)
*This project can be made without a cutting machine!
I’d love to hear your comments below on this fun project!