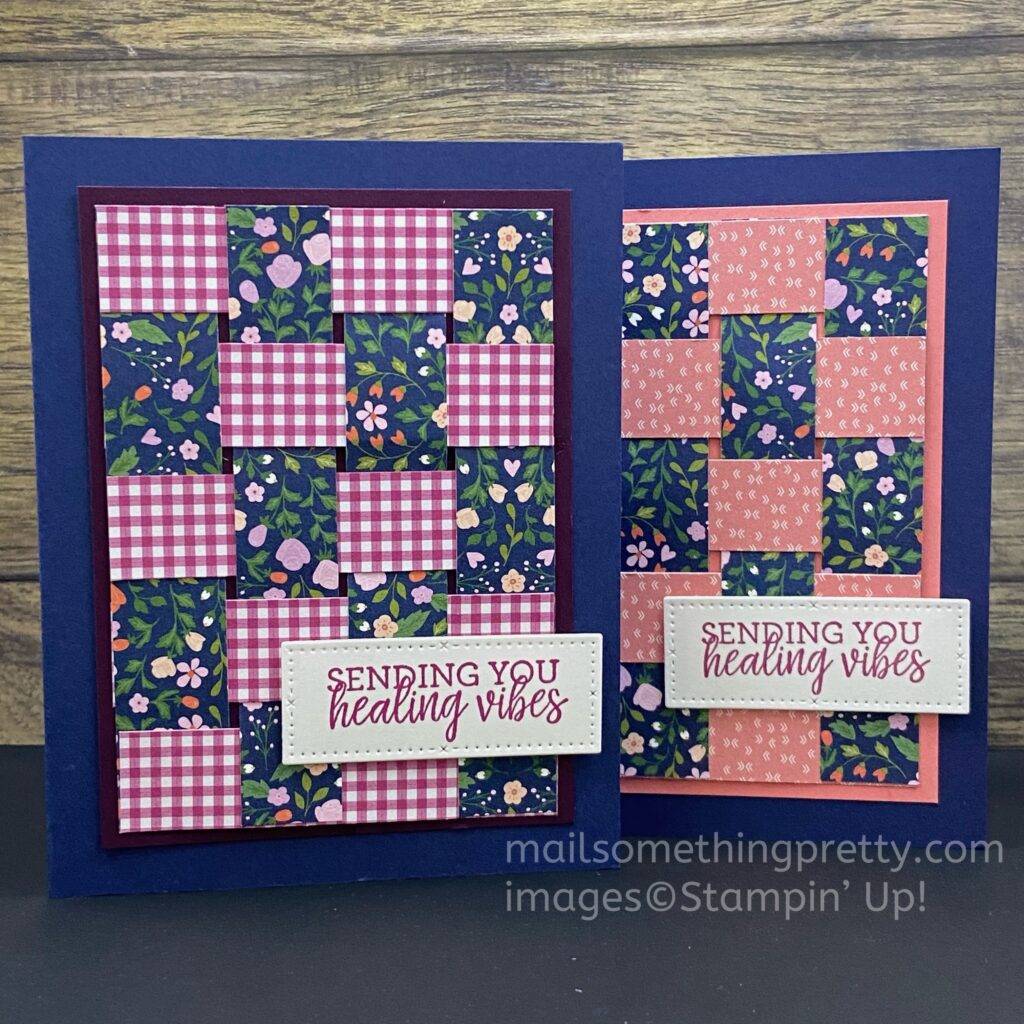
Long ago, I used to make quilts. My first quilt started as a Queen size and then we upgraded to a King size bed, so I had to add borders to make it even bigger. Baby quilts would have been a better way to start because of their smaller size, but that is where I ended up, making quilts for family babies. It’s been quite a while since I’ve made a quilt, but I took that inspiration and comfort in designing this patchwork quilt card. I think it’s a perfect card for a get well or feel better. Just like in quilting, there are easy ways and hard ways to make them. I’m going to show you the easy way of putting your strips together with this card.
Choose two patterns that complement each other. The patterns in this card remind me of calico and gingham fabric. You want them to both complement and contrast, that way you can see the patchwork pattern. The patterns I used will be retiring in just a few days, but I’m sure you can find the right patterns in your stash of papers. You really don’t need much. Mine strips are each 3/4″ wide. I’ll put the measurement list after the video tutorial for easier reference.
Patchwork Quilt Card Video Tutorial
Measurements
- Card base 8-1/2″ x 5-1/2″, scored in half at 4-1/4″
- Under/front panel: 3-1/2″ x 4-3/4″
- Flower strips (the vertical longer ones): four 3/4″ x 4-1/2″
- Gingham strips (the horizontal shorter ones): five 3/4″ x 3-1/4″
Supplies
- Multipurpose Liquid Glue (I think this works better than a tape runner)
- Greeting/message
I hope you enjoyed the tips I showed in putting together this patchwork quilt card. Using this method is definitely helpful as you can see with this viewer:

Thank you for reading and watching. Have fun making your own patchwork quilt cards!


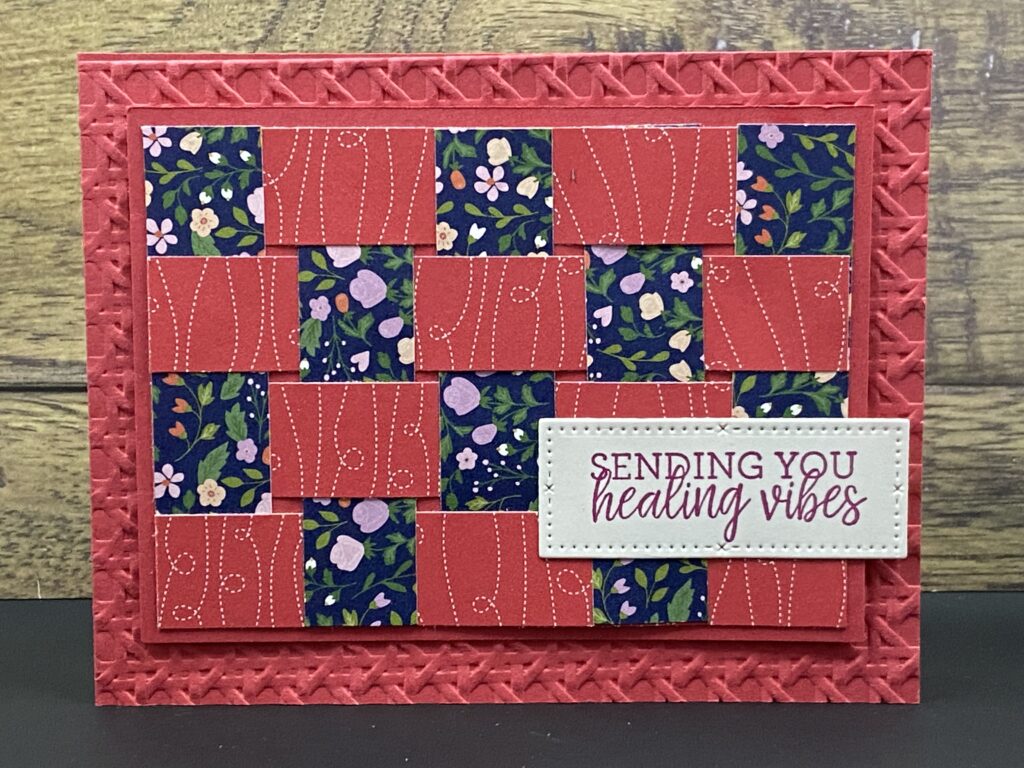
Feel free to turn your card in the other direction too!


