In my last post I showed you how to make a simple Polar Bear Treat Box. If you want to step up your treat boxes, using the same die from the Tricks and Treats bundle, then keep reading. This post will show you how to create a Vellum Gusseted Treat Box with a Lid. It’s more of a cross between a lidded treat bag and box. This box (bag) is a little more complicated than the Polar Bear box, but it’s so worth the extra work (and it’s really not much more work).
I always associate Halloween treat bags with the frosty, almost see-through look of glassine. It’s fun to see the candy inside. My first attempt of making this box/bag was to create them with parchment paper. I was able to make one, but the parchment paper was too flimsy. Vellum works beautifully! I think you’ll really like my design and see the versatility of using them for different holidays. Watch the video tutorial to see how they come together.
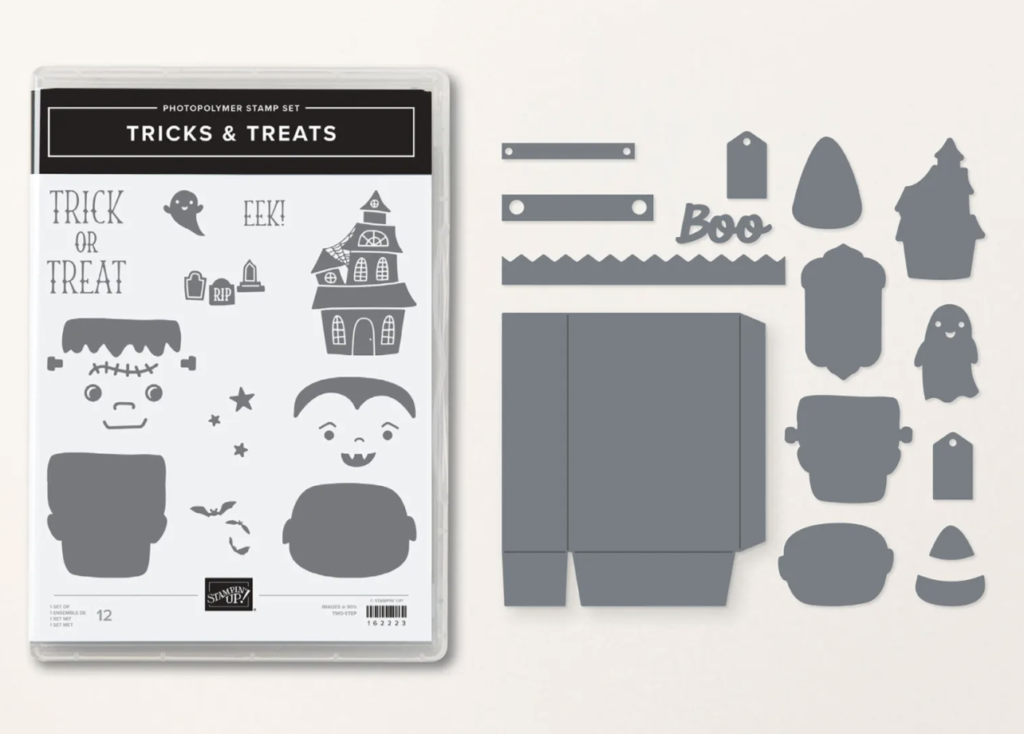
To make the box, you’ll want to use the box die from the Tricks & Treats Bundle #162226. You’ll need to cut two pieces to make the box and score as I show you in the video tutorial.
Vellum Gusseted Treat Box with a Lid Tutorial Video
Here are a few of the supplies I used for these Lidded Vellum Gusseted Treat Boxes:
- Box base was Vellum #101856
- Tricks & Treats Bundle #162226
- Bone Folder #102300
- Tear & Tape Adhesive #154031
- Sparkle Gems #161288
- Mini Glue Dots #103683
A few key takeaways from this tutorial is to attach the lid before sealing the box. You can attach it after the box is put together, but it’s much easier to do it first.
Adhering the glue dots on the back side of the gems is really handy for sealing (& resealing) the bag without seeing the adhesive.
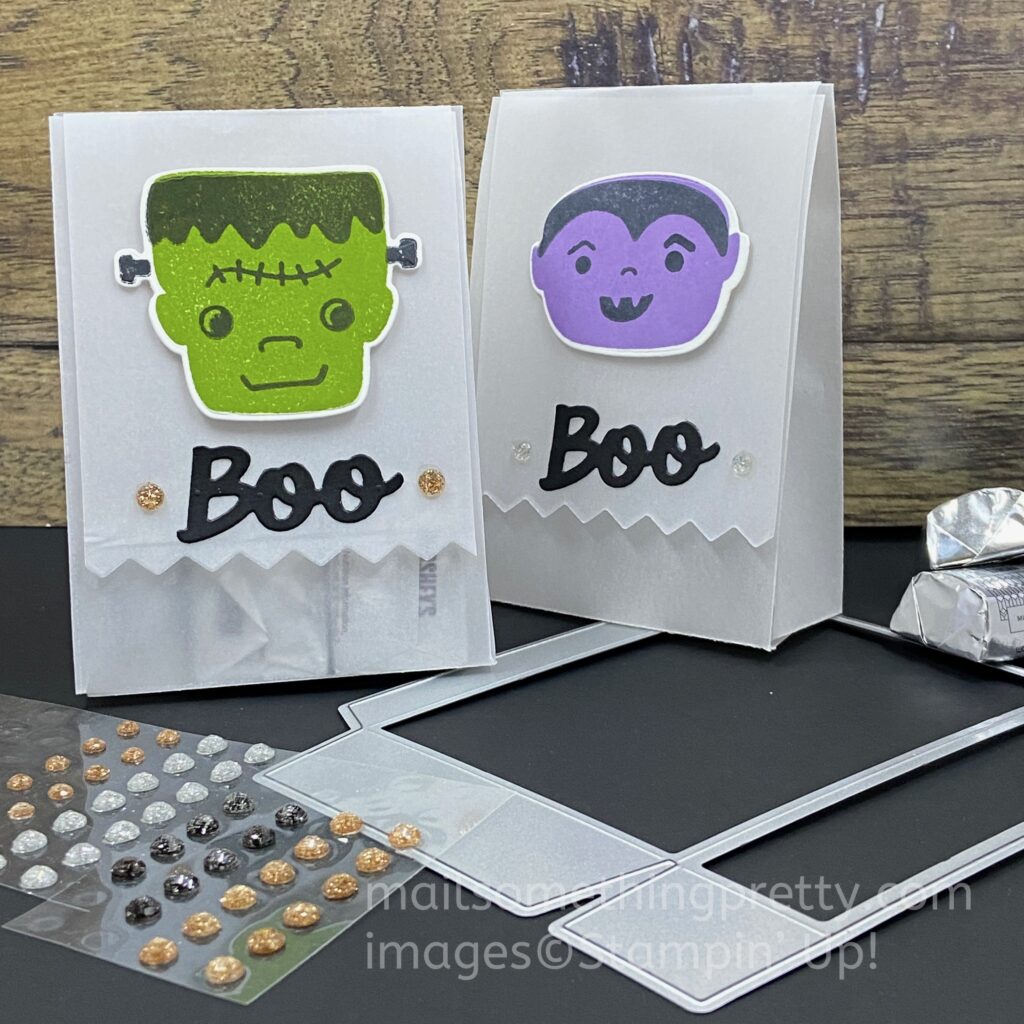
Finished Vellum Gusseted Box with a Lid
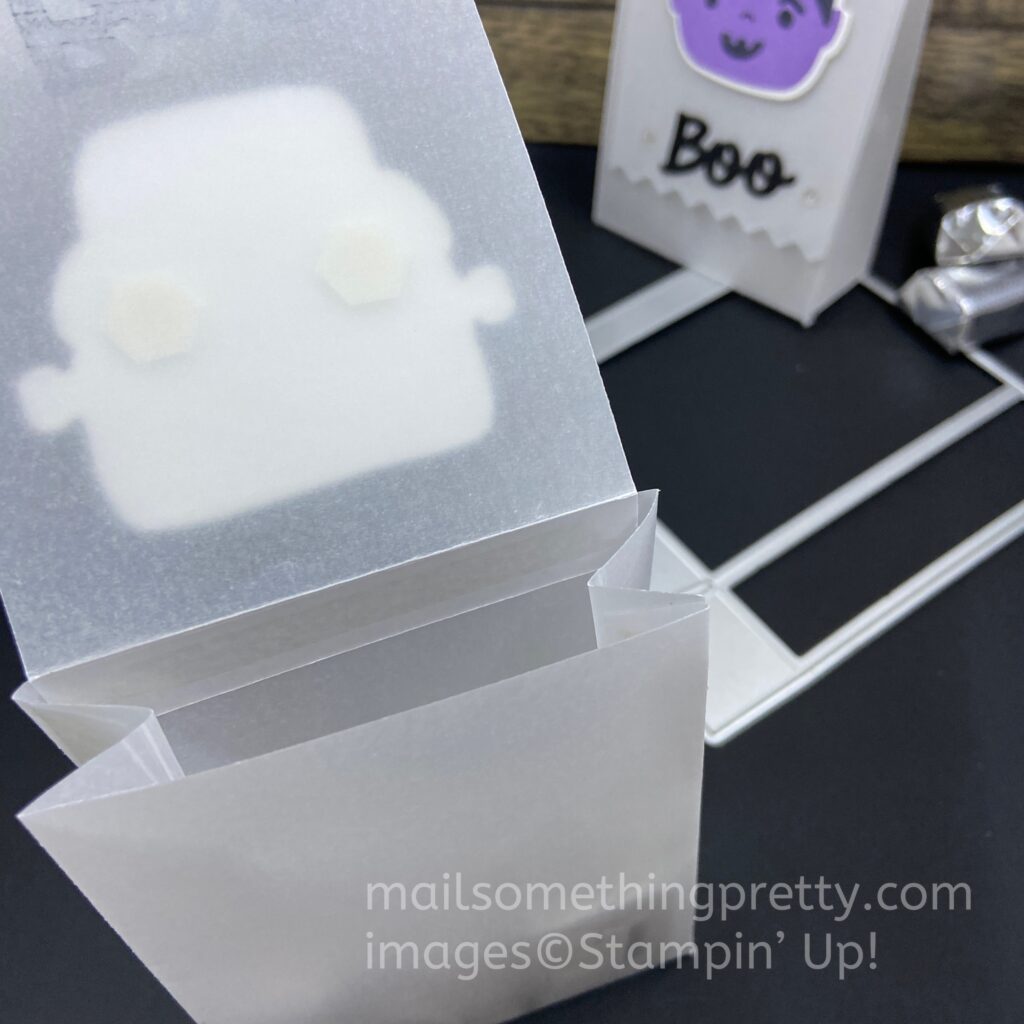
Top view of Vellum Gusseted Box with a Lid

