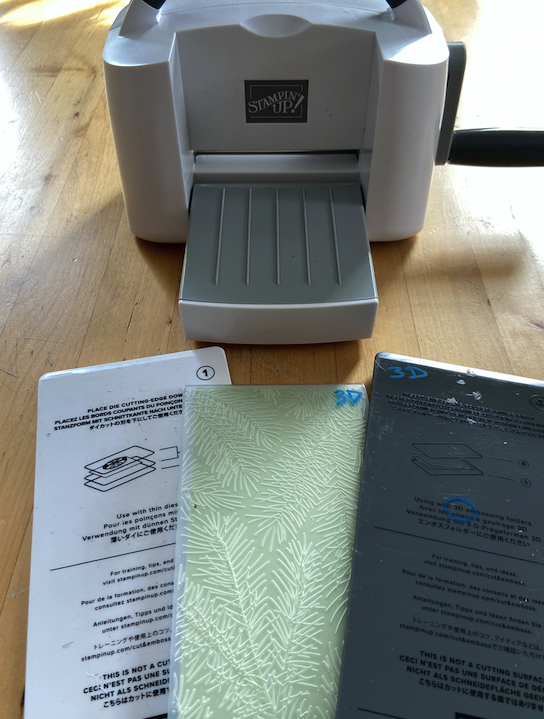
I was recently asked this question: Which Plates Do I Use with my Stampin’ Cut & Emboss Machine? Your machine comes with several plates, so this is a very good question and can get confusing (especially if you are new to using your machine). I thought others of you may have this same question, so I’m writing this blog post which you can refer back to. Keep reading and I’ll show you which plates you need to use with both the Dies and Embossing Folders. The Standard and Mini Machines are used in the same way, but they use different plates.
What is a Stampin’ Cut & Emboss Machine?
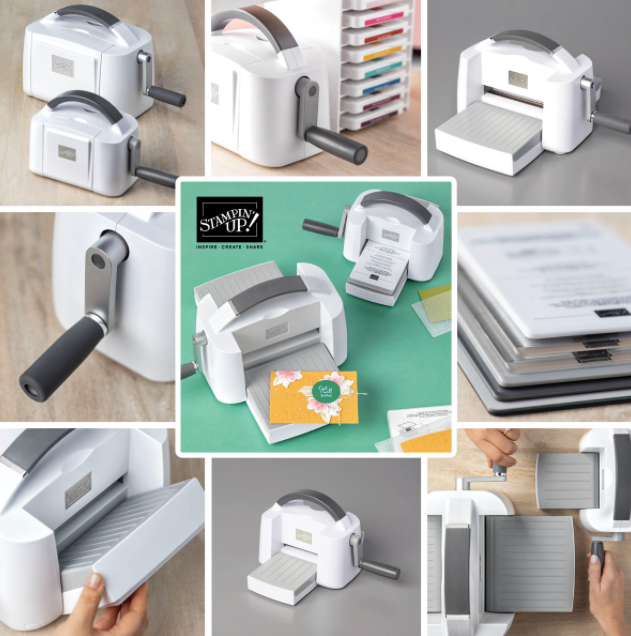
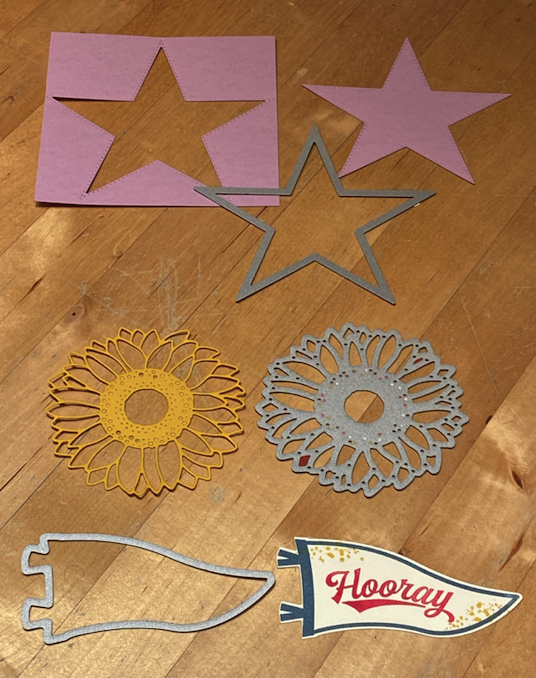
This machine/tool will cut shapes of paper using (cutting) Dies and texture paper with Embossing Folders. You can use the Dies alone for sold shapes, or stamp an image and then cut. The Dies come in all sorts of shapes and details, and the Embossing Folders come in all different patterns. This machine is not necessary for stamping and paper crafting, but once you have one, you’ll use it on almost every project. There are actually two Stampin’ Cut & Emboss Machines (that do the same thing), but are different sizes and price points.
Standard Stampin’ Cut & Emboss Machine, $120, #149653 – for all of your crafting needs. Works with all Dies and Embossing Folders (standard and/or mini).
Mini Stampin’ Cut & Emboss Machine, $60, #150673 – for on-the-go or small space crafting needs. Works with all dies smaller than 3-3/8″ in width and Embossing Folders designated specifically for the Mini Machine.
There are two types of Embossing Folders: Standard and 3D. I will specify below (with the pictures) which plates to use with which machines.
All plates are labeled with numbers and the base plates indicate which sandwich layers you need for cutting and embossing with diagrams (in case you forget).
Standard Stampin’ Cut & Emboss Machine
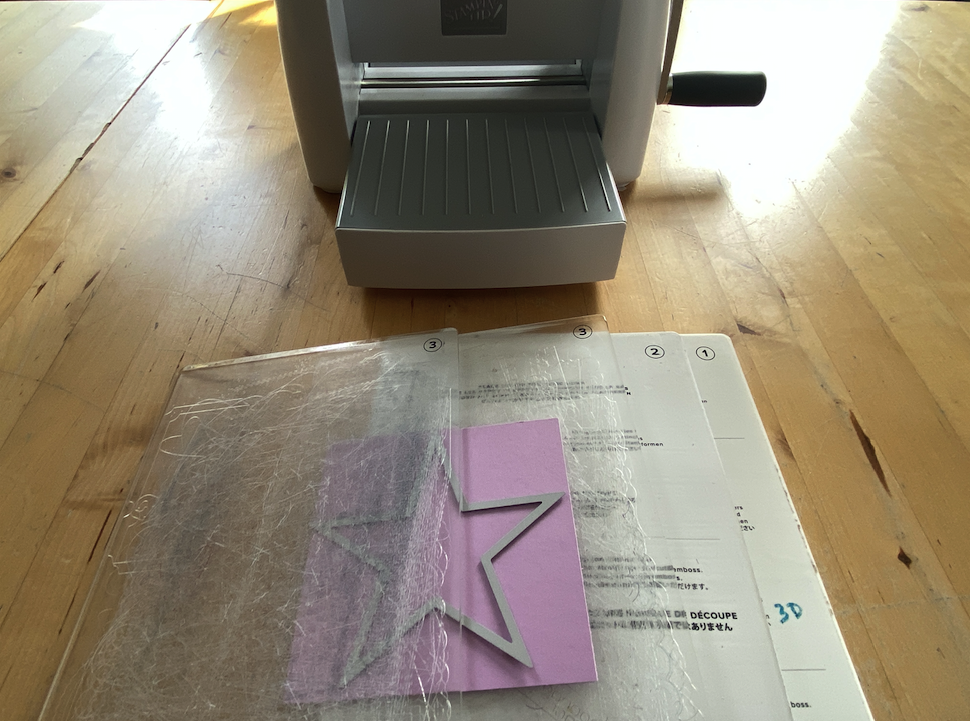
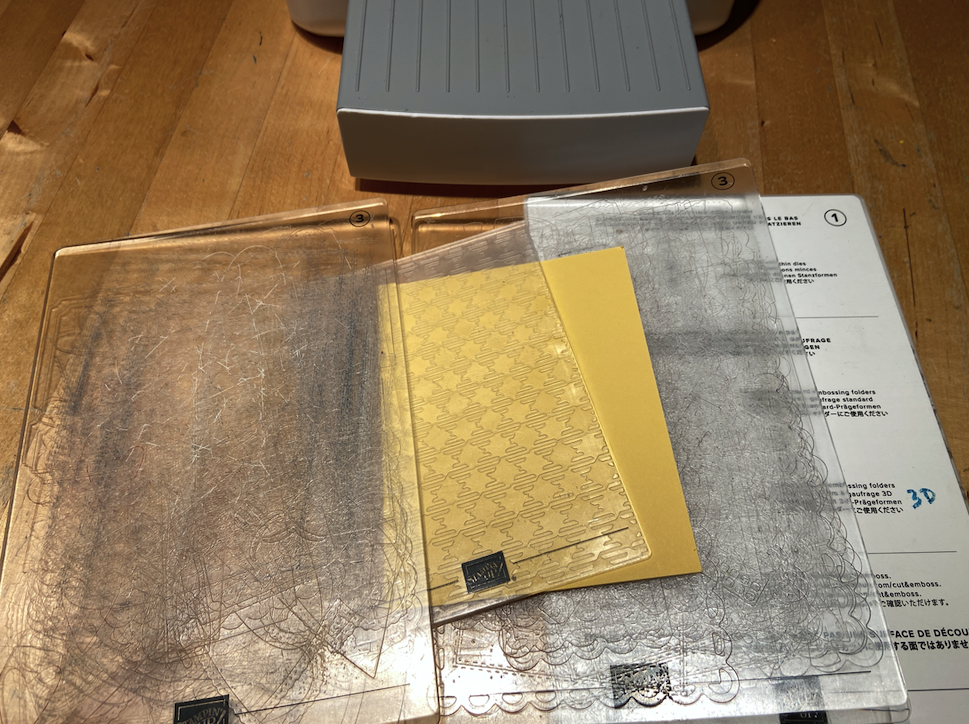
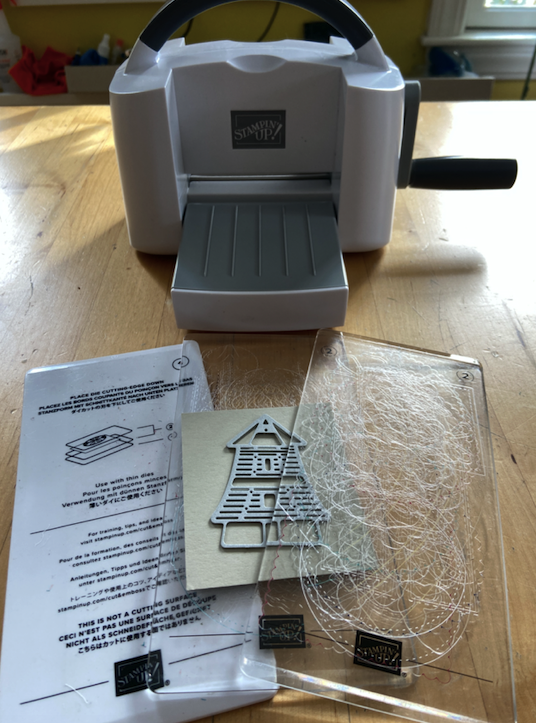
When you want to cut paper using Dies (any metal Dies sold by Stampin’ Up! and many other companies too), you’ll want to create your sandwich as follows:
- On the bottom, plate #1 (the thick white one)
- Next is the thin white layer/plate #2
- Third is the clear cutting plate #3
- Your paper gets put on top of plate #3
- Place the Die on top of the paper
- Last is the second clear cutting plate #3 (your machine comes with two of these).
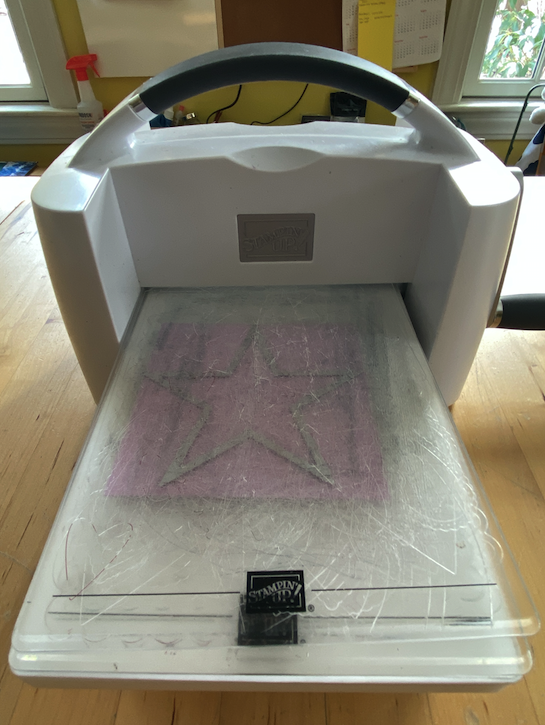
Stack the plates, die & paper in this order and feed through the machine opening and crank the handle. It will be tight, but will feed through.
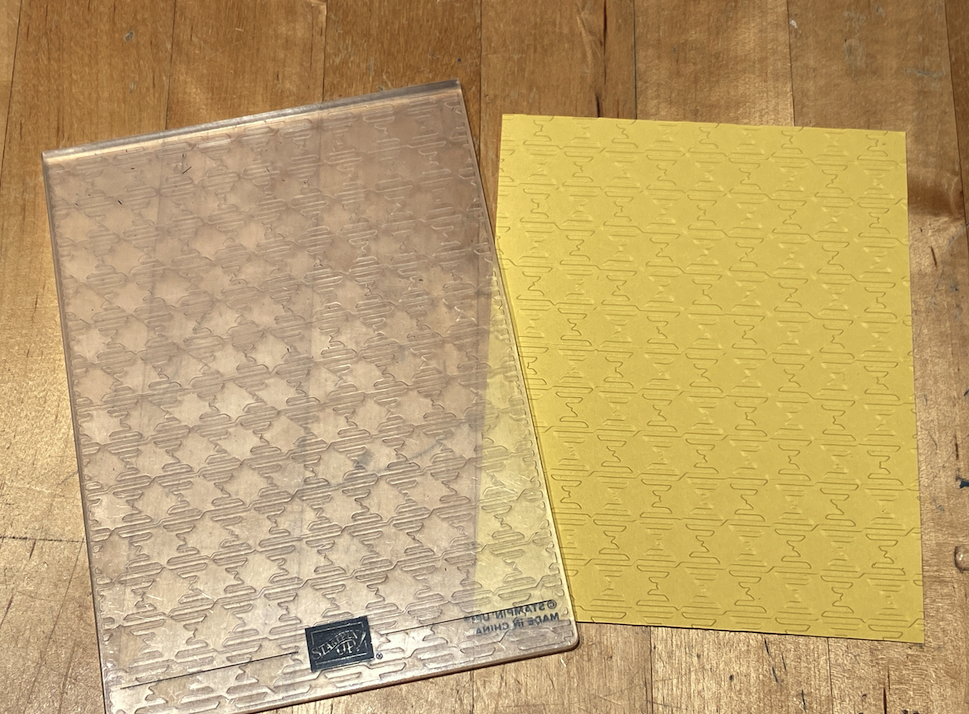
When you want to “dry emboss” or texturize your paper using an Embossing Folder, you’ll have to know which type of folder you have: Standard or 3D. The type will be indicated in the catalog or online store description.
With a Standard Embossing Folder, you’ll want to create your sandwich as follows:
- On the bottom, plate #1 (the thick white one)
- Next comes the clear cutting plate #3
- Insert the paper into the standard Embossing Folder and place on top of #3
- Last is the second cutting plate #3
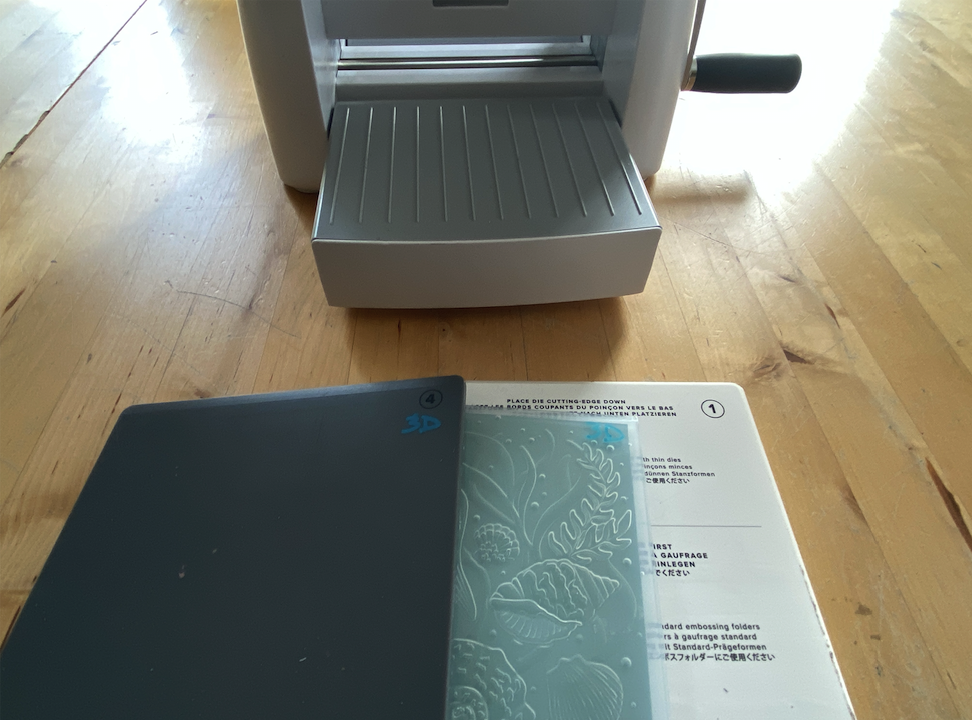
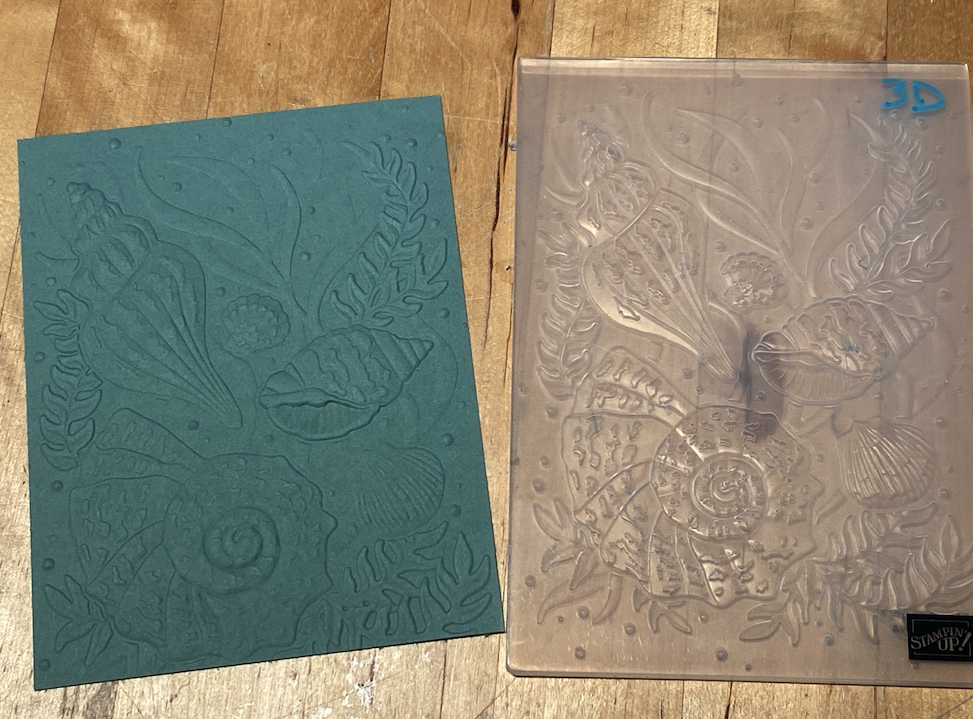
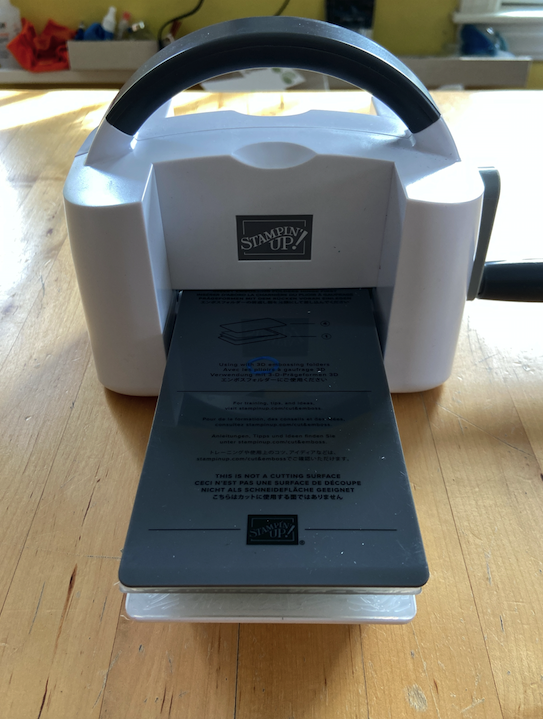
With a 3D Embossing Folder, you’ll want to create your sandwich as follows:
- On the bottom, plate #1 (the thick white one)
- Next is the 3D Embossing folder with paper inside
- Last comes the dark gray plate #4
Stack the plates and Embossing folder with paper inside in this order and feed through the machine opening and crank the handle. It will be tight, but will feed through.
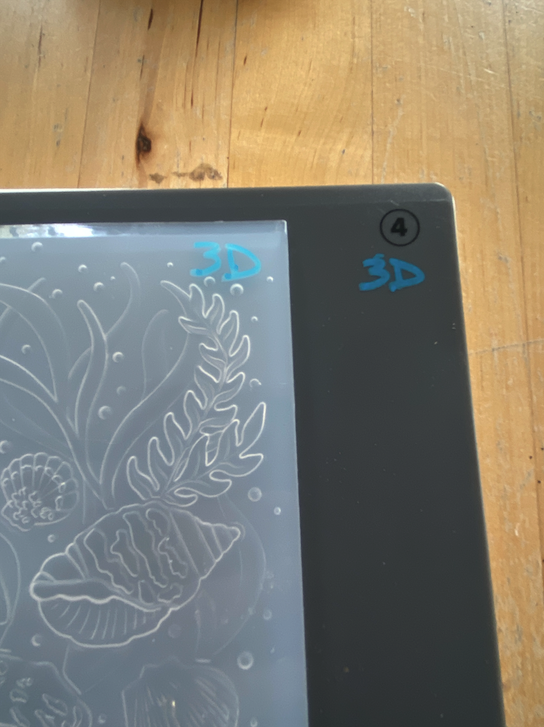
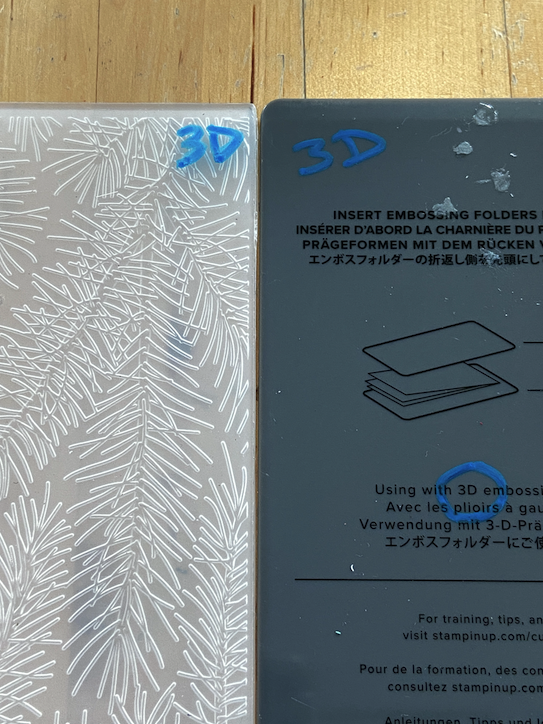
I like to mark my #4 plate and 3D embossing folders with the label “3D” with a paint (permanent) pen so I know when I go to use that folder, it’s a 3D and I need to use the dark gray plate.
Mini Stampin’ Cut & Emboss Machine
The Mini Machine works very similarly to the Standard Machine. The Mini plates are labeled and the base plate, the thin white #1 plate also has a printed diagram for your reference.
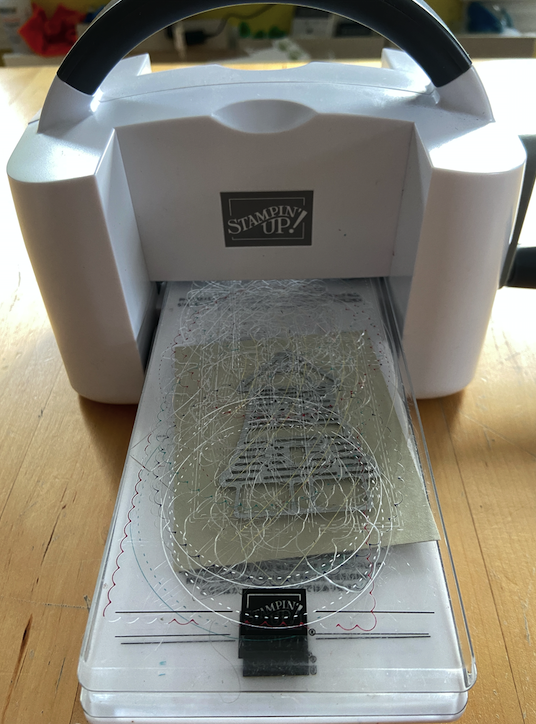
When you want to cut paper using Dies (with a width less than 3-3/8″), you’ll want to create your sandwich as follows:
- On the bottom, plate #1 (the white one)
- Next comes the clear cutting plate #2
- Third is your paper
- Place the Die on top of the paper
- Last is the second clear cutting plate #2 (your machine comes with two of these).
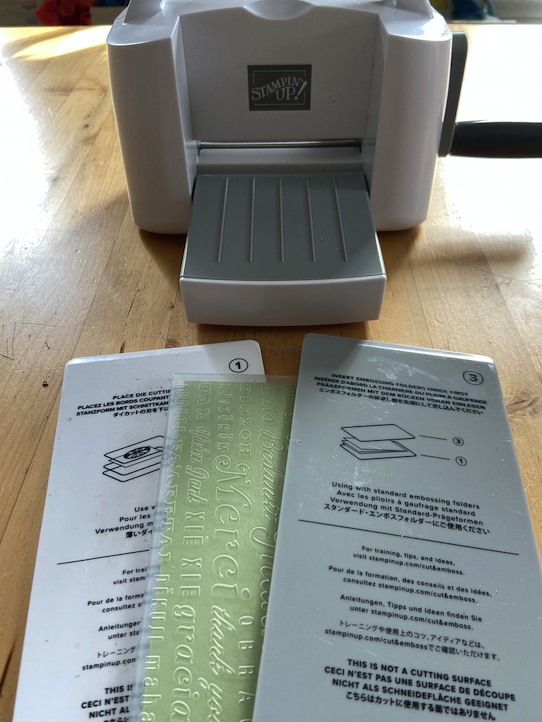
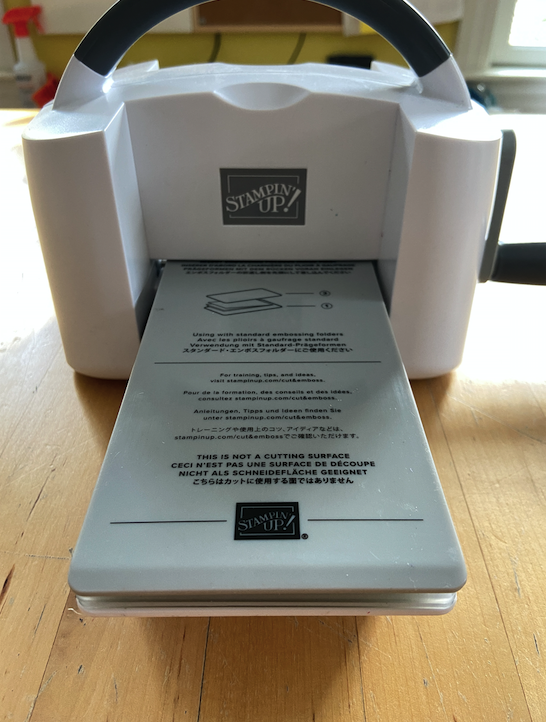
With a Standard Embossing Folder, you’ll want to create your sandwich as follows:
- On the bottom, plate #1 (the white one)
- Insert the paper into the standard Embossing Folder and place on top of #1
- Last is the light gray plate #3
With a 3D Embossing Folder, you’ll want to create your sandwich as follows:
- On the bottom, plate #1 (the white one)
- Insert the paper into the 3D Embossing Folder and place on top of #1
- Last is the dark gray plate #4
Like I mentioned above with the Standard Machine, I label the Mini 3D Embossing Folders & Plate with a “3D” so I instantly know which plate to use.
You may have noticed that my clear cutting plates are not so “clear”. That’s because I use them A LOT. They are made to be used and will scratch (from the cutting) and may even warp. To reduce the warping, rotate and flip these two plates often. There will come a time when they need to be replaced.
Replacement Plates:
- Standard Machine, 150815 (2 count), $11
- Mini Machine, 151004, (2 count), $7
I hope this picture tutorial of which plates to use with Dies & Embossing Folders with both the Standard & Mini machines is helpful.
Now is a great time to purchase one of these machines because you can earn free Sale-a-bration products (until February 28). If you purchase a Mini Machine, you’ll earn one Sale-a-bration item. If you purchase a Standard Machine, you’ll earn either two or one Sale-a-bration items, depending on what you choose. And don’t forget the dies and folders!

