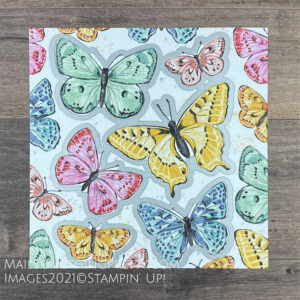
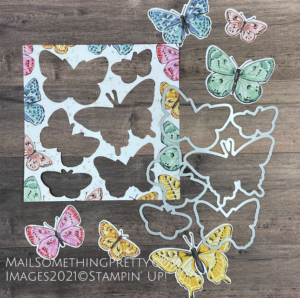
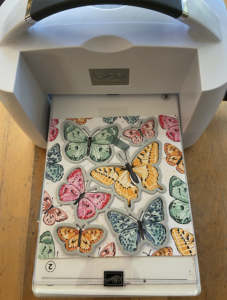
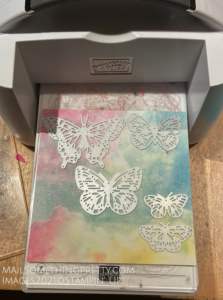
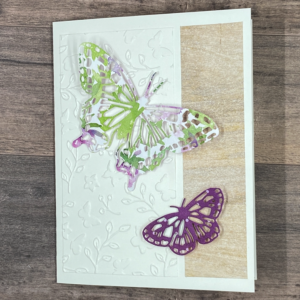
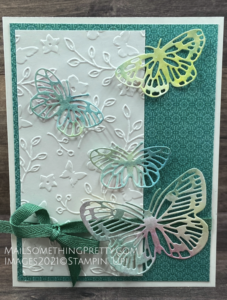
Butterflies have taken over my stamping space this week. (I can’t wait to see the real ones in my garden later this summer). The new Butterfly Wings dies work so beautifully with the Butterfly Brilliance stamp set – Stampin’ Up! was really thinking smart with this one. The large Butterfly Brilliance stamp lines up perfectly with the largest Butterfly Wings die. One crank of the Stampin’ Cut & Emboss Machine and you have 6 instant butterflies. Stampin’ Up! was also thinking with the design of one of the papers from the Butterfly Bijou Designer Series Paper pack. One of the sheets of paper lines up perfectly with the largest die, giving you 6 instant colored butterflies. Keep reading for some Butterfly Wing Die Tips and find a link for the products at the end.
Do you see how the largest Butterfly Wings die lines up perfectly with the Butterfly Bijou paper?
This design certainly makes for quick & easy cards.
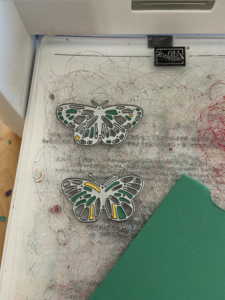
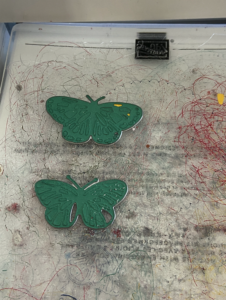
Tip – Use a little washi or removable tape to secure the large die down so it doesn’t move while cutting. Above picture, my butterflies are a little off cut because they “fluttered” around in my machine. Below picture shows how I fixed that by securing the die with washi tape.
Here’s another tip for cutting the detailed dies:
Sometimes I find if you place the detailed dies upside down on the plates and place the card stock on top of the dies (rather than below), you get a better detailed cut shape. Or, you can crank two passes through on your machine by having the die facing down.
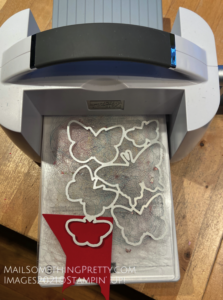
Only need one butterfly? Place scrap card stock under the butterfly you want to cut.
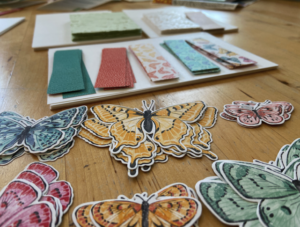
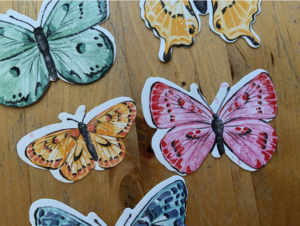
Don’t forget to use the pattern paper to cut the detailed butterflies. I think they make great and unique wing colors.
I hope these Butterfly Wings Die Tips were helpful to you. You can read more about the bundle of products here (as well as quick links to order) – https://mailsomethingpretty.com/butterfly-bouquet-stamps-dies-papers-now-available/ ![]()
![]()

